Multi-Factor Authentication
A Step-by-Step Guide for navigating to Multi-Factor Authentication
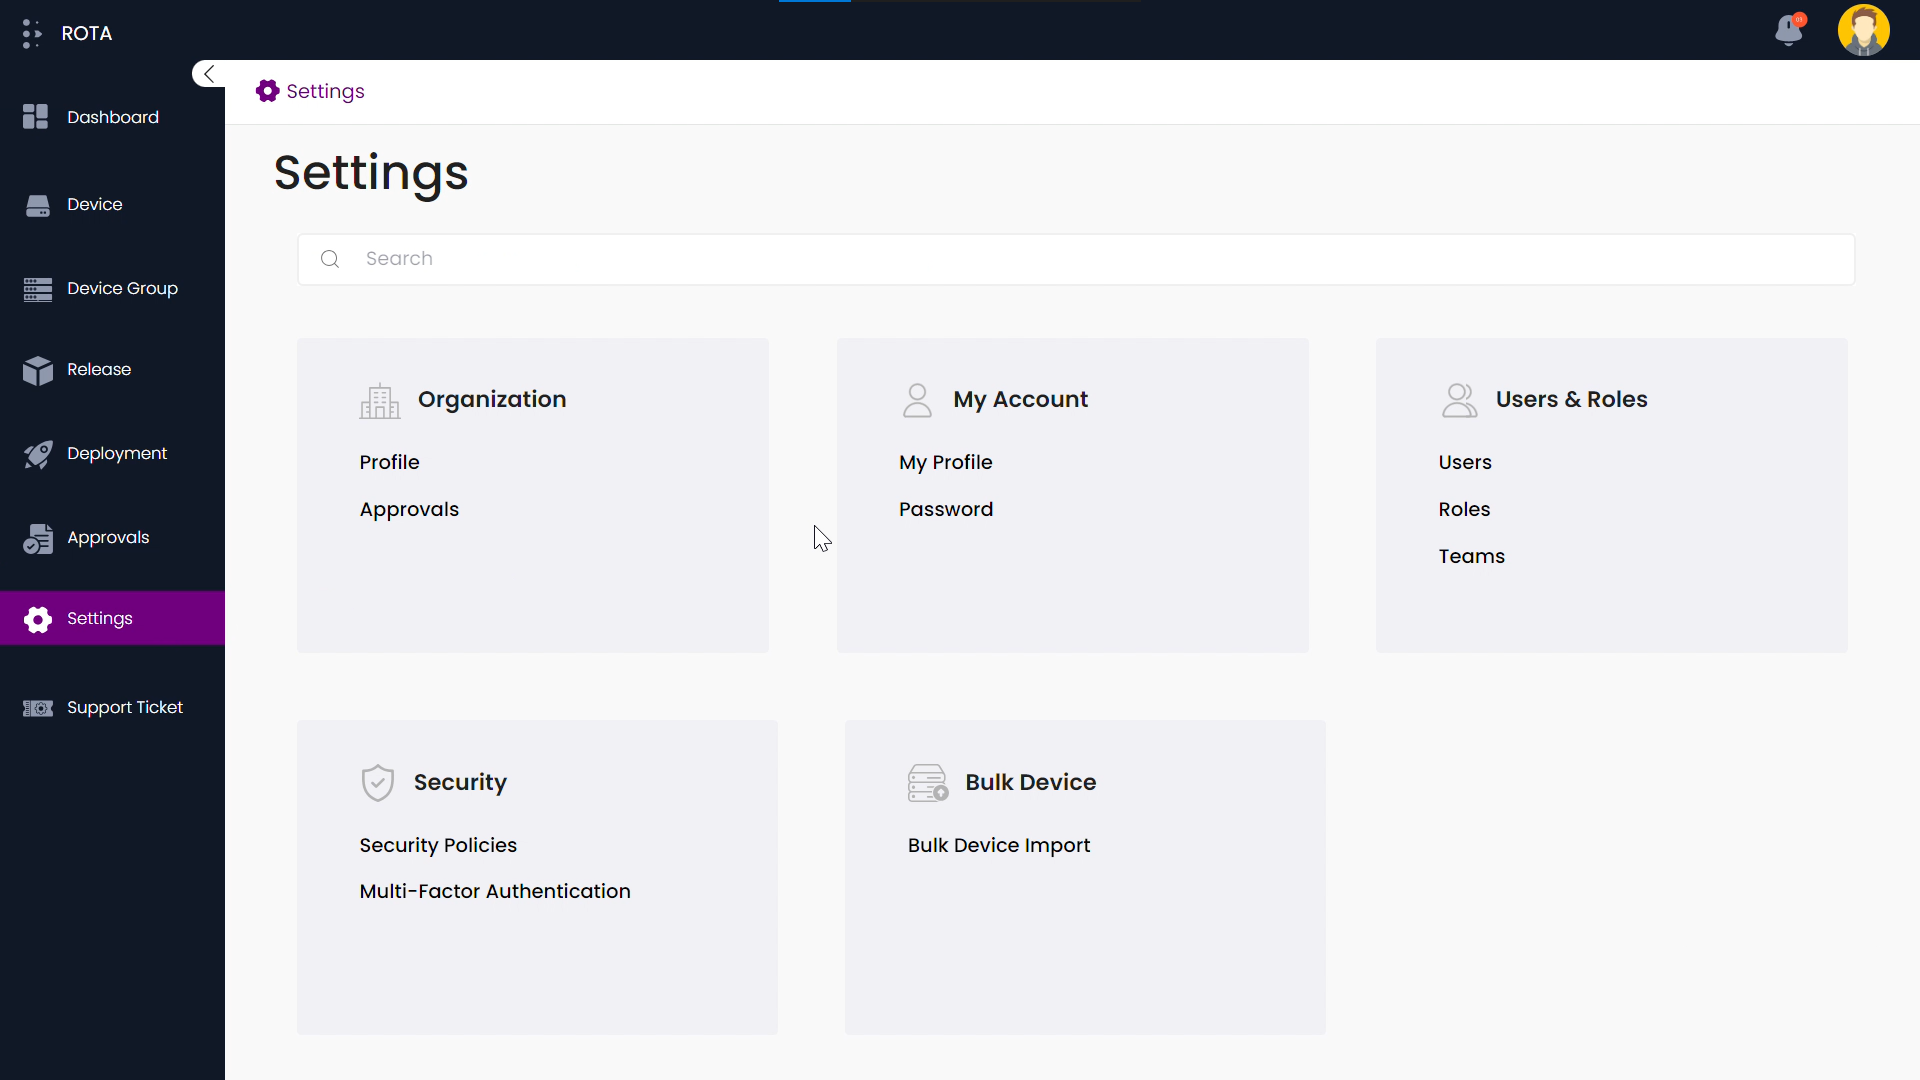
Step 1: Select Settings from the Sidebar.Under the Security section, click on the Multi-Factor Authentication module.
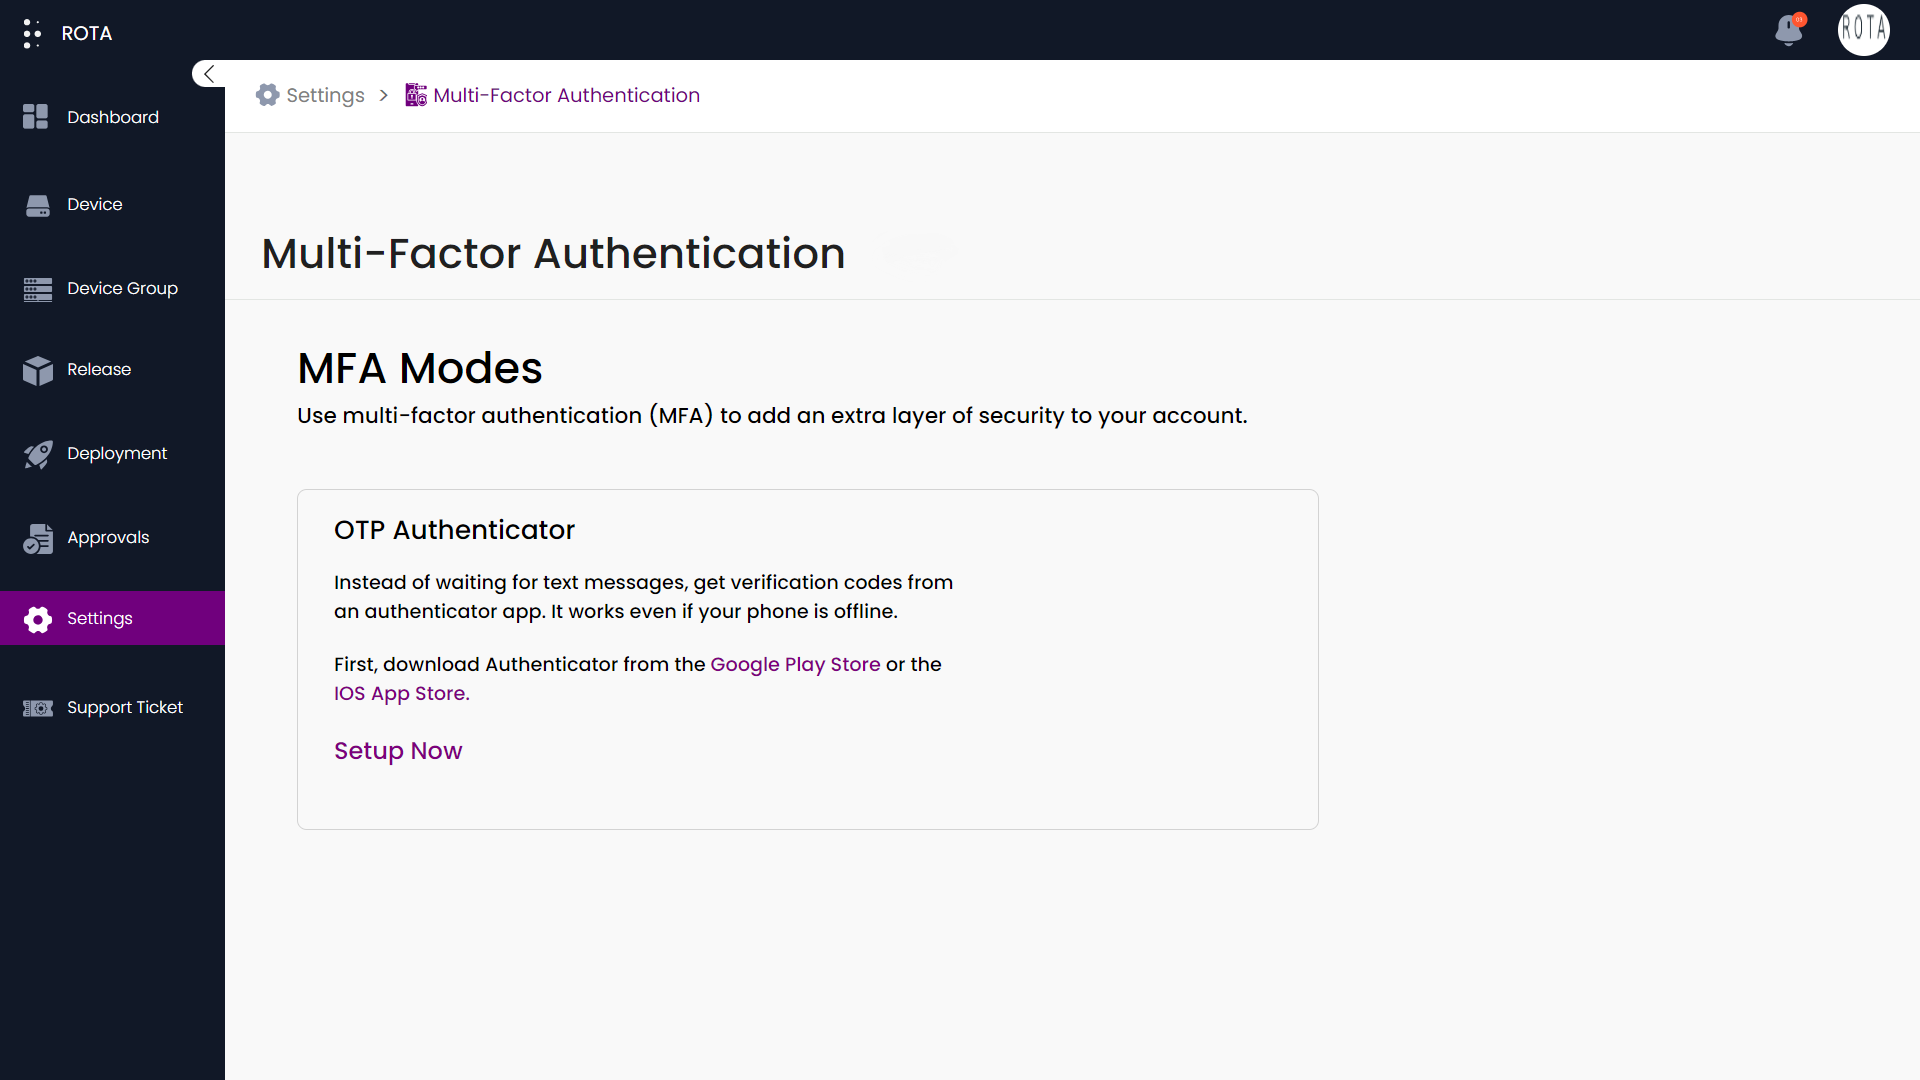
Step 2: A page for setting up Multi-Factor Authentication (MFA) will be shown to the user.
Enable Multi-Factor Authentication
Step 1: Click on “Setup Now” option in the OTP Authenticator section.
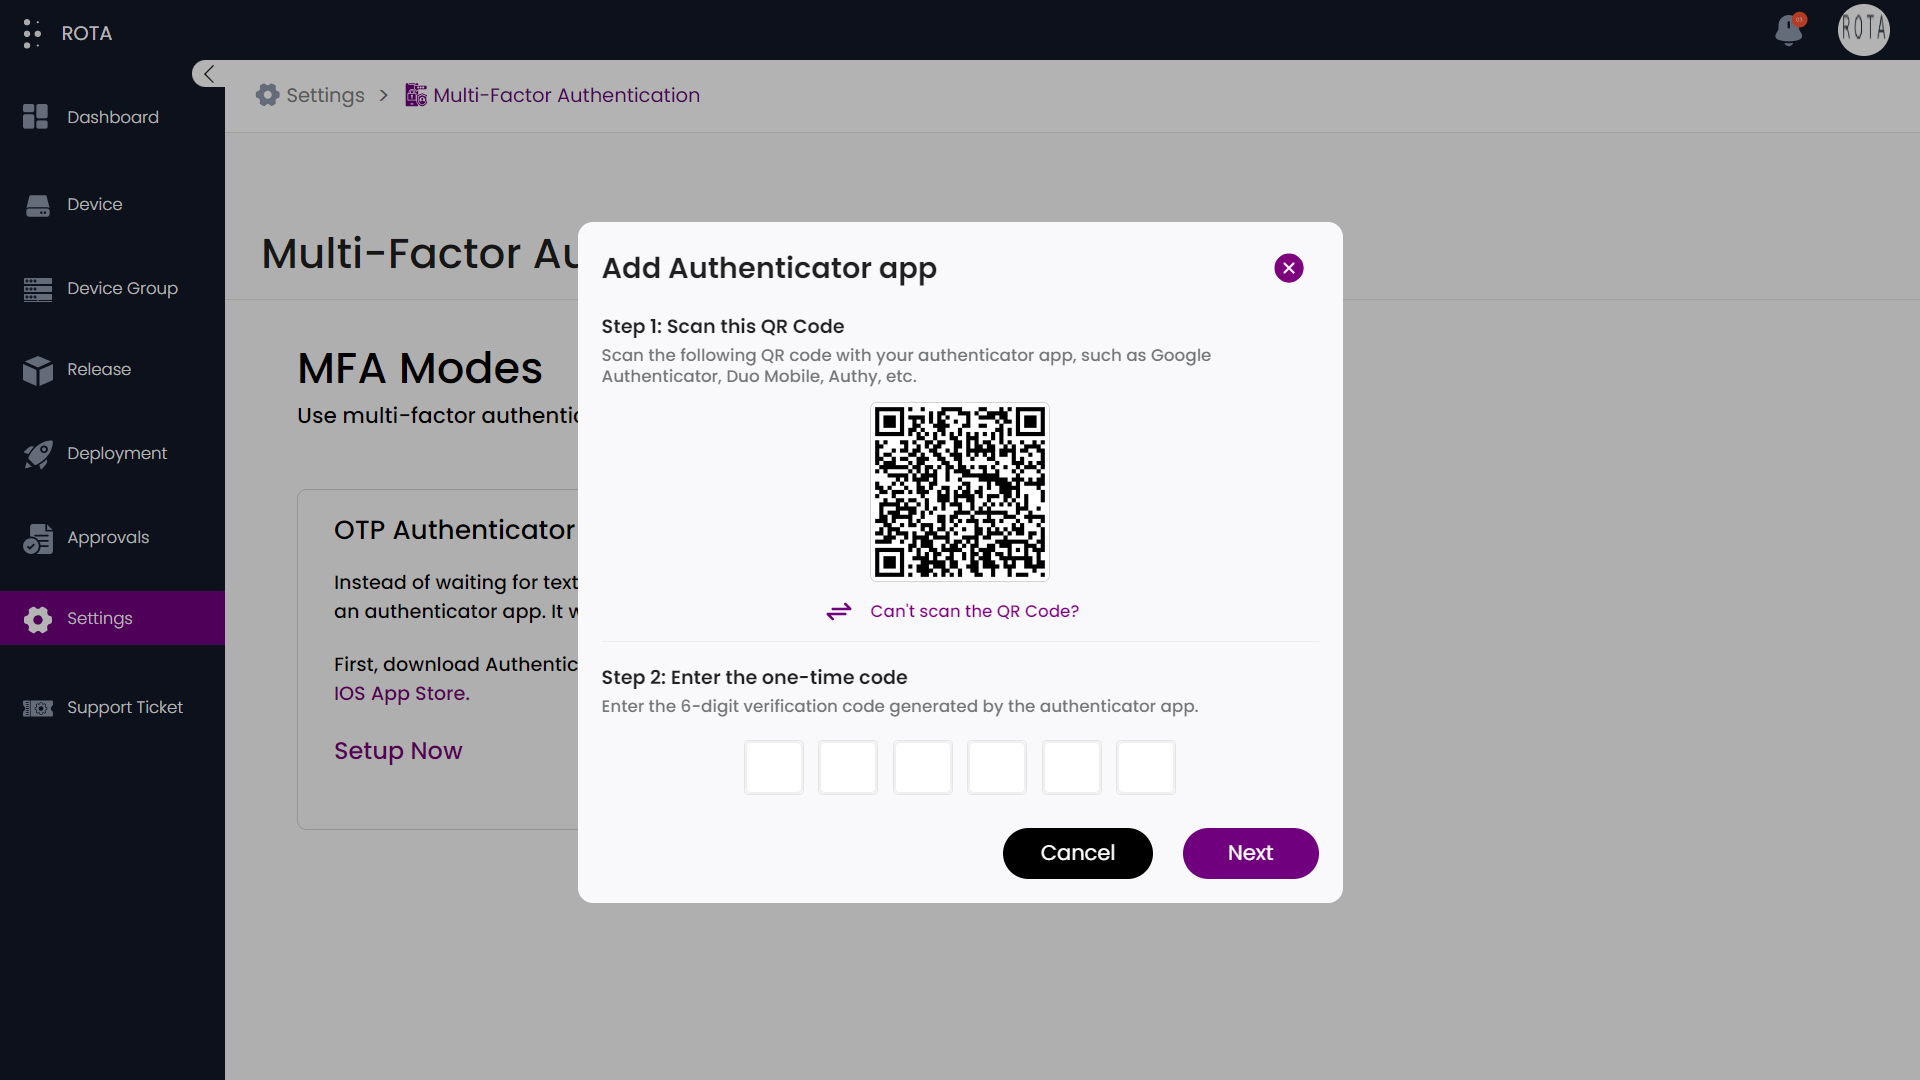
Step 2: The Authenticator app will open, and you’ll need to complete two steps to set it up. First, scan the QR code displayed on the screen. Next, enter the one-time code generated by the Authenticator app on your mobile device. Once you’ve entered the code, click ‘Next’ to proceed.
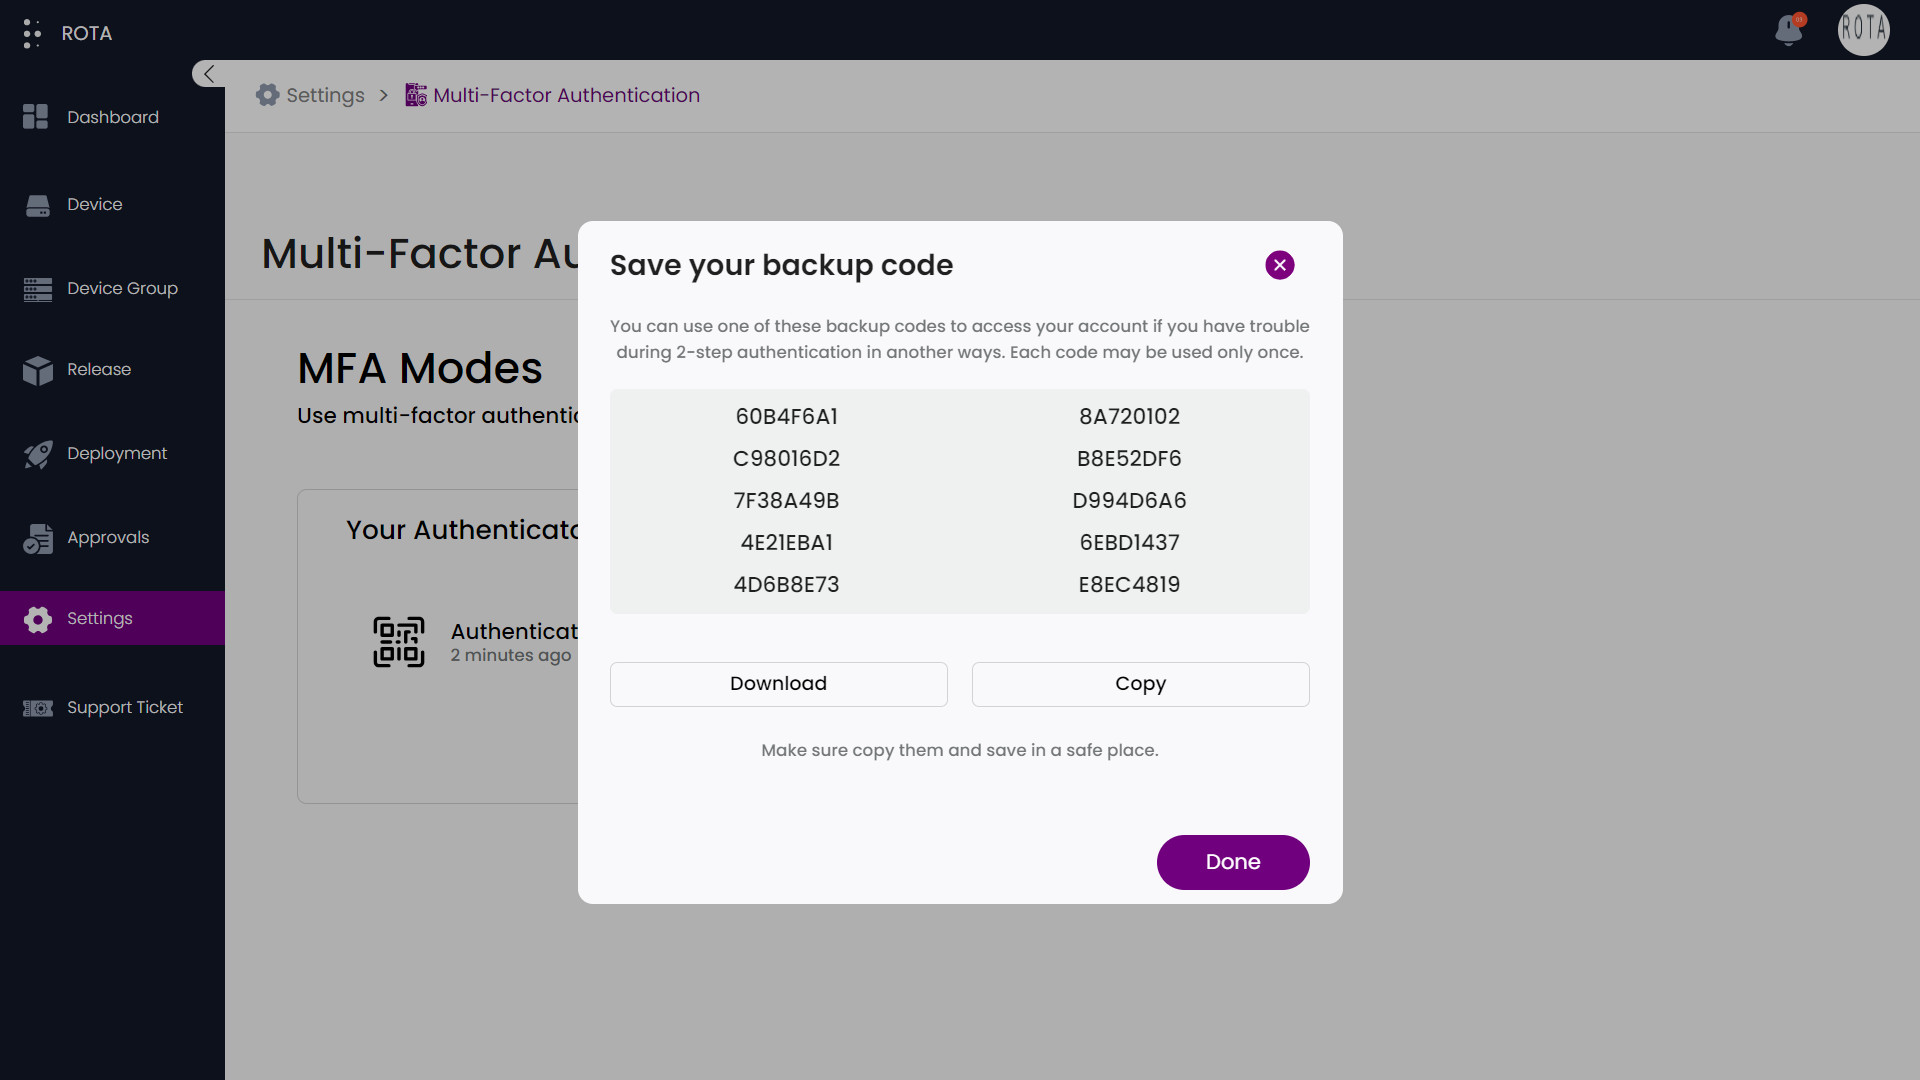
Step 3: “Then, click ‘Download’ to save the backup codes shown on the screen. Ensure you keep these codes in a secure place. After saving it, Click on “Done”.
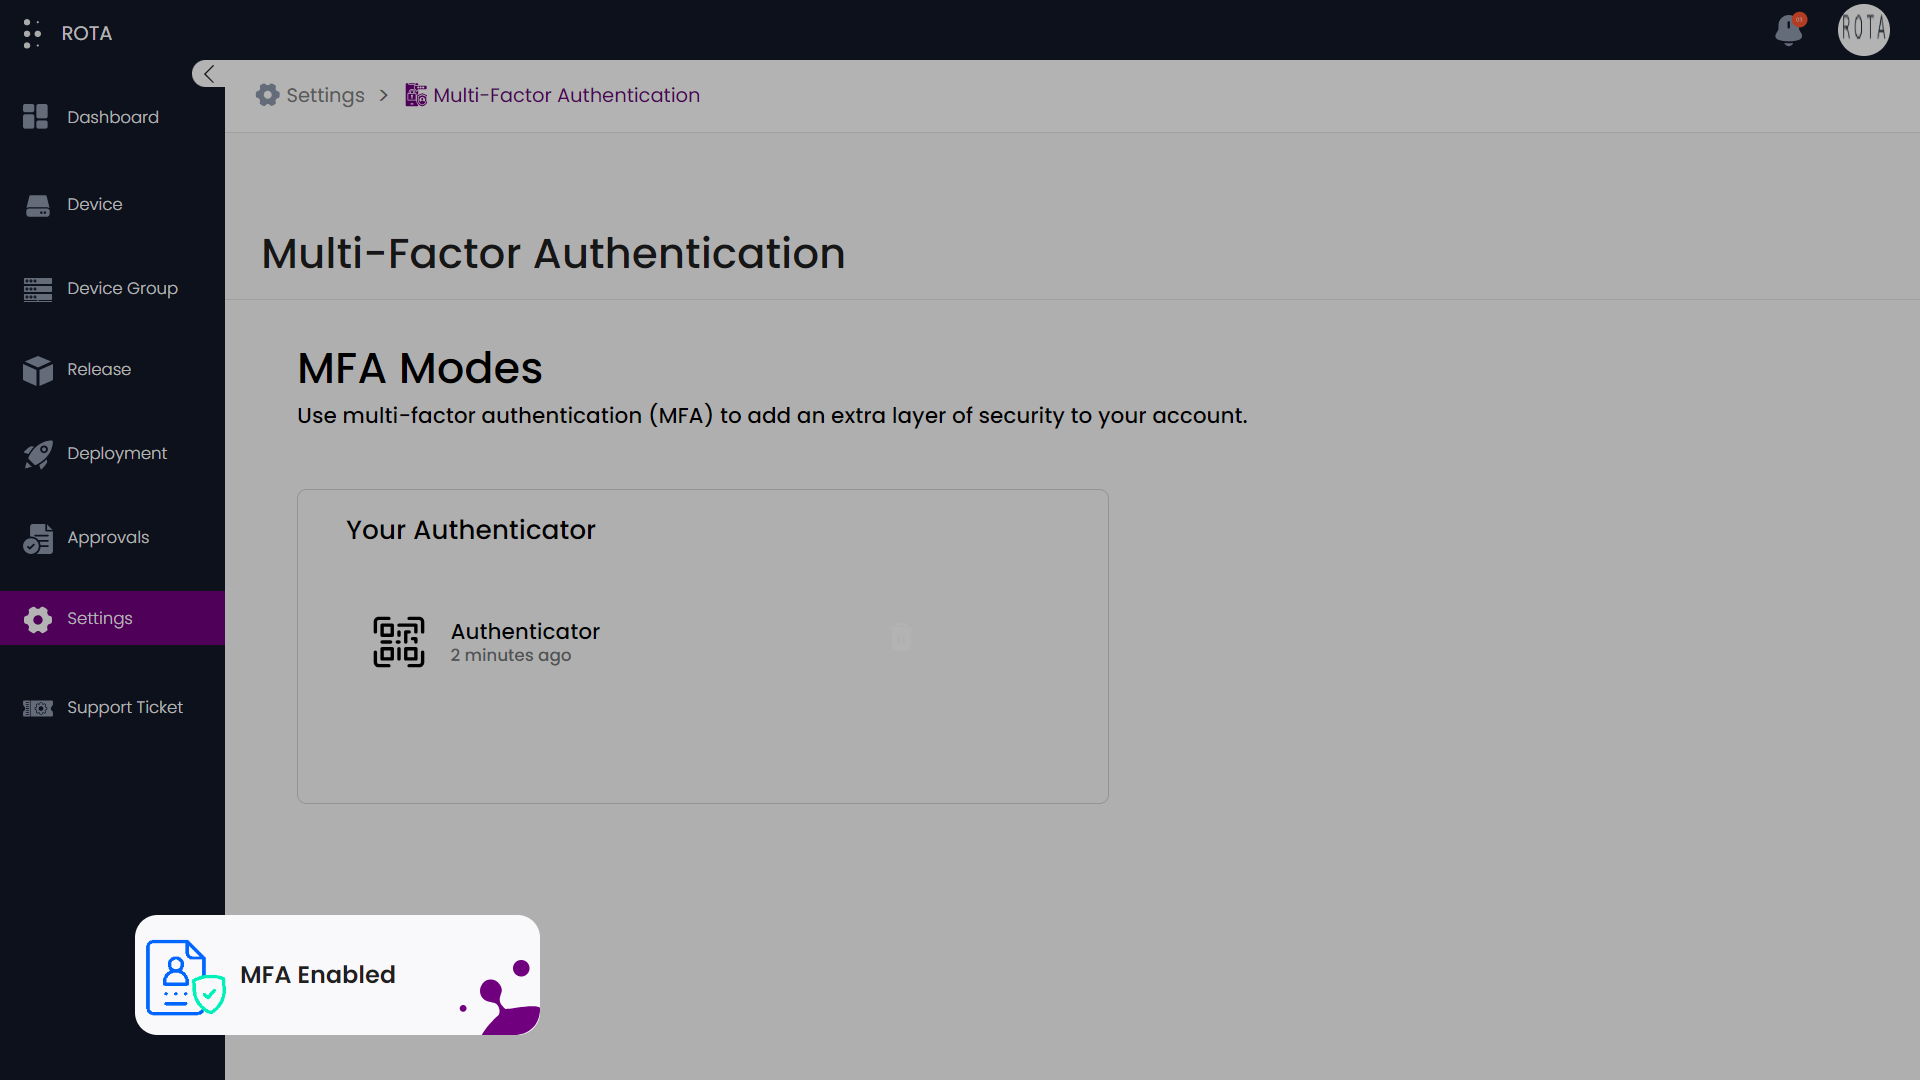
Step 4: Once the Authenticator is set up, you’ll see a notification confirming that Multi-Factor Authentication (MFA) has been enabled.
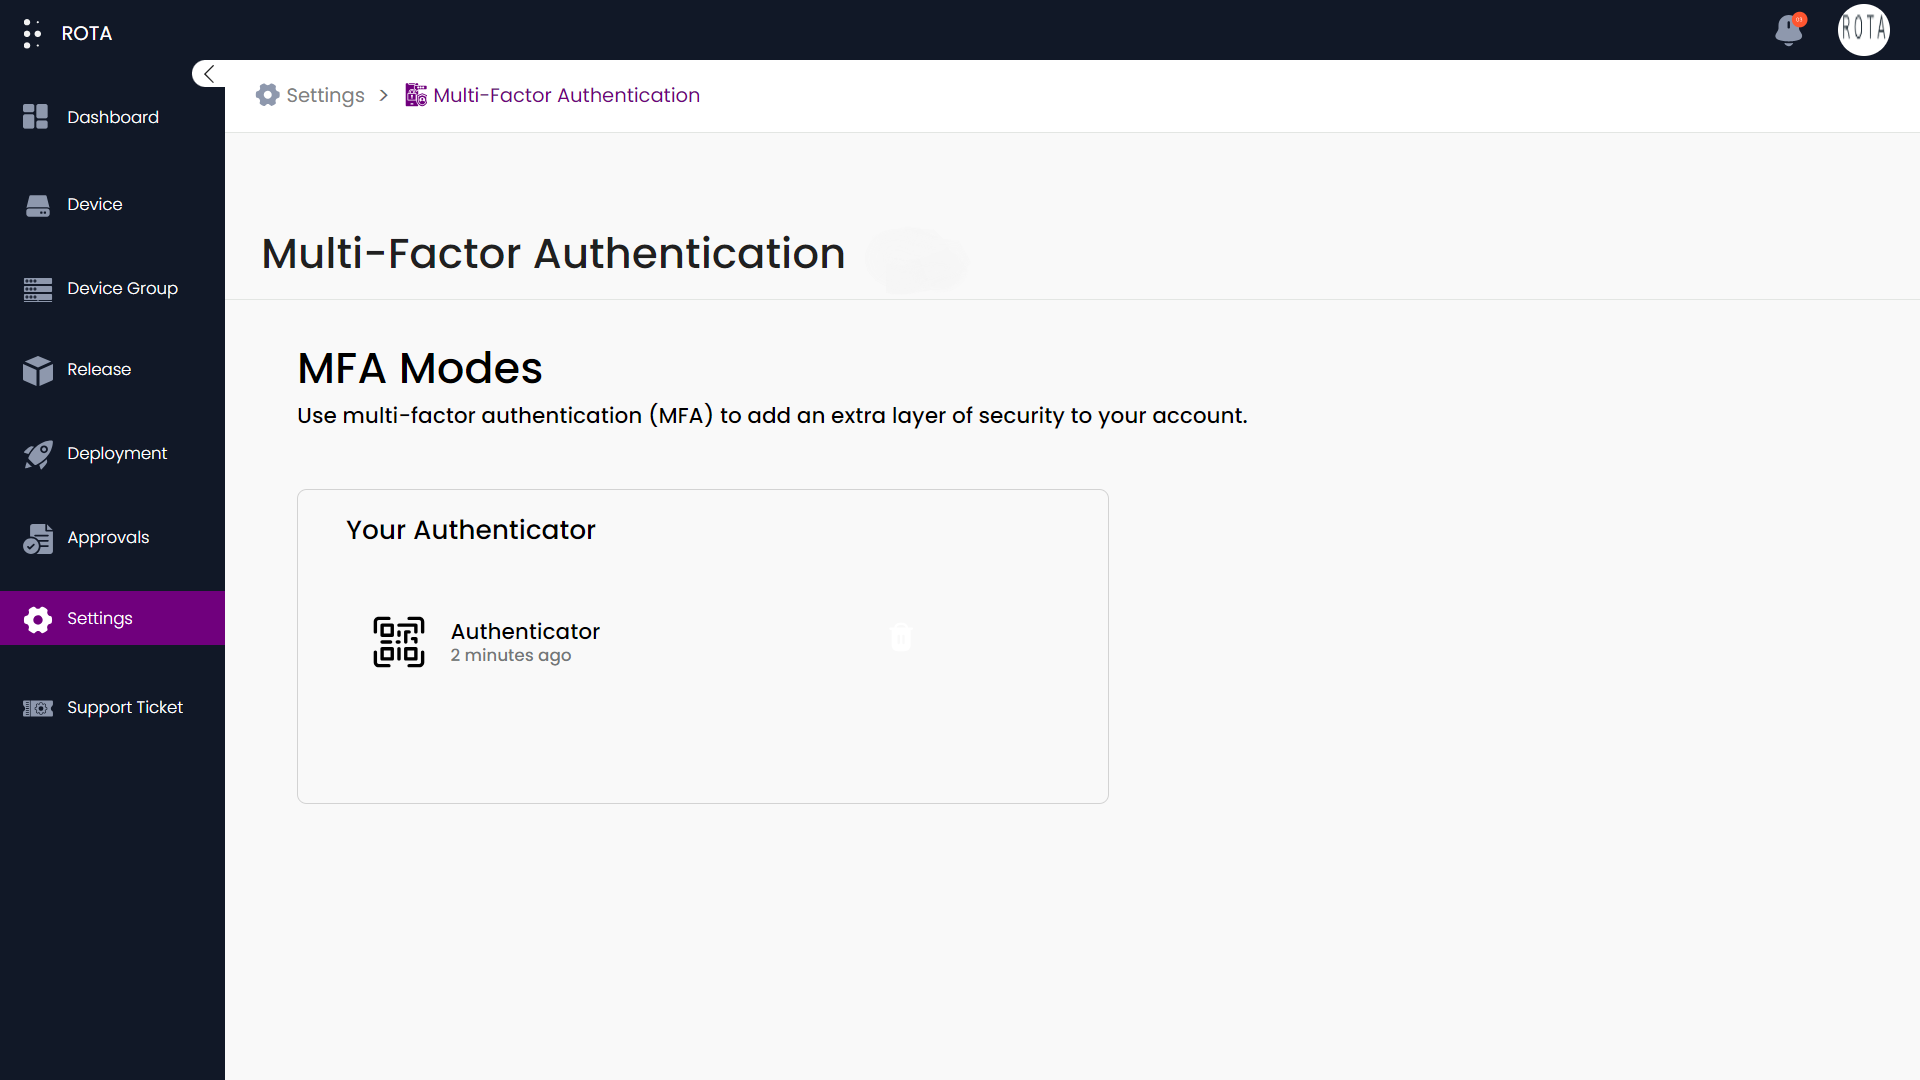
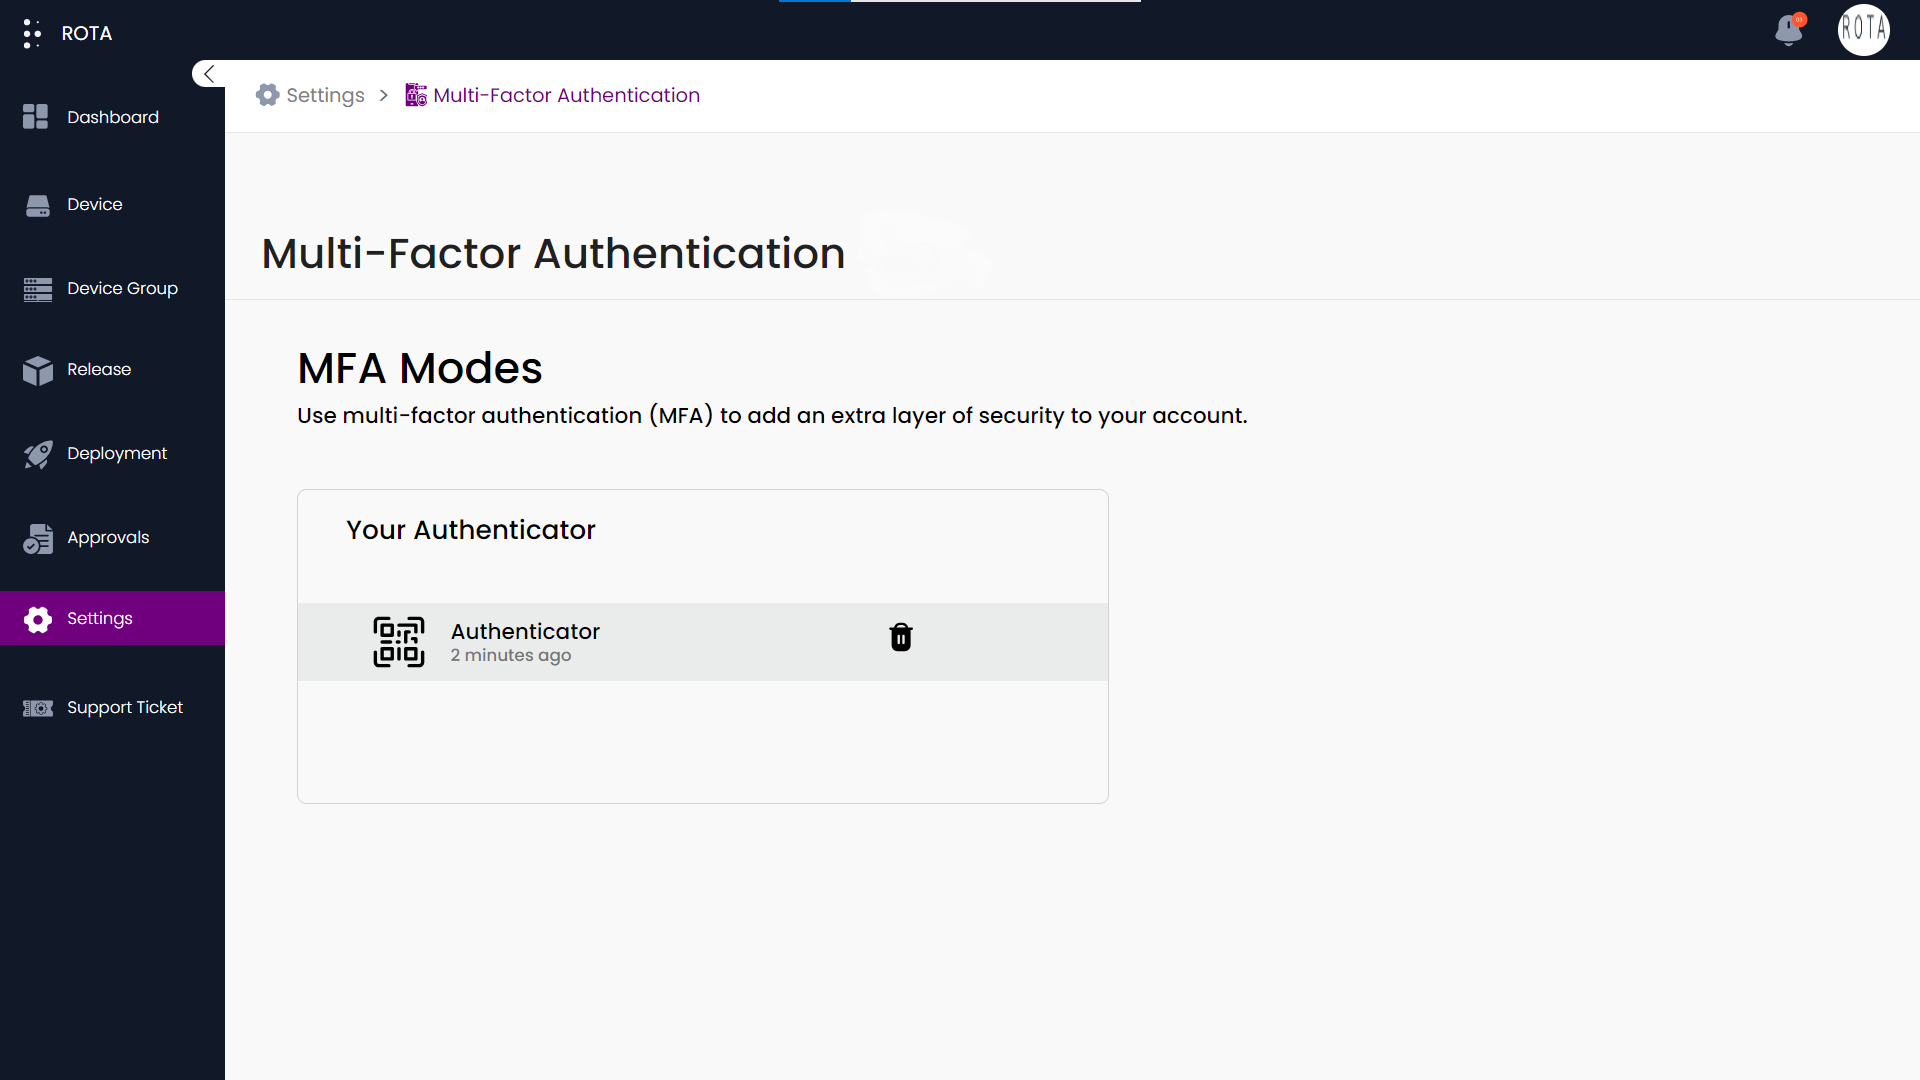
Step 5: Now the added Authenticator will be displayed under the MFA modes.
Login using Multi-Factor Authentication
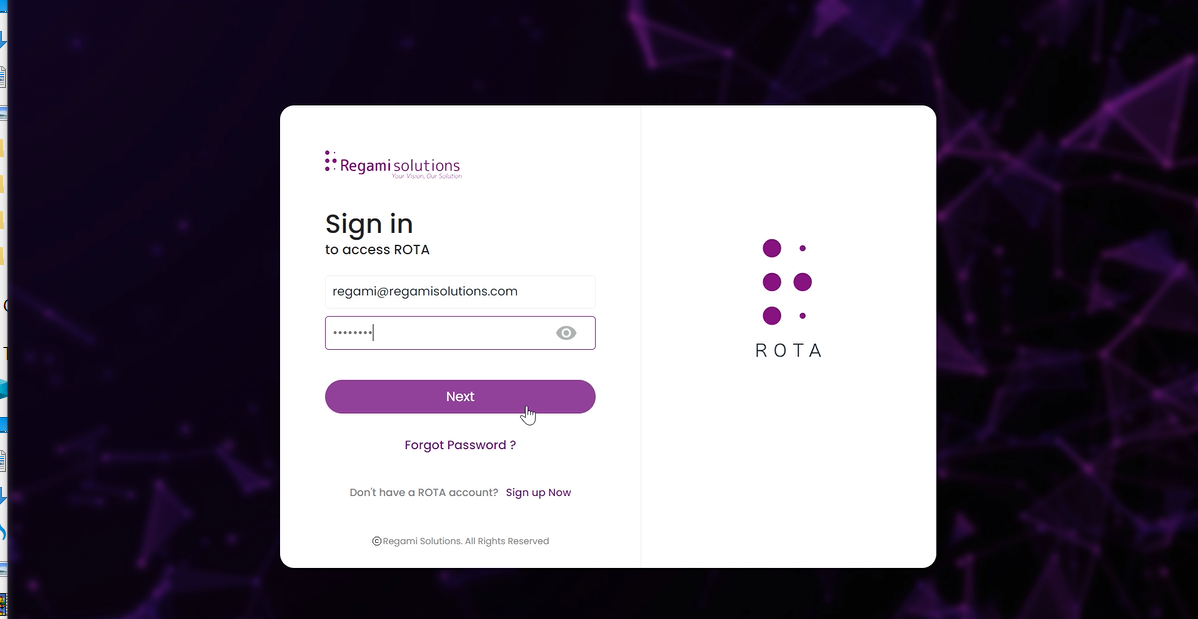
Step 1: On the login page, enter your registered email address and password, then click ‘Next.’
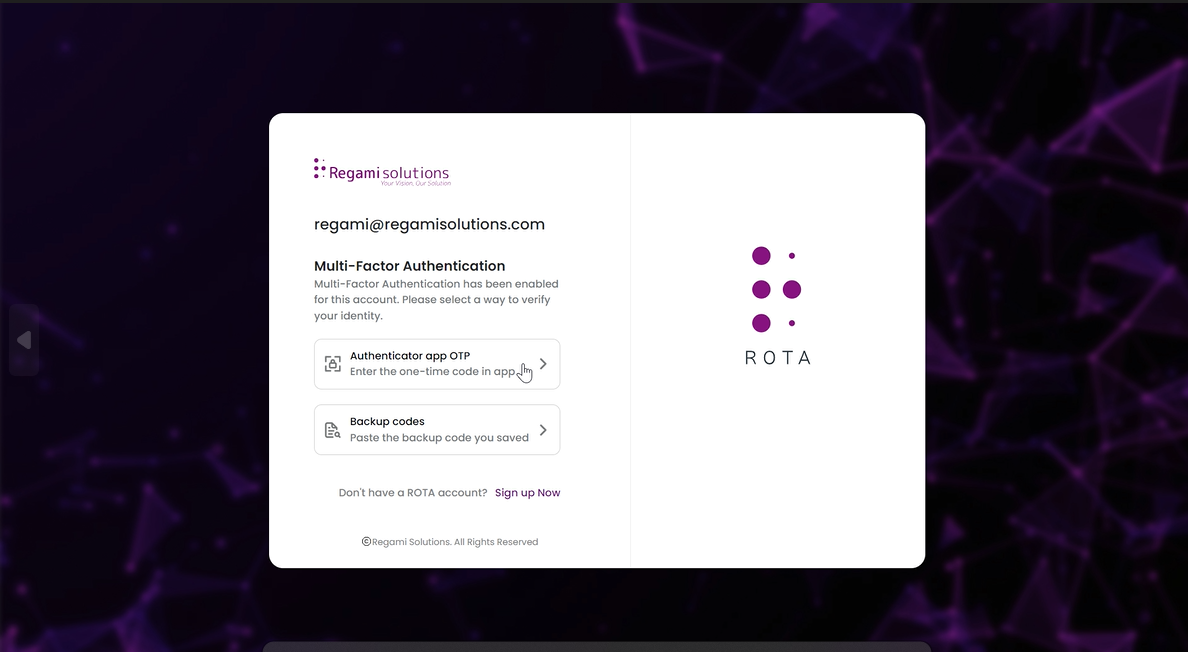
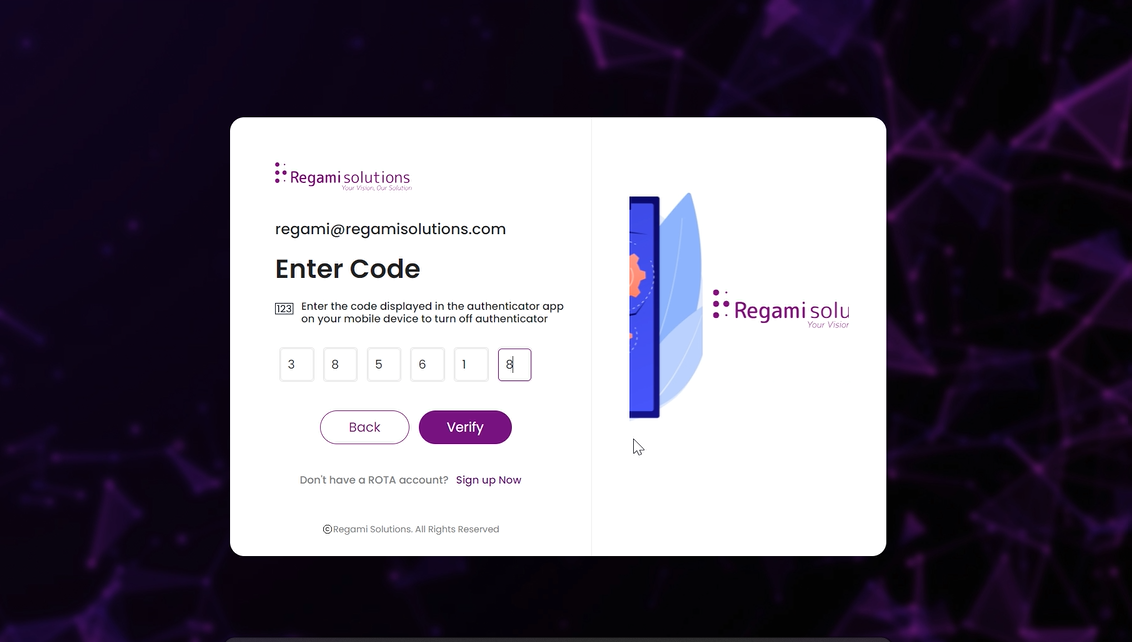
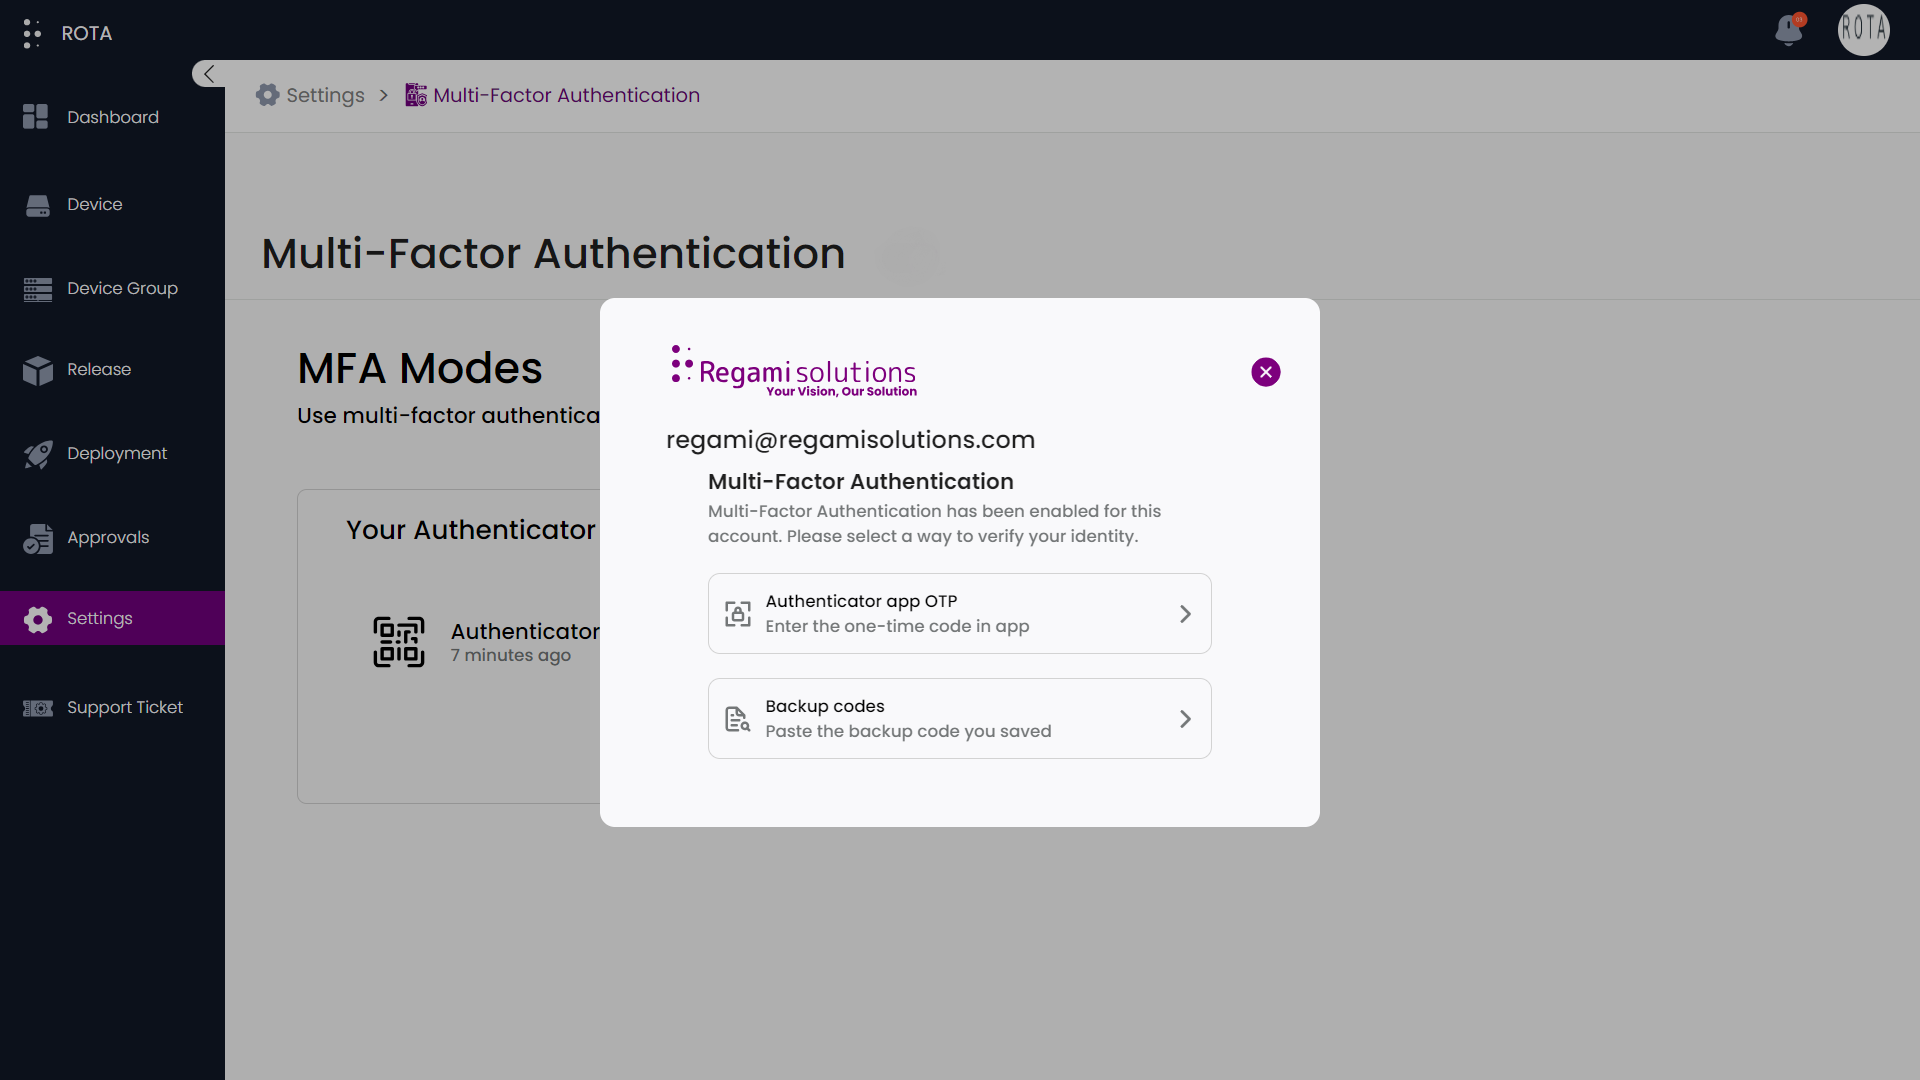
Step 2: You will have two options for authentication: either enter the OTP from your Authenticator app or use the backup codes you saved.
Step 3: After entering, Click ‘Verify’ to proceed.
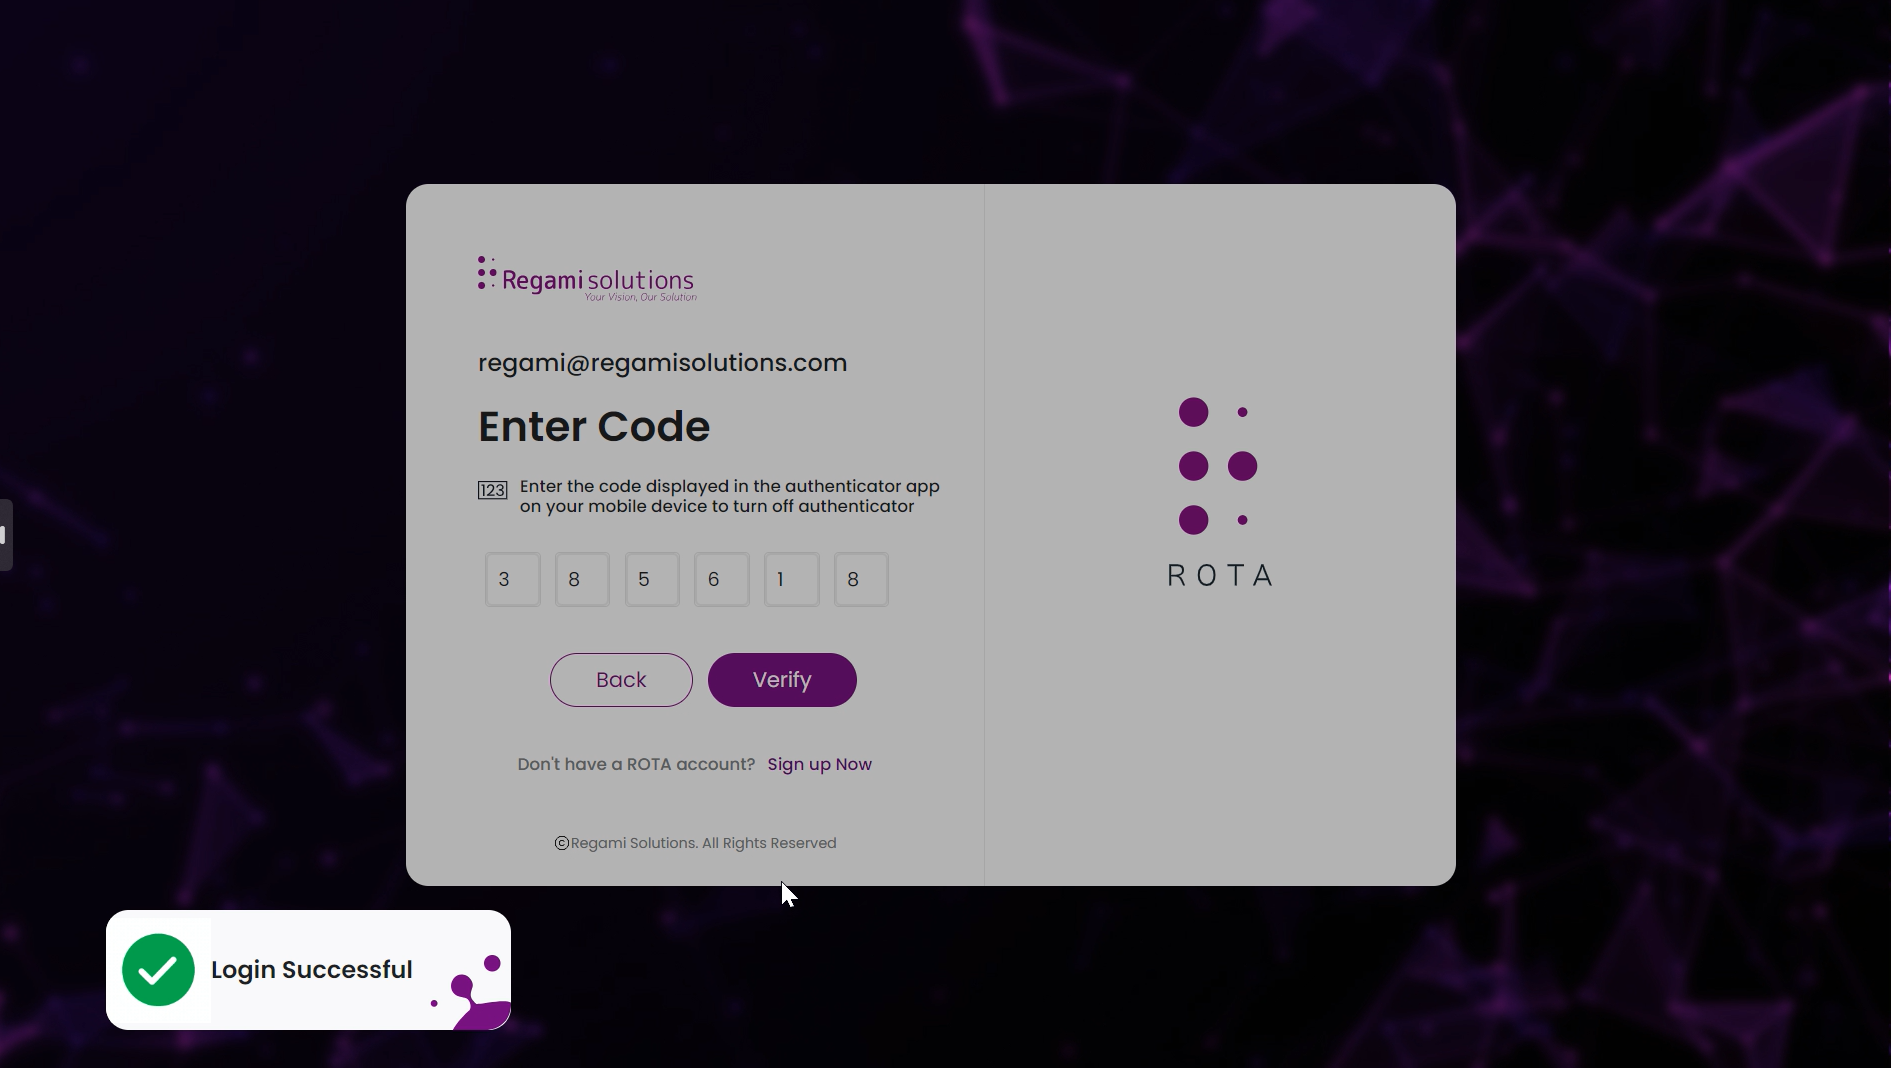
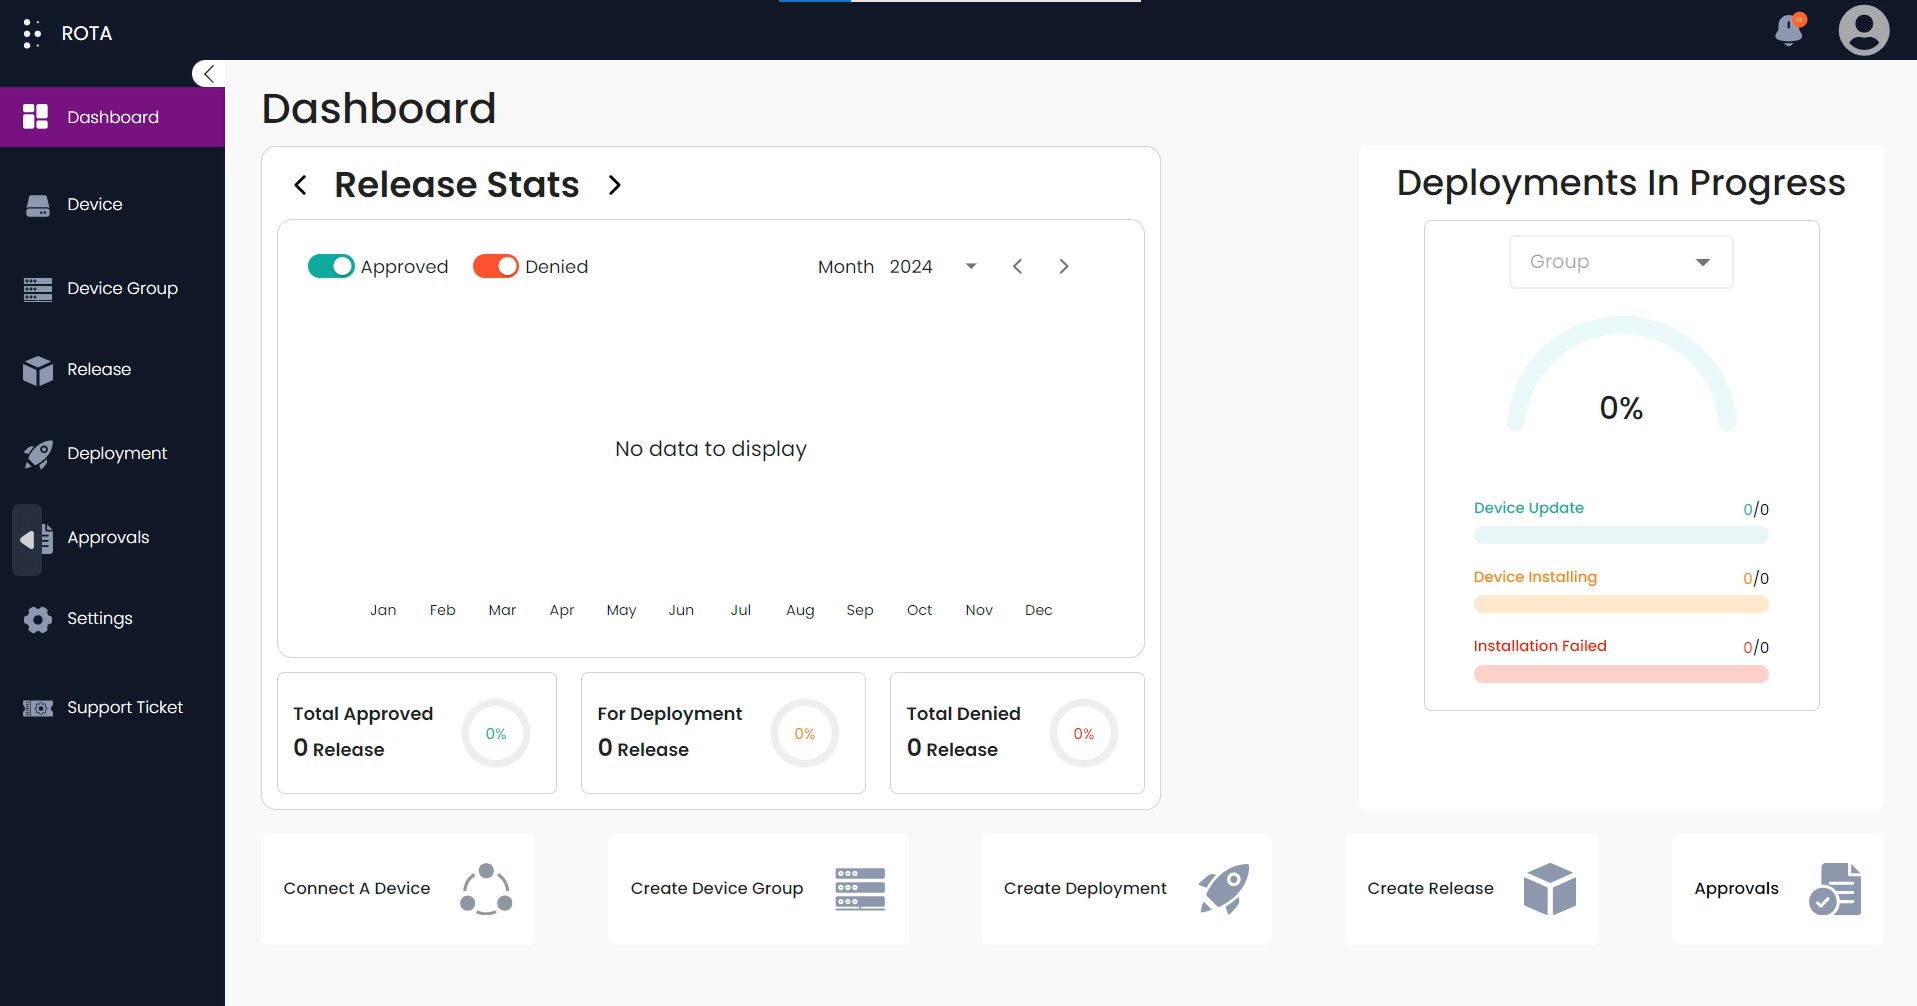
Step 4: A notification will confirm a successful login, and you will be granted access to the portal.”
Disable Multi-Factor Authentication
Step 1: Position your pointer over the added Authenticator and click the Delete icon.
Step 2: Similarly, you can disable MFA using one of two methods: by entering the one-time code from the Authenticator app or by inputing the backup key you saved.
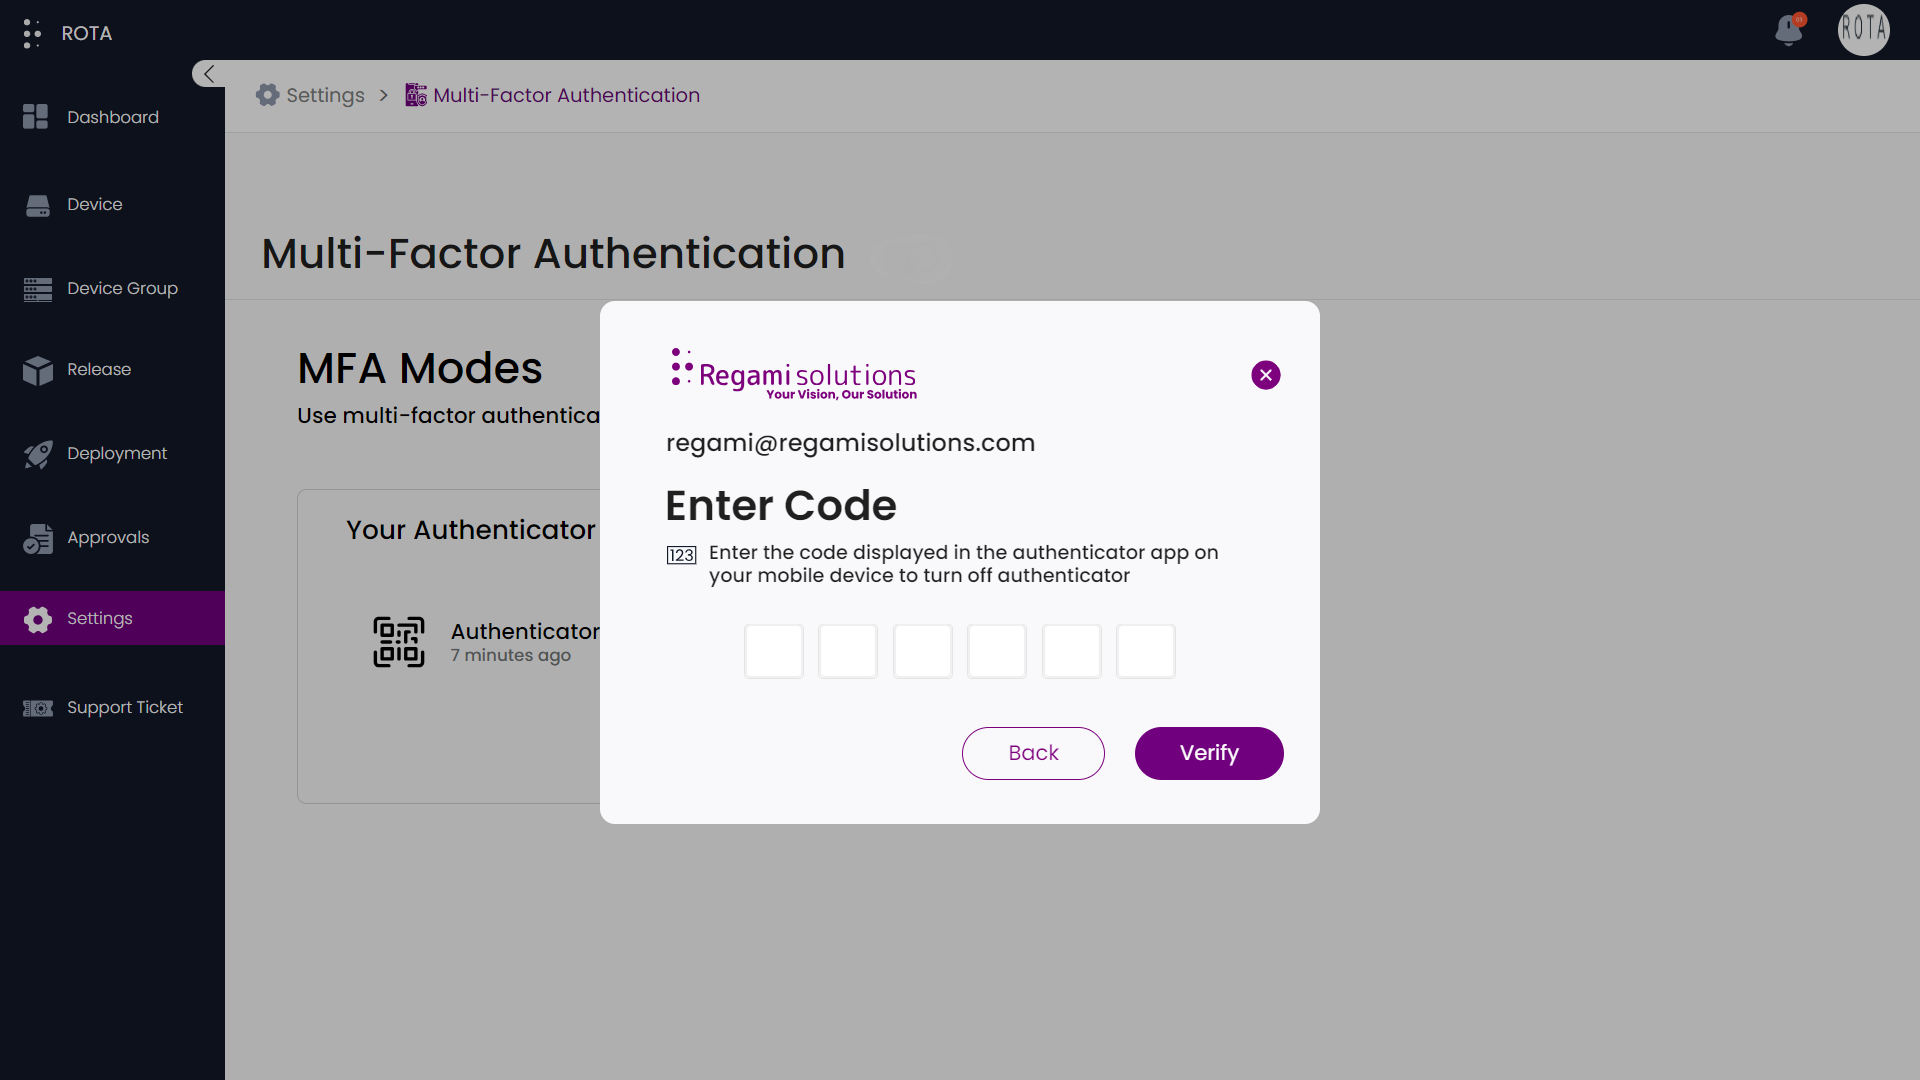
Step 3: If you choose the Authenticator app OTP option, click on it and enter the OTP from your mobile device, or alternatively, enter the backup key you saved, then click on Verify.
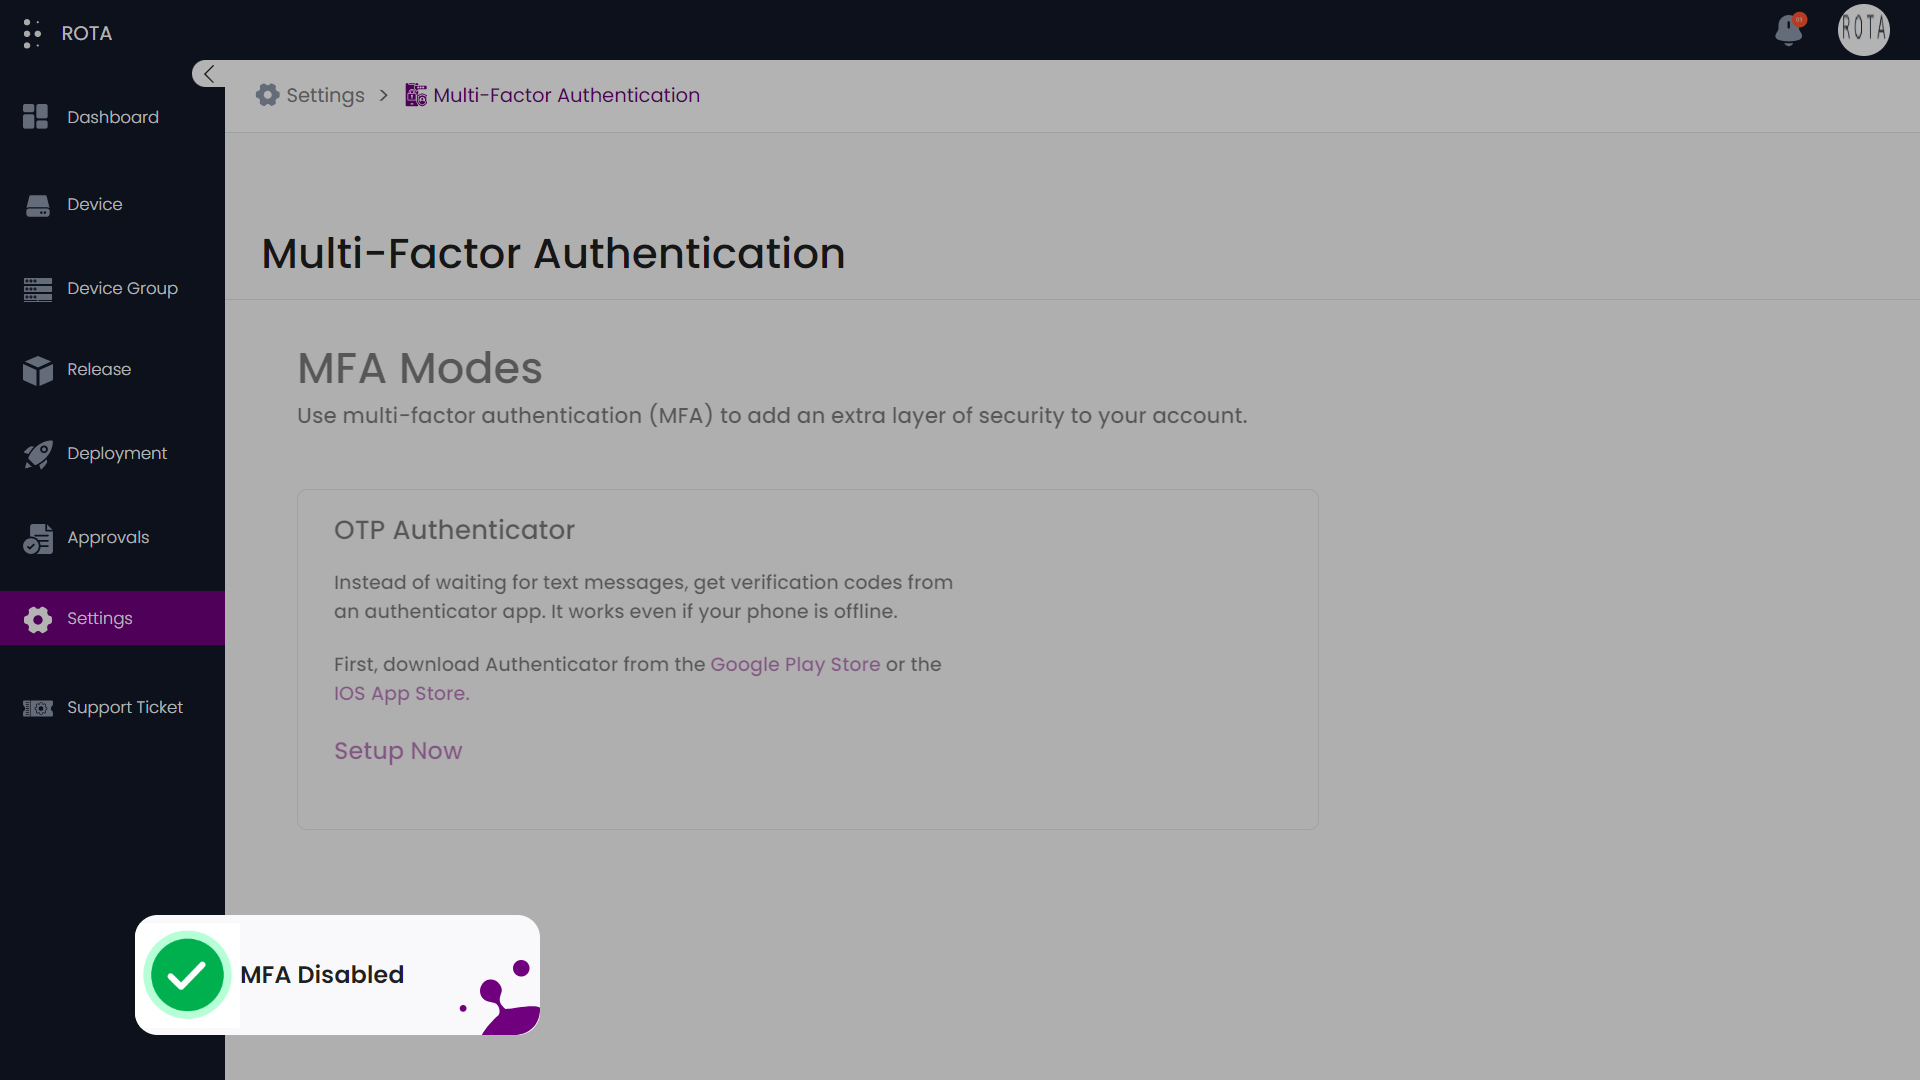
Step 4: The added MFA will be disabled, and a notification will be displayed to confirm the change.