Security Policy
Introduction
Our website’s password policy is designed to enhance security through stringent requirements for password complexity and regular updates.
Password Policy
Users must create passwords with a minimum length, incorporating a mix of uppercase and lowercase letters, numbers, and special characters. To further protect accounts, passwords must be changed on the mentioned days in the security policy. The maximum password age on our website forces users to change their password after a time period, The minimum password age restricts users from frequently changing passwords by making them wait between two password resets.
Allowed IP
In addition to these measures, our allowed IP policy ensures that users can only access their accounts from recognized and approved IP addresses, reducing the risk of unauthorized access from unfamiliar locations.
Web Session Management
We implement automatic session timeouts and require re-authentication after periods of inactivity. These combined strategies help fortify our website against potential security threats and safeguard user data.
Create a new Security Policy
To create a new Security Policy, follow the steps below.
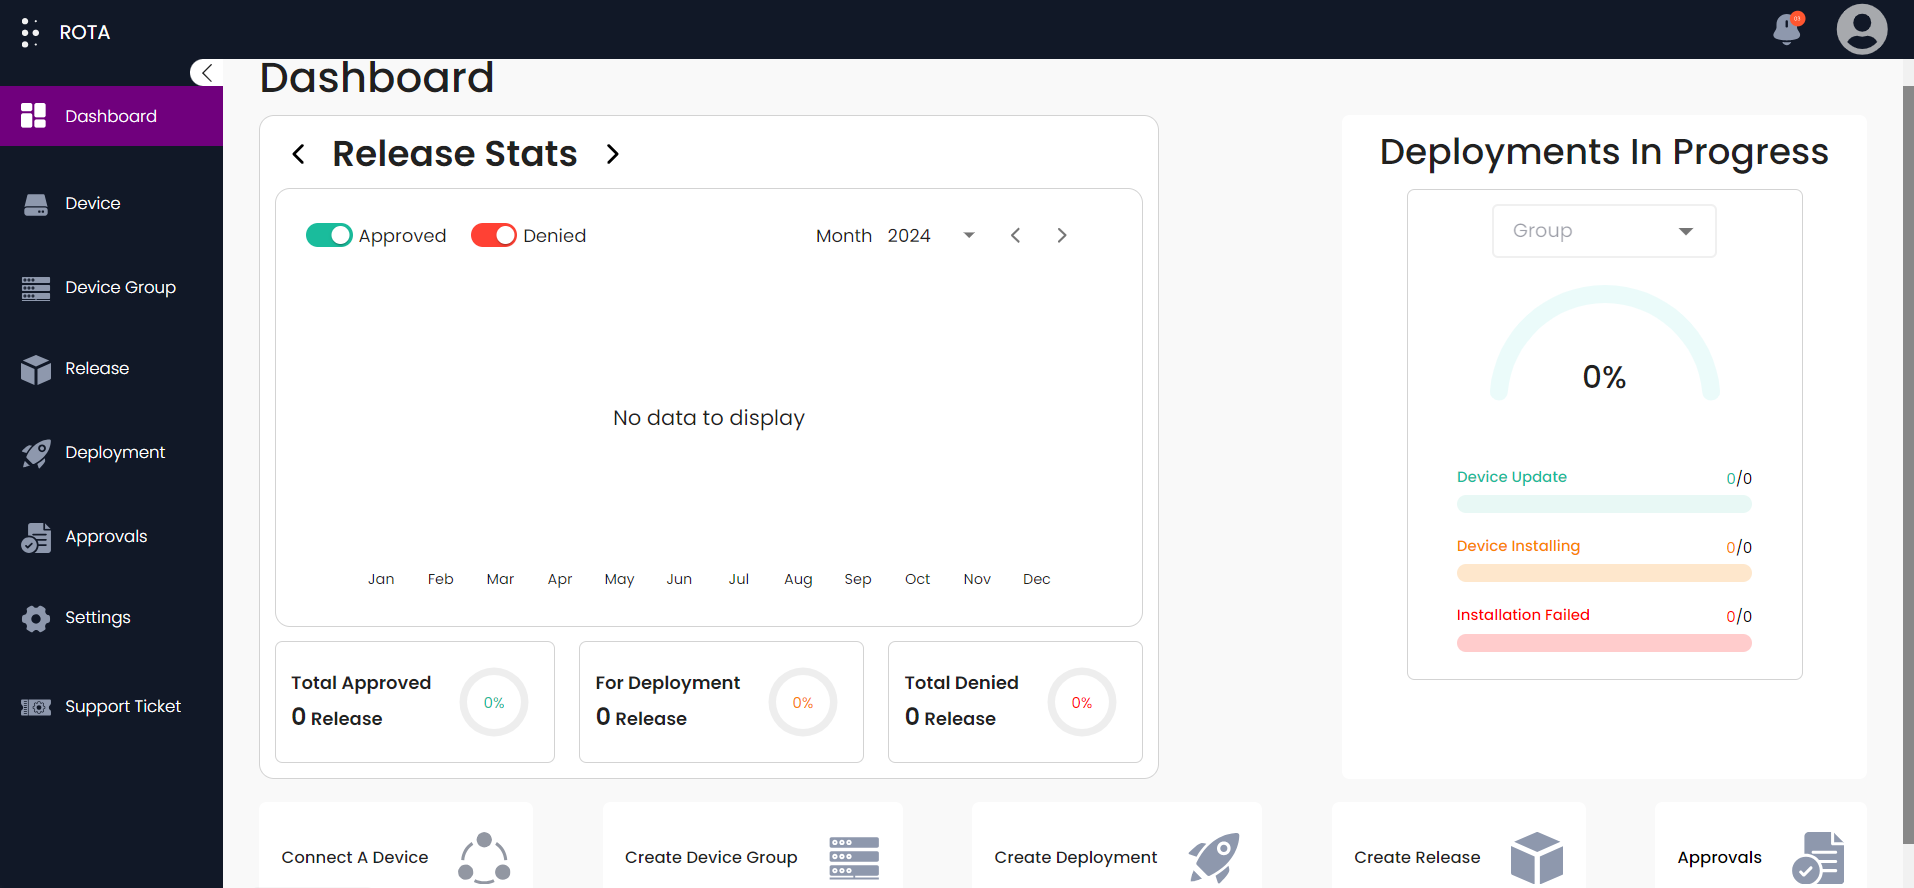
Step 1: Open the ROTA Customer Portal Dashboard and Click on Settings in the Rota Customer Portal menu.
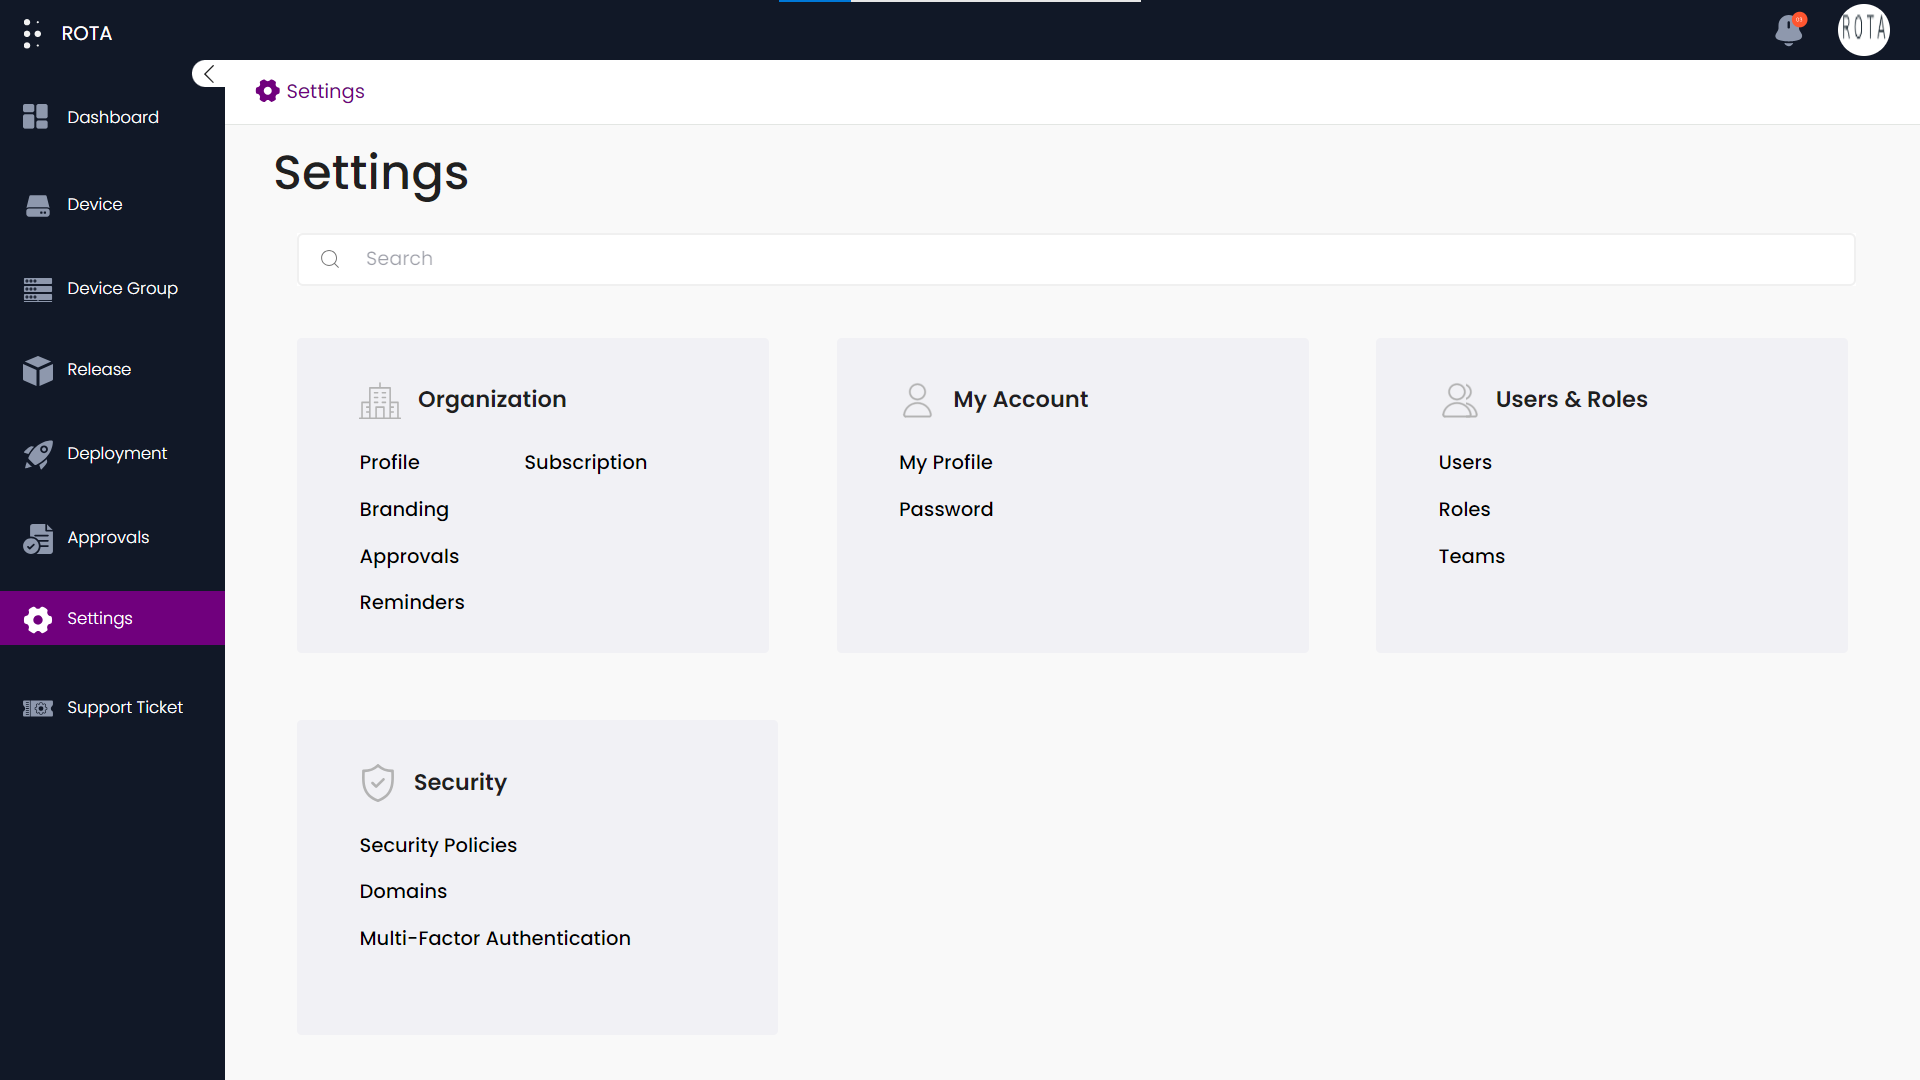
Step 2: Click on Security Policy in the Security section.
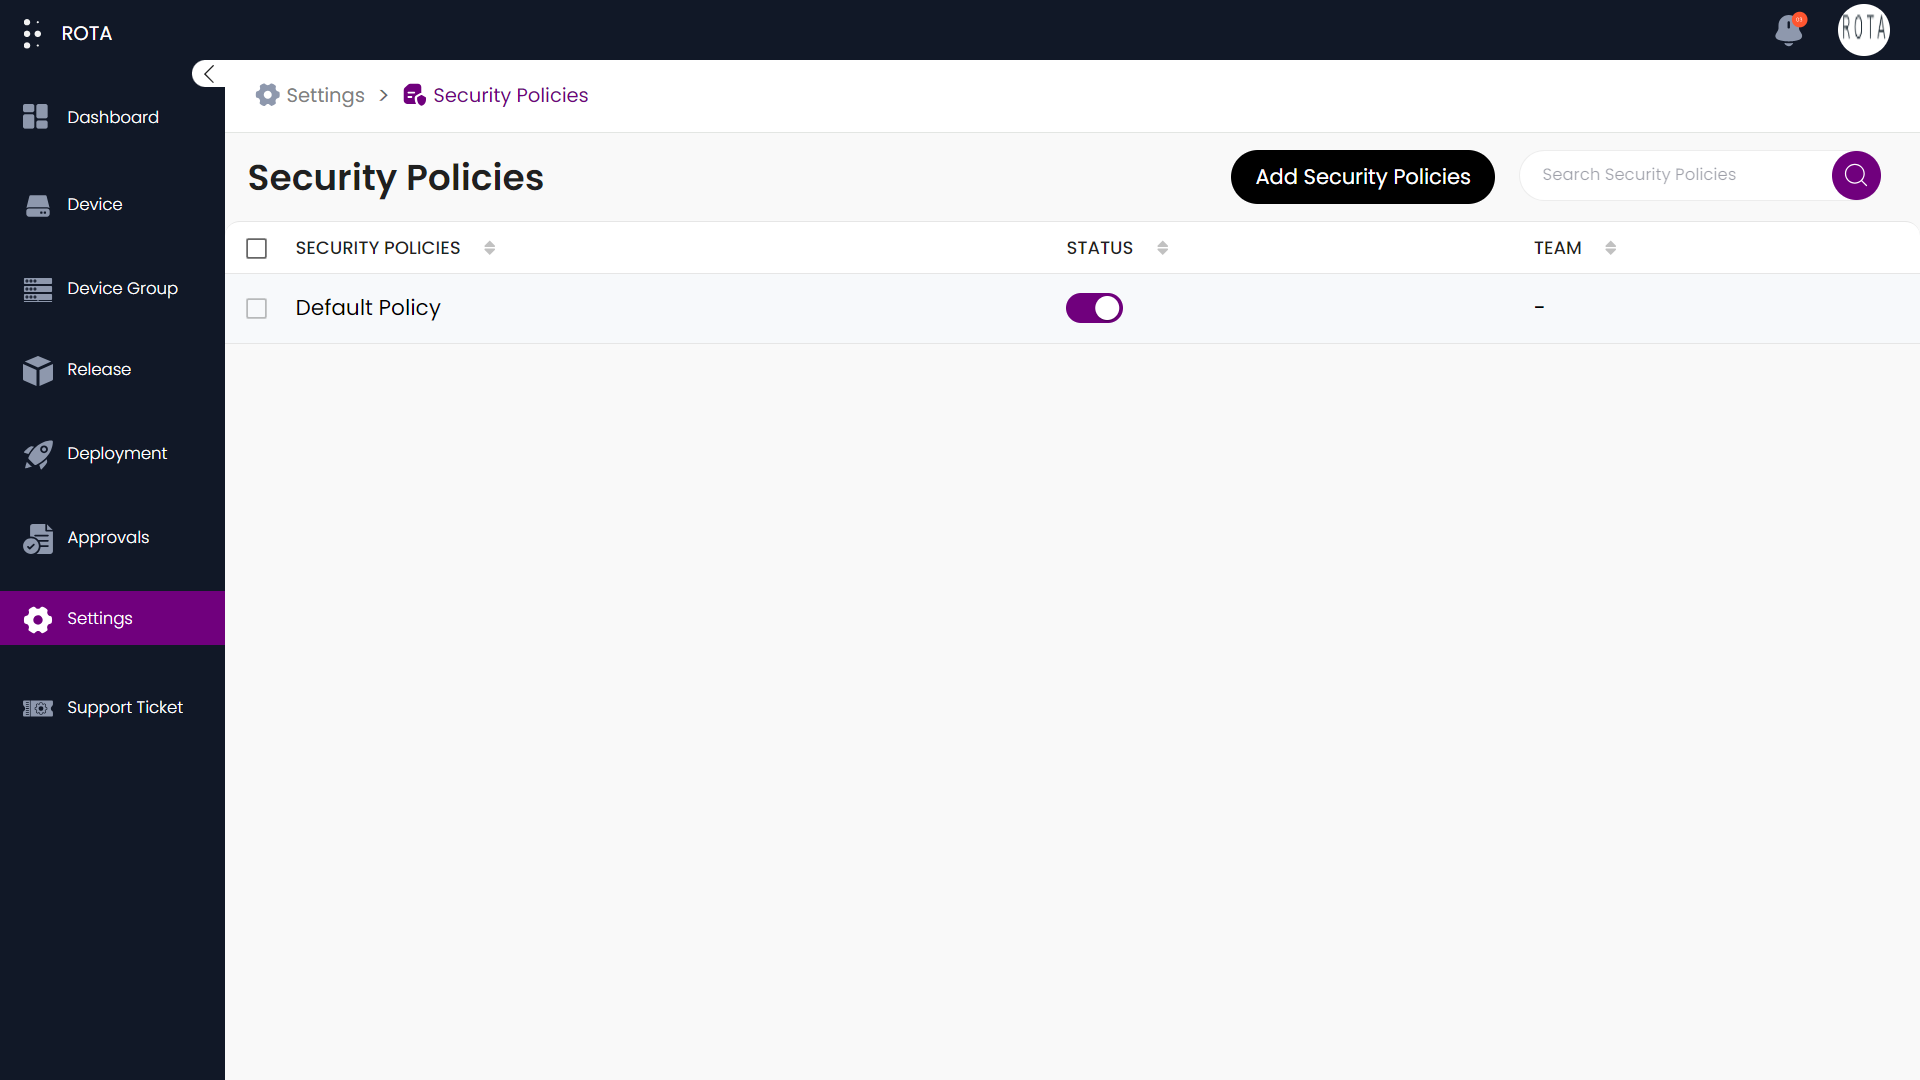
Step 3: Click on the Add Security Policies button.
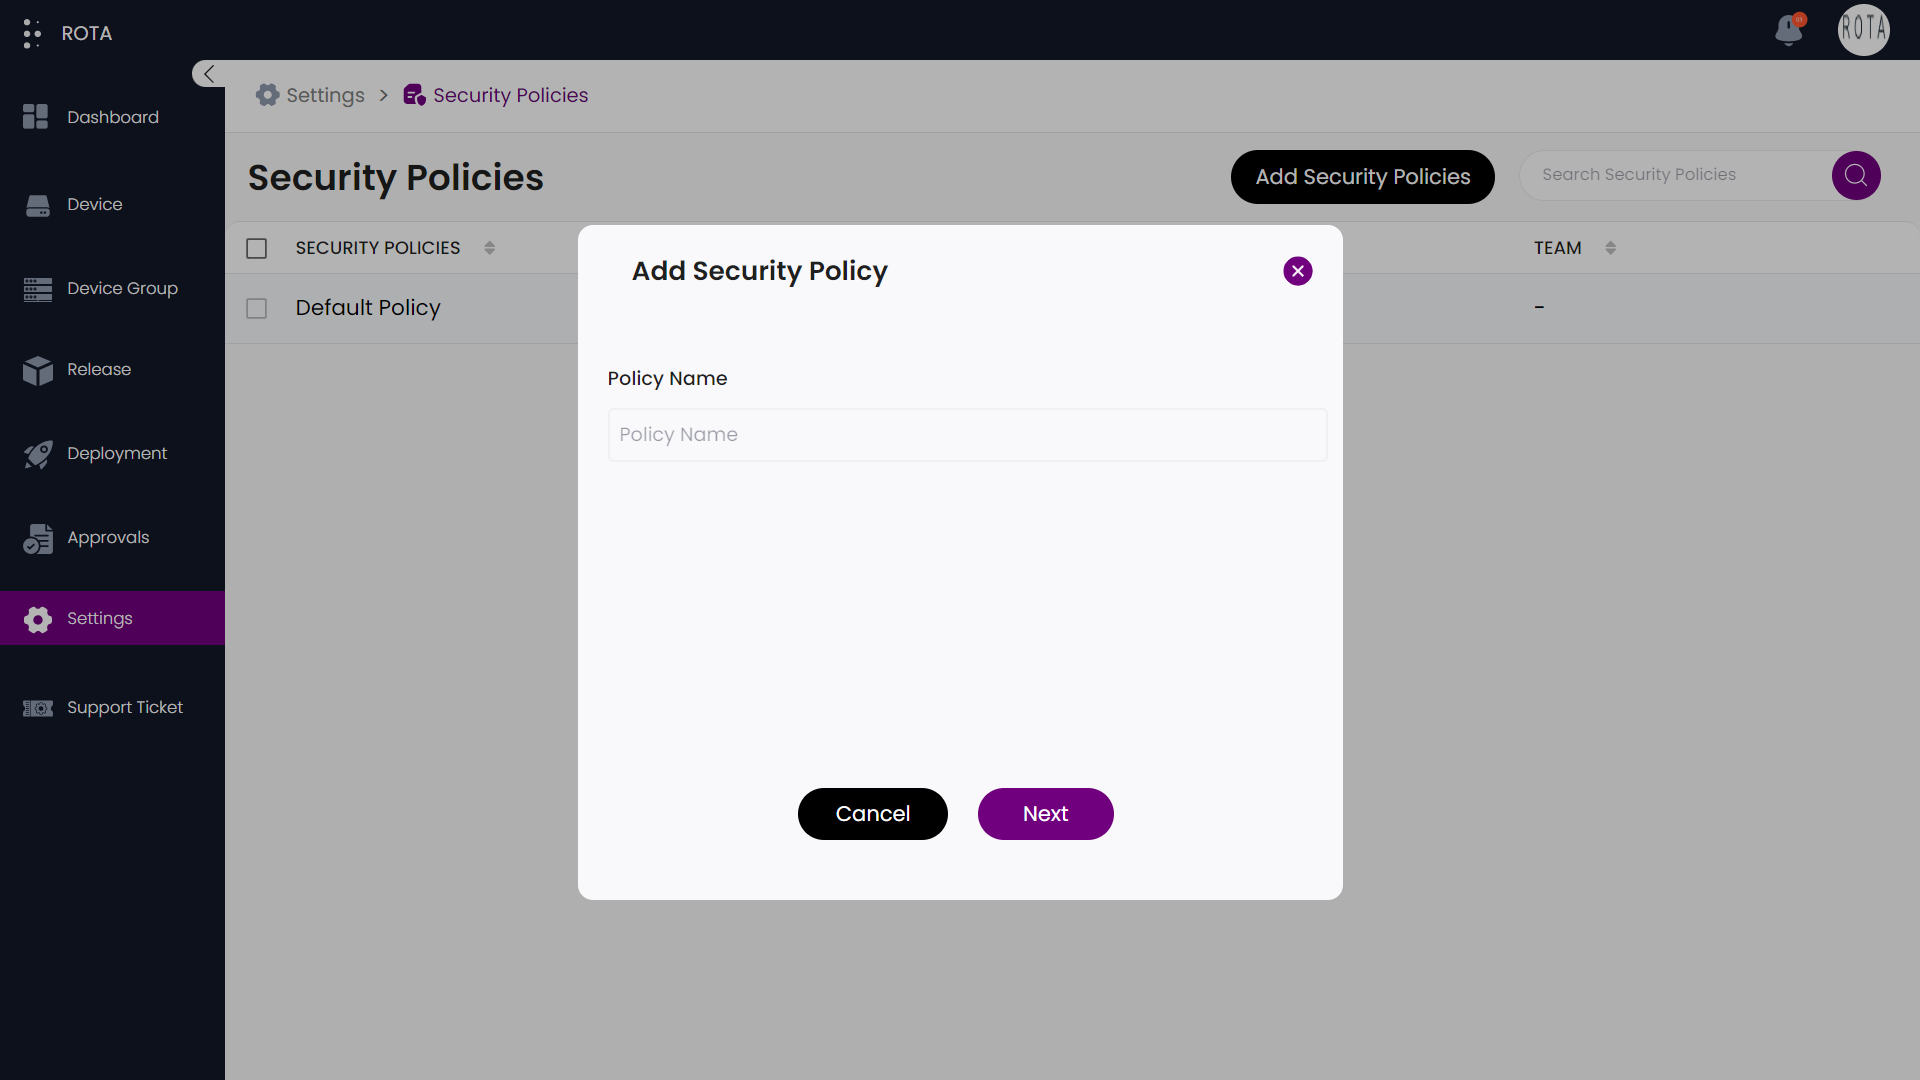
Step 4: Add Policy Name and click on Next.
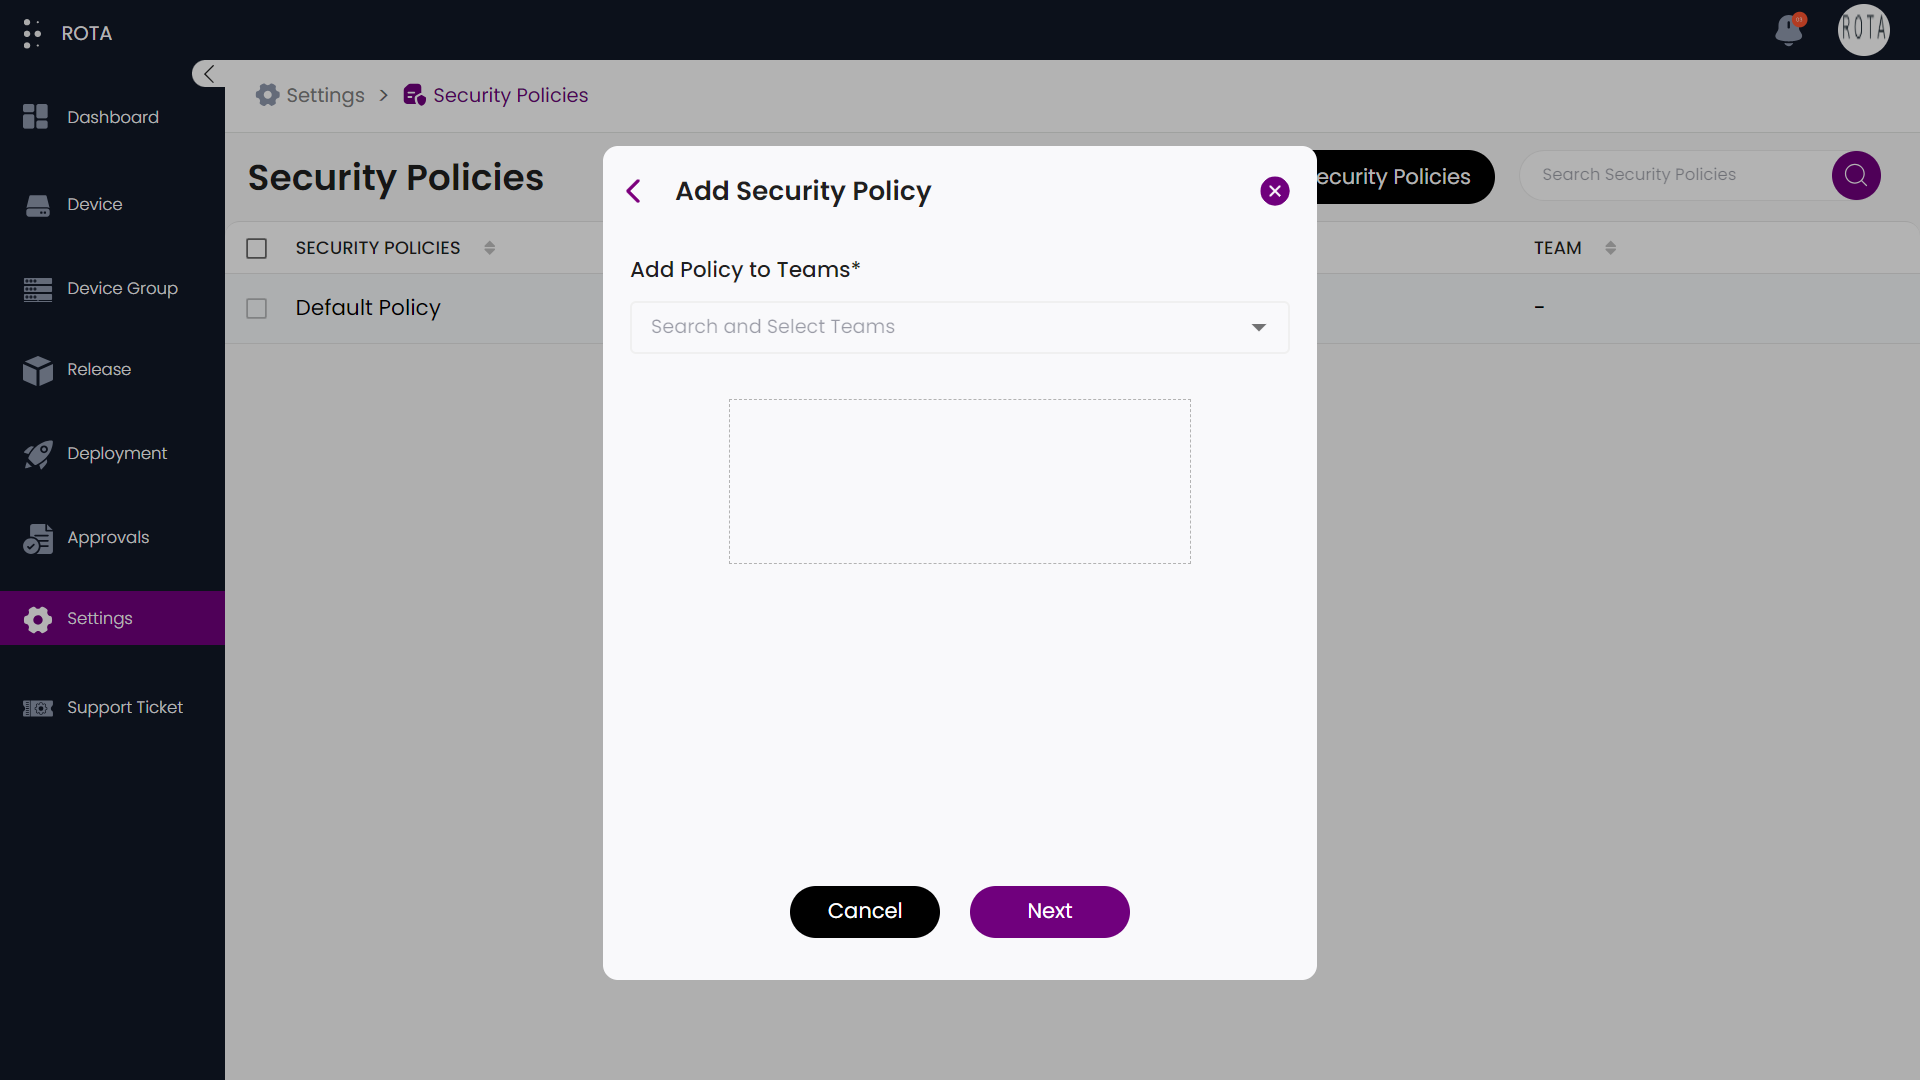
Step 5: Select the Teams to which you want to apply the new Security Policy.
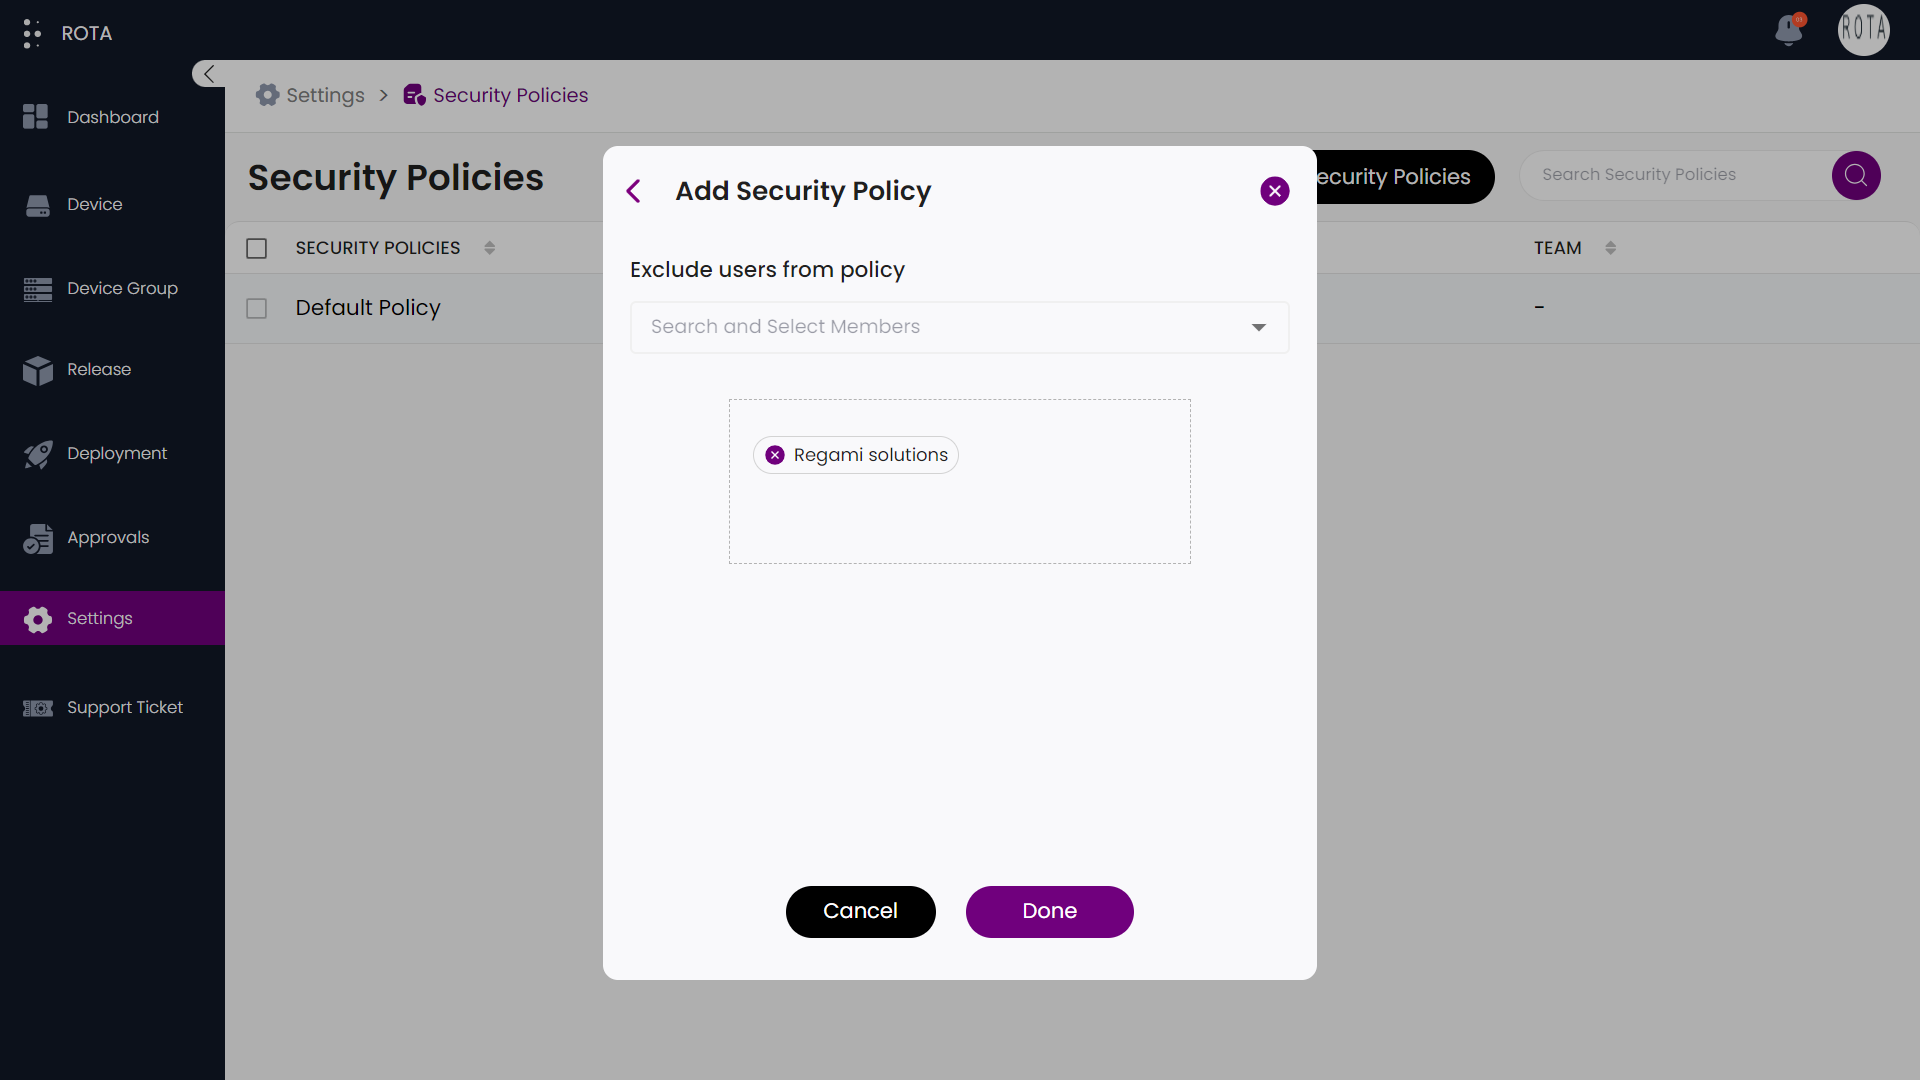
Step 6: Select the users, if you want to exclude from this policy.
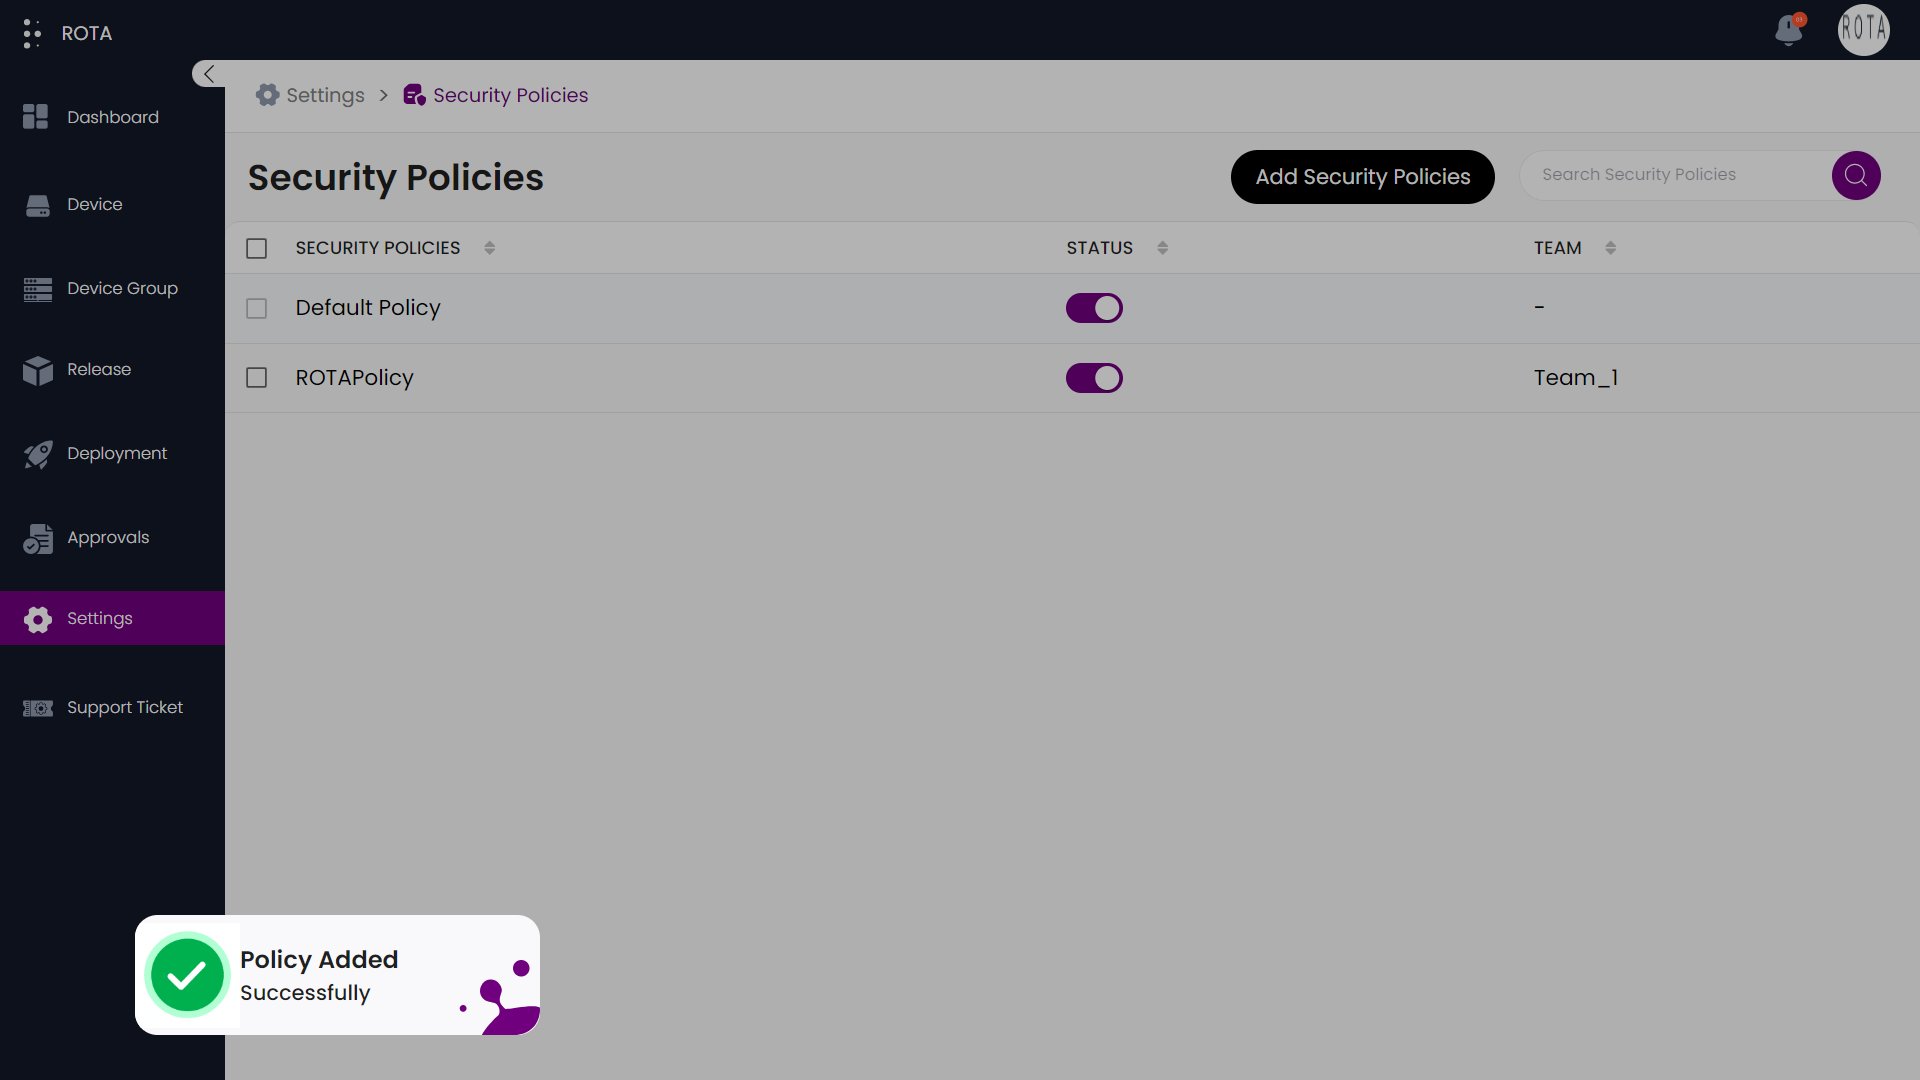
A New Security Policy is successfully created.
Configure Password Policy
Note
Make sure you save the settings after configuring the security policy.
To configure the Password Policy, follow the steps below.
Step 1: Open the ROTA Customer Portal Dashboard and Click on Settings in the Rota Customer Portal menu.
Step 2: Click on Security Policy in the Security section.
Step 3: Select a Security Policy.
Step 4: Configure the Password Policies.
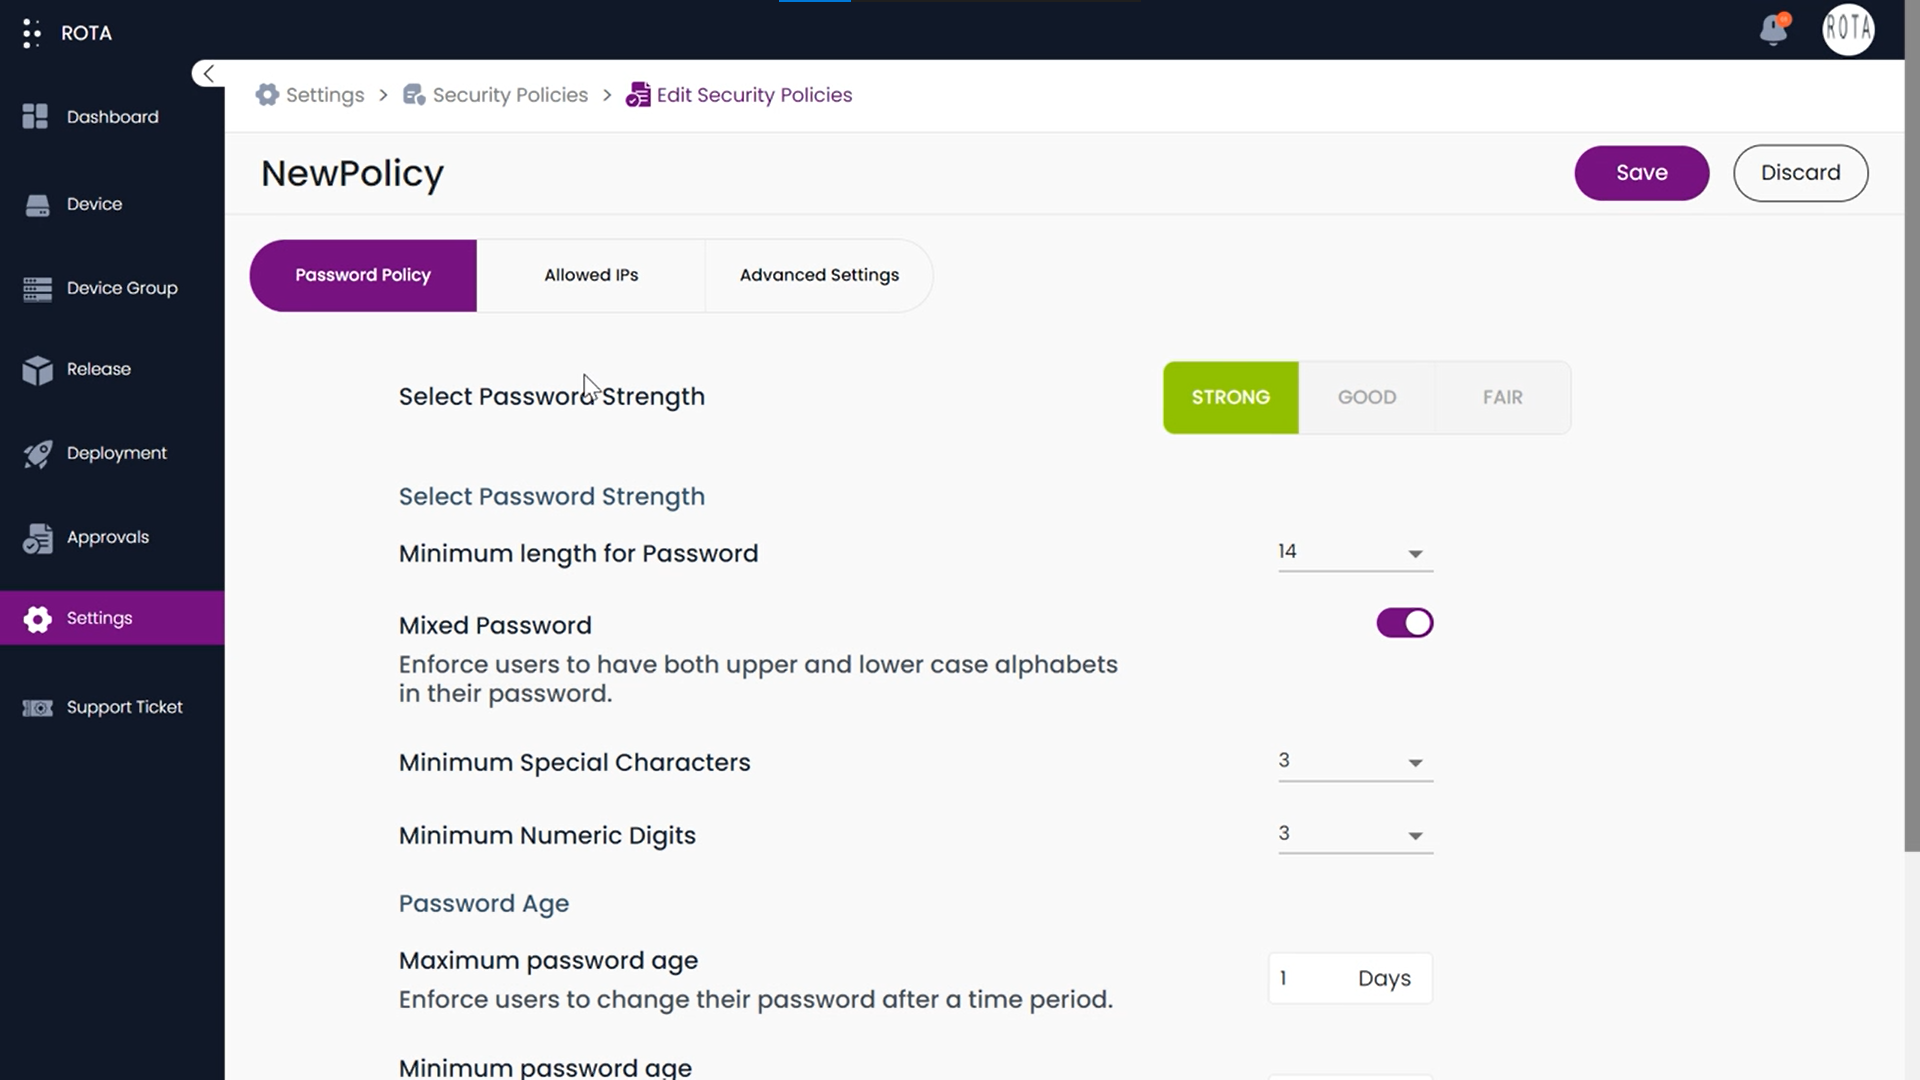
Step 5: Click on the Reset Password Policy button to update the new Password Policy.

Step 6: Make Sure you click on the Save button to apply the settings.
Allow IP address
Note
Make sure you save the settings after configuring the security policy.
To add an IP address, follow the steps below.
Step 1: Open the ROTA Customer Portal Dashboard and Click on Settings in the Rota Customer Portal menu.
Step 2: Click on Security Policy in the Security section.
Step 3: Select a Security Policy and click on Allowed IPs to add the IP.
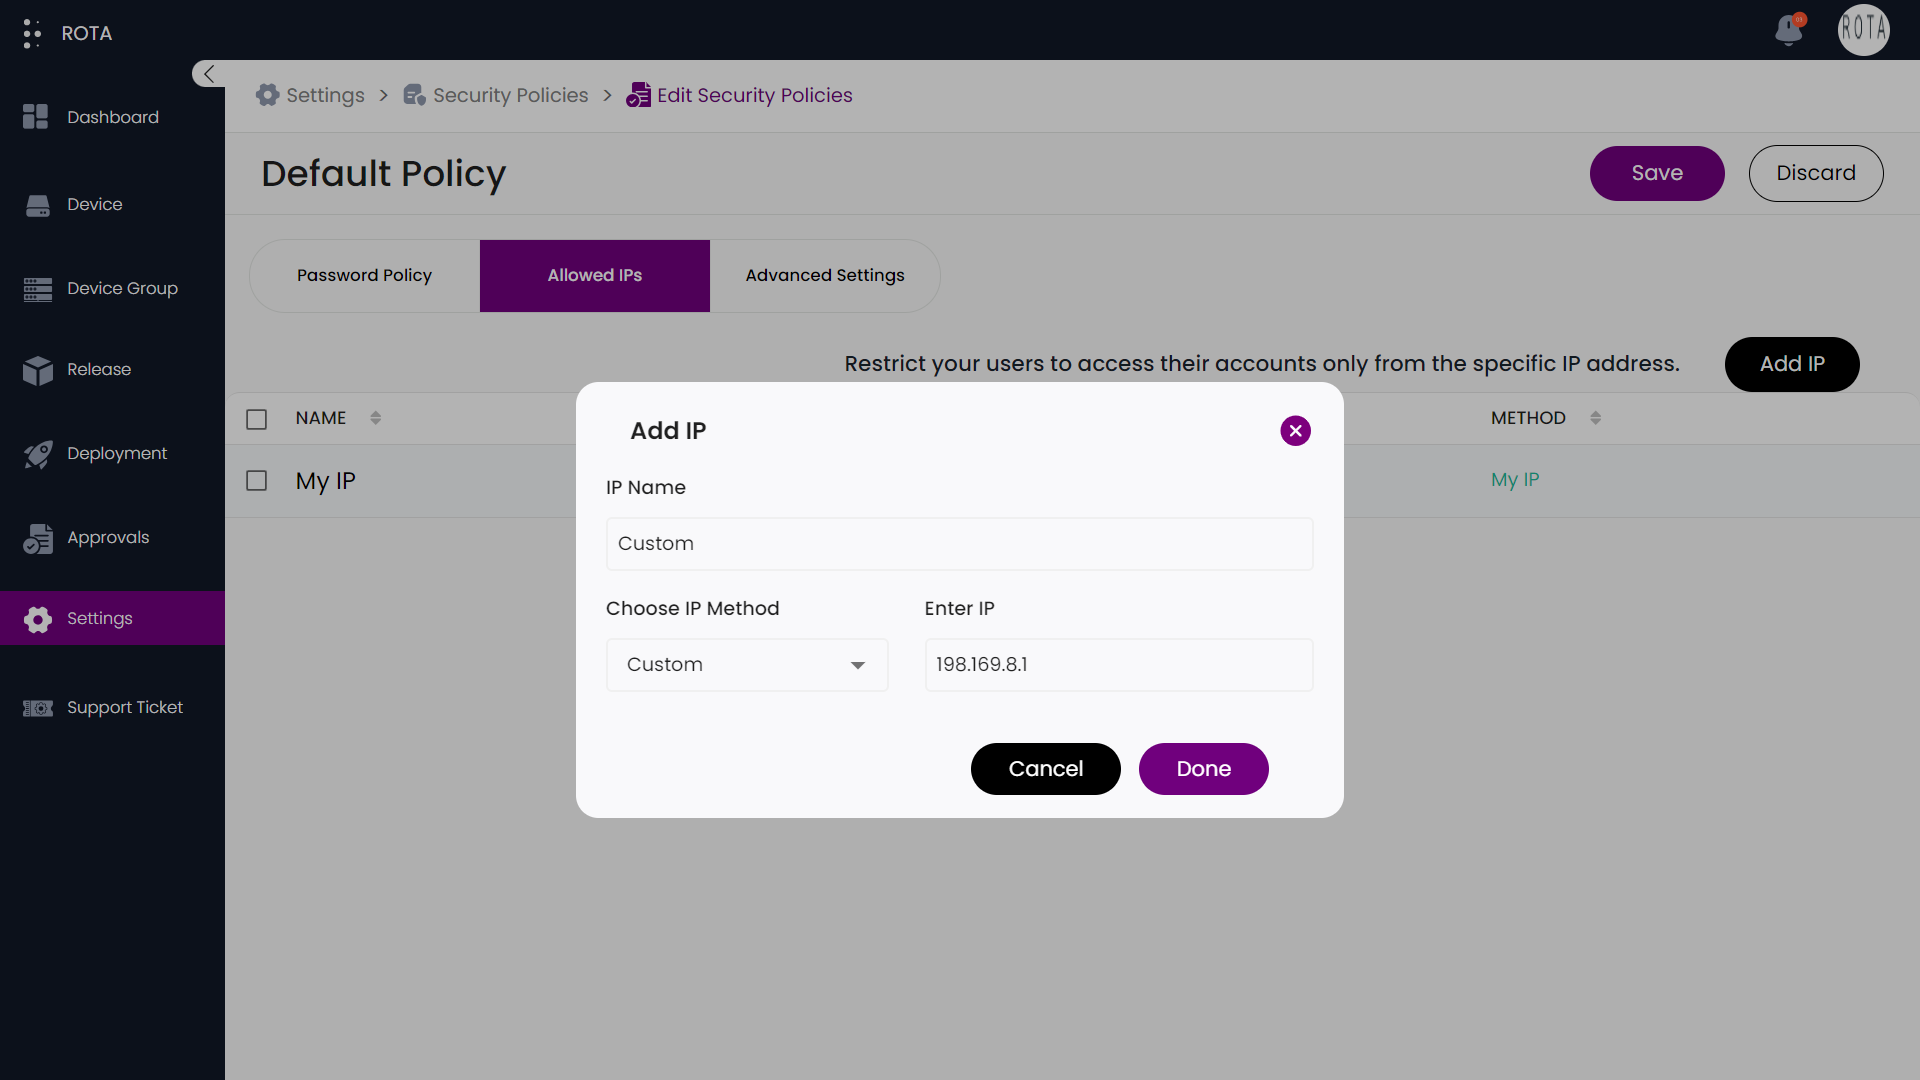
Step 4: Add IP name, IP method and IP address.
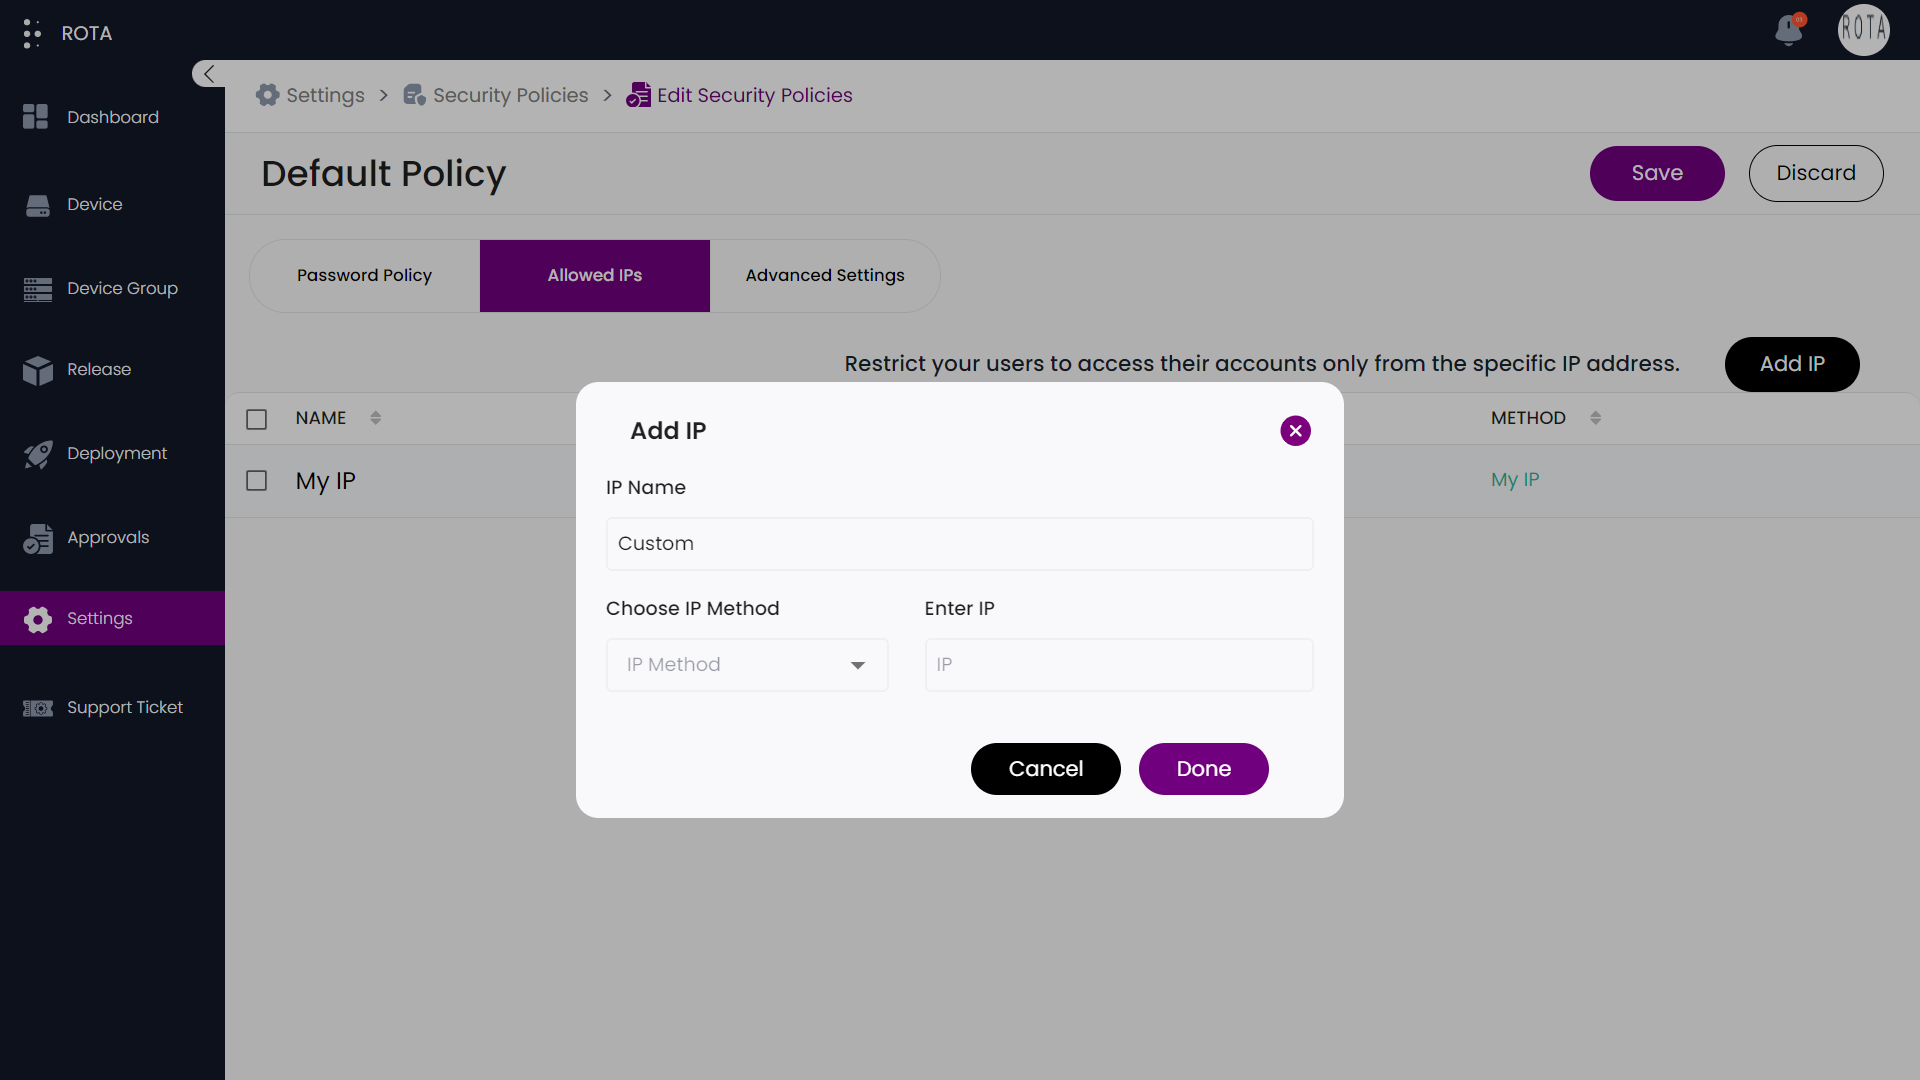
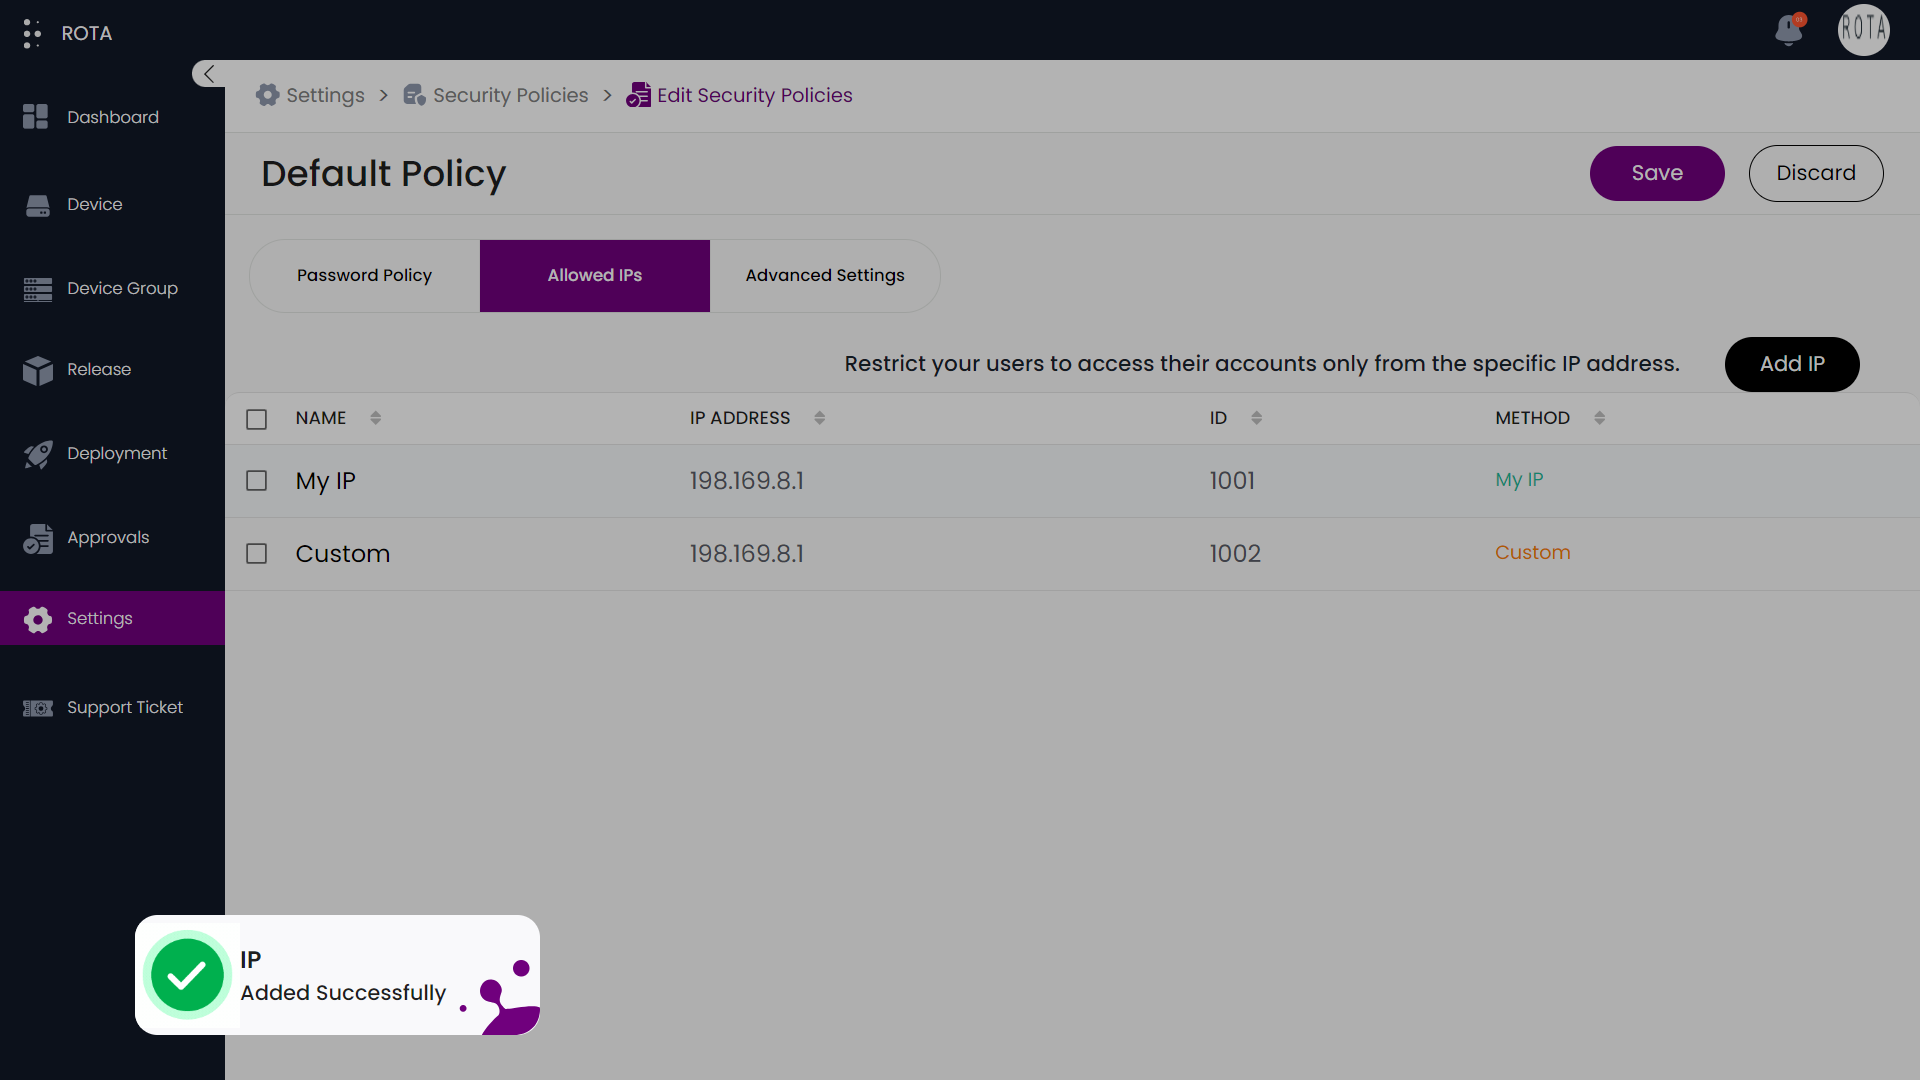
Step 5: Click on the Done button after entering the details.
IP will be added successfully.
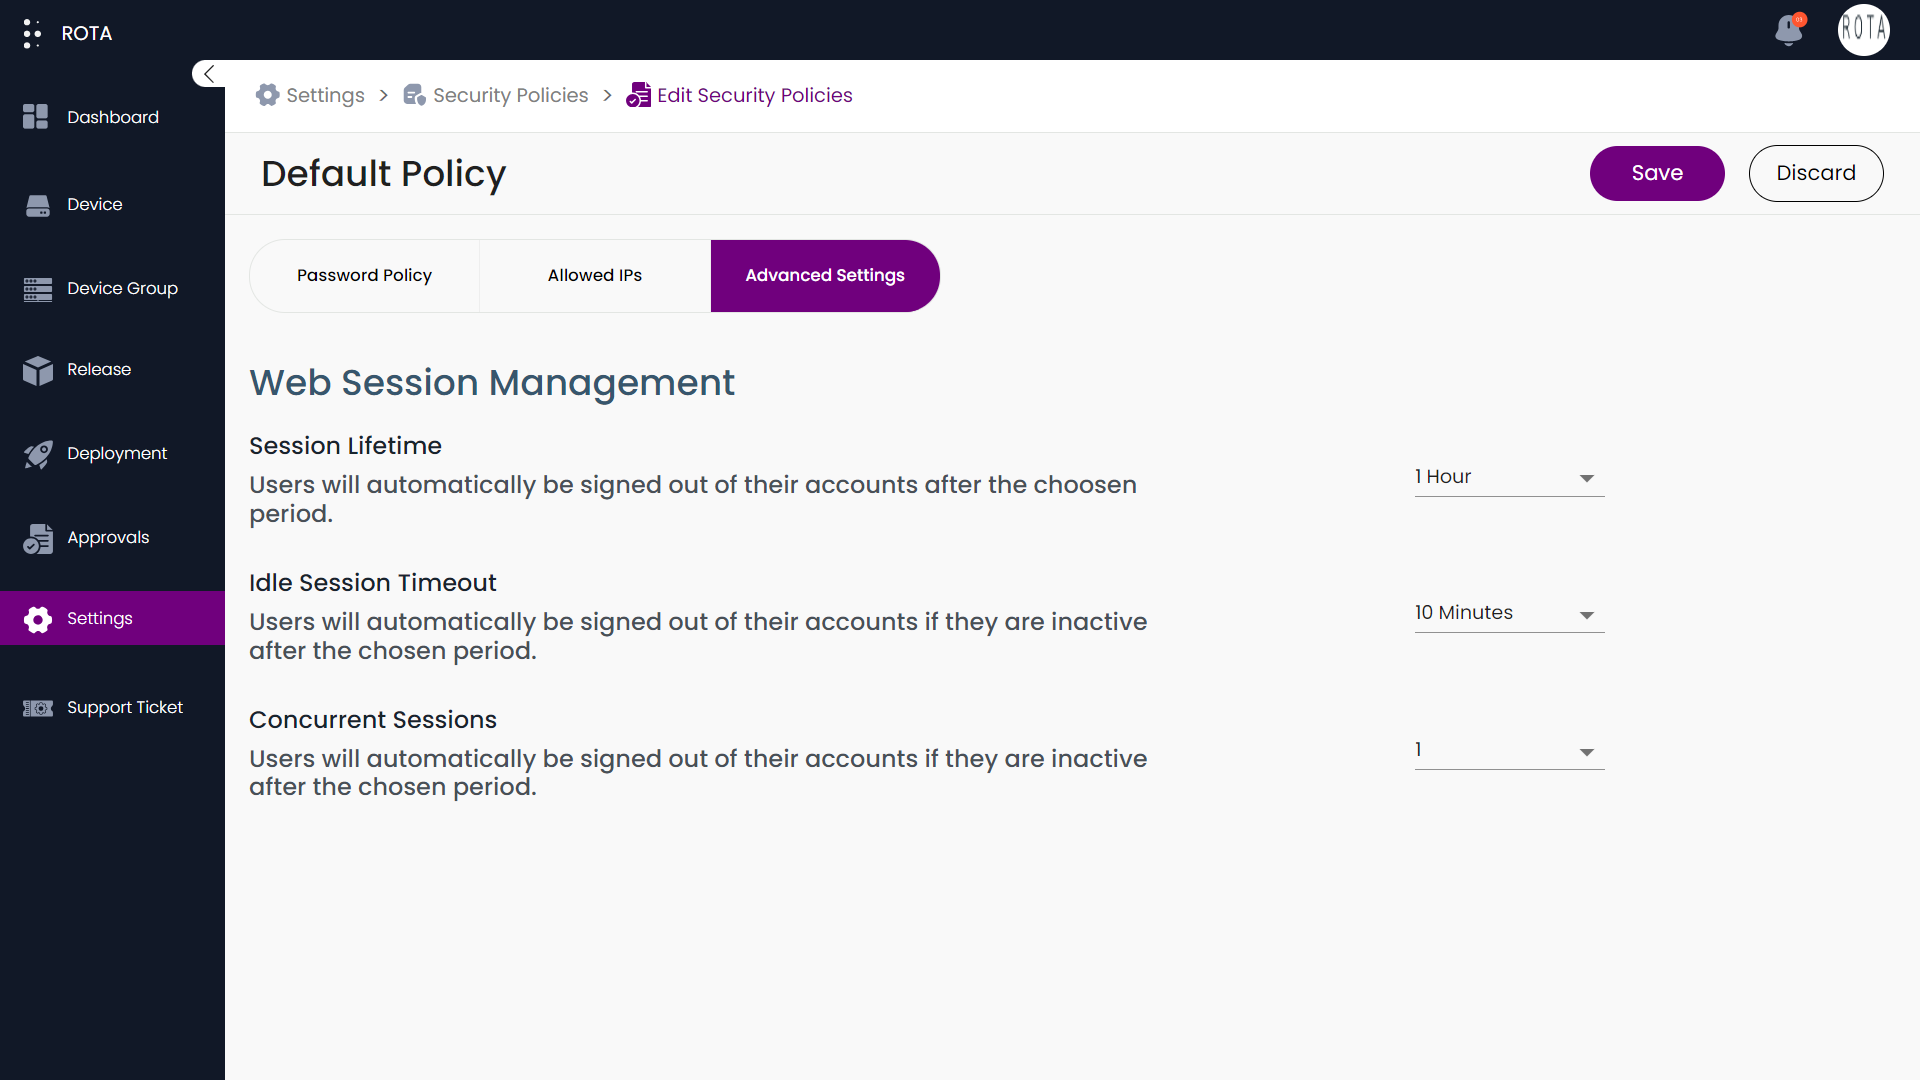
Web Session Management
Note
Make sure you save the settings after configuring the security policy.
To configure the login session settings, follow the steps below.
Step 1: Open the ROTA Customer Portal Dashboard and Click on Settings in the Rota Customer Portal menu.
Step 2: Click on Security Policy in the Security section.
Step 3: Select a Security Policy and click on Advanced Settings.
Step 4: Configure the Session Lifetime and Click on the Save button.
Note
Make Sure you click on the Save button to apply the settings.