Users
Introduction
This section will display a list of users with all details including their name,role,mobile number, email, and security policy.
Steps to navigate to the Users page in the Admin Portal:
To view all the users in the ROTA admin portal, follow these steps:
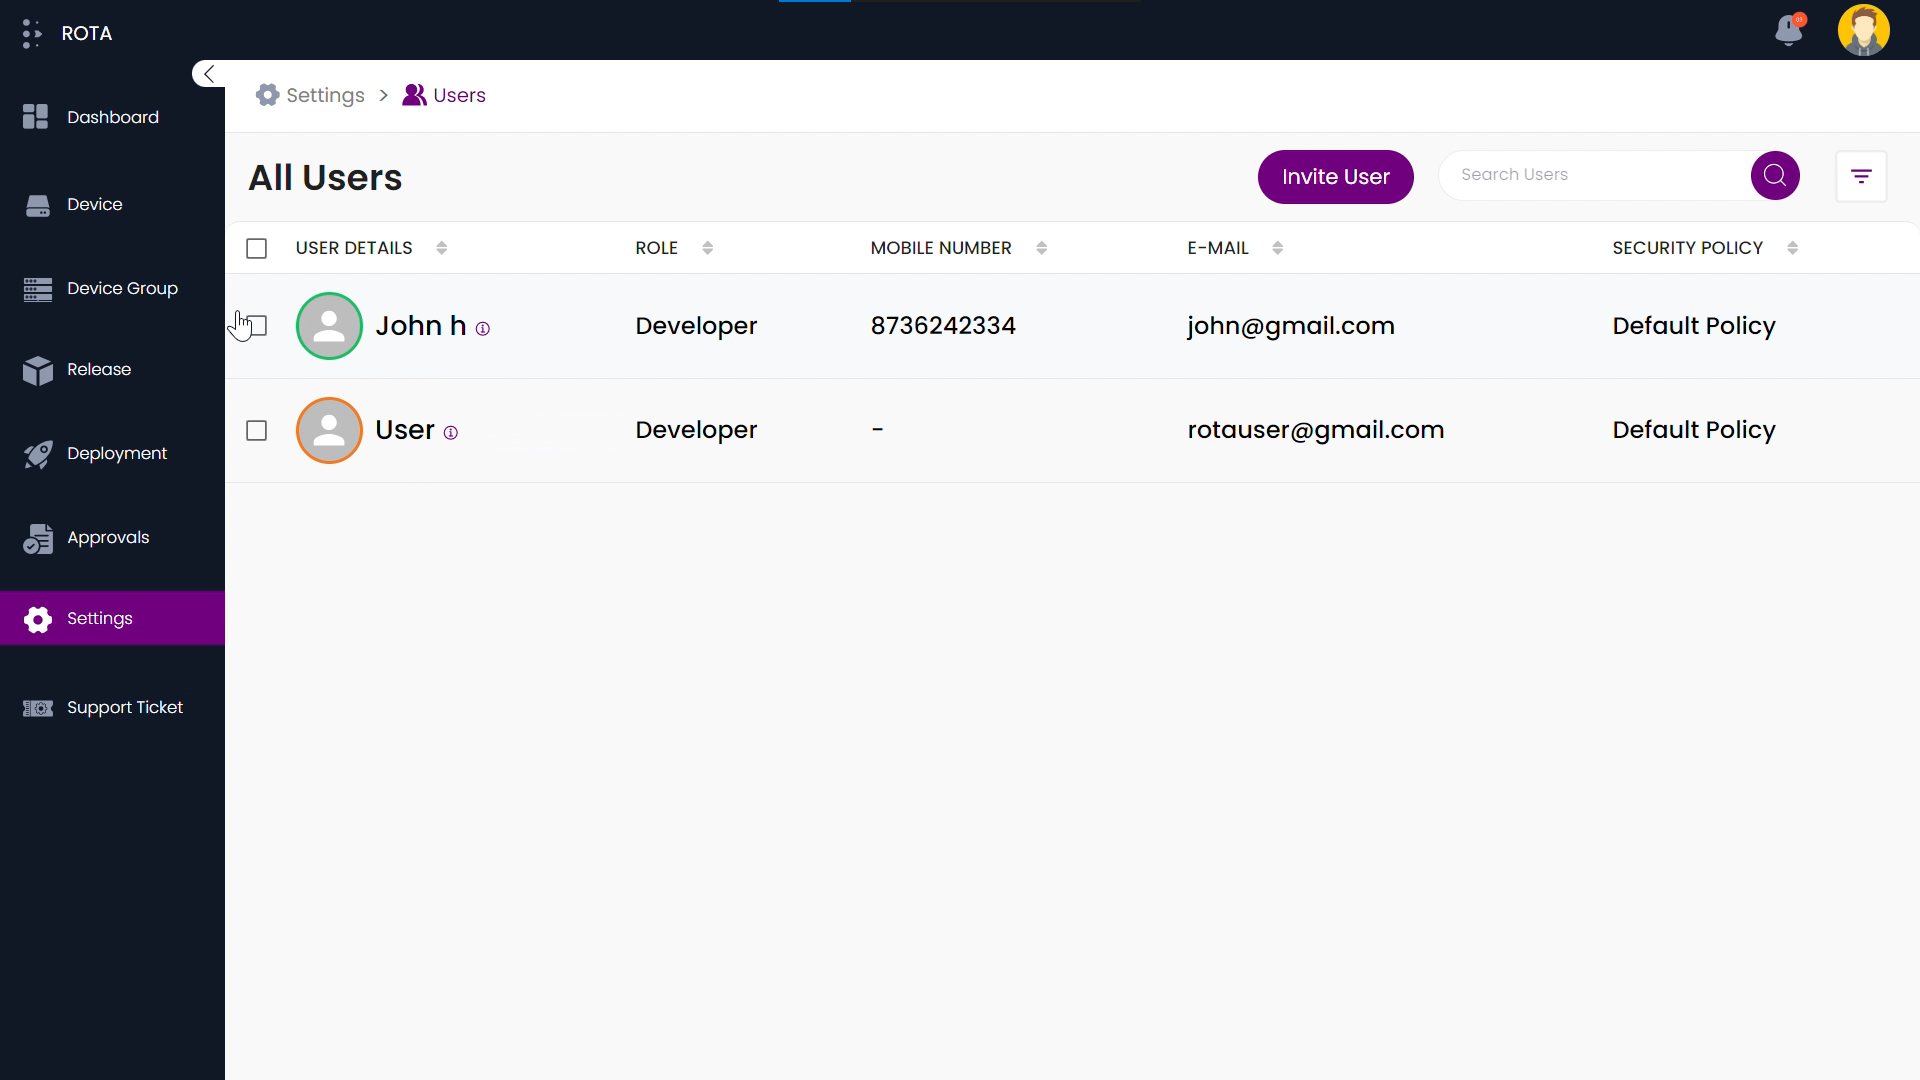
Step 1: Click on Settings in the sidebar.Under the Users and Roles section, select the Users option.

Step 2: This page will list all the users in the Customer Portal.
Invite User
Steps to Invite the user
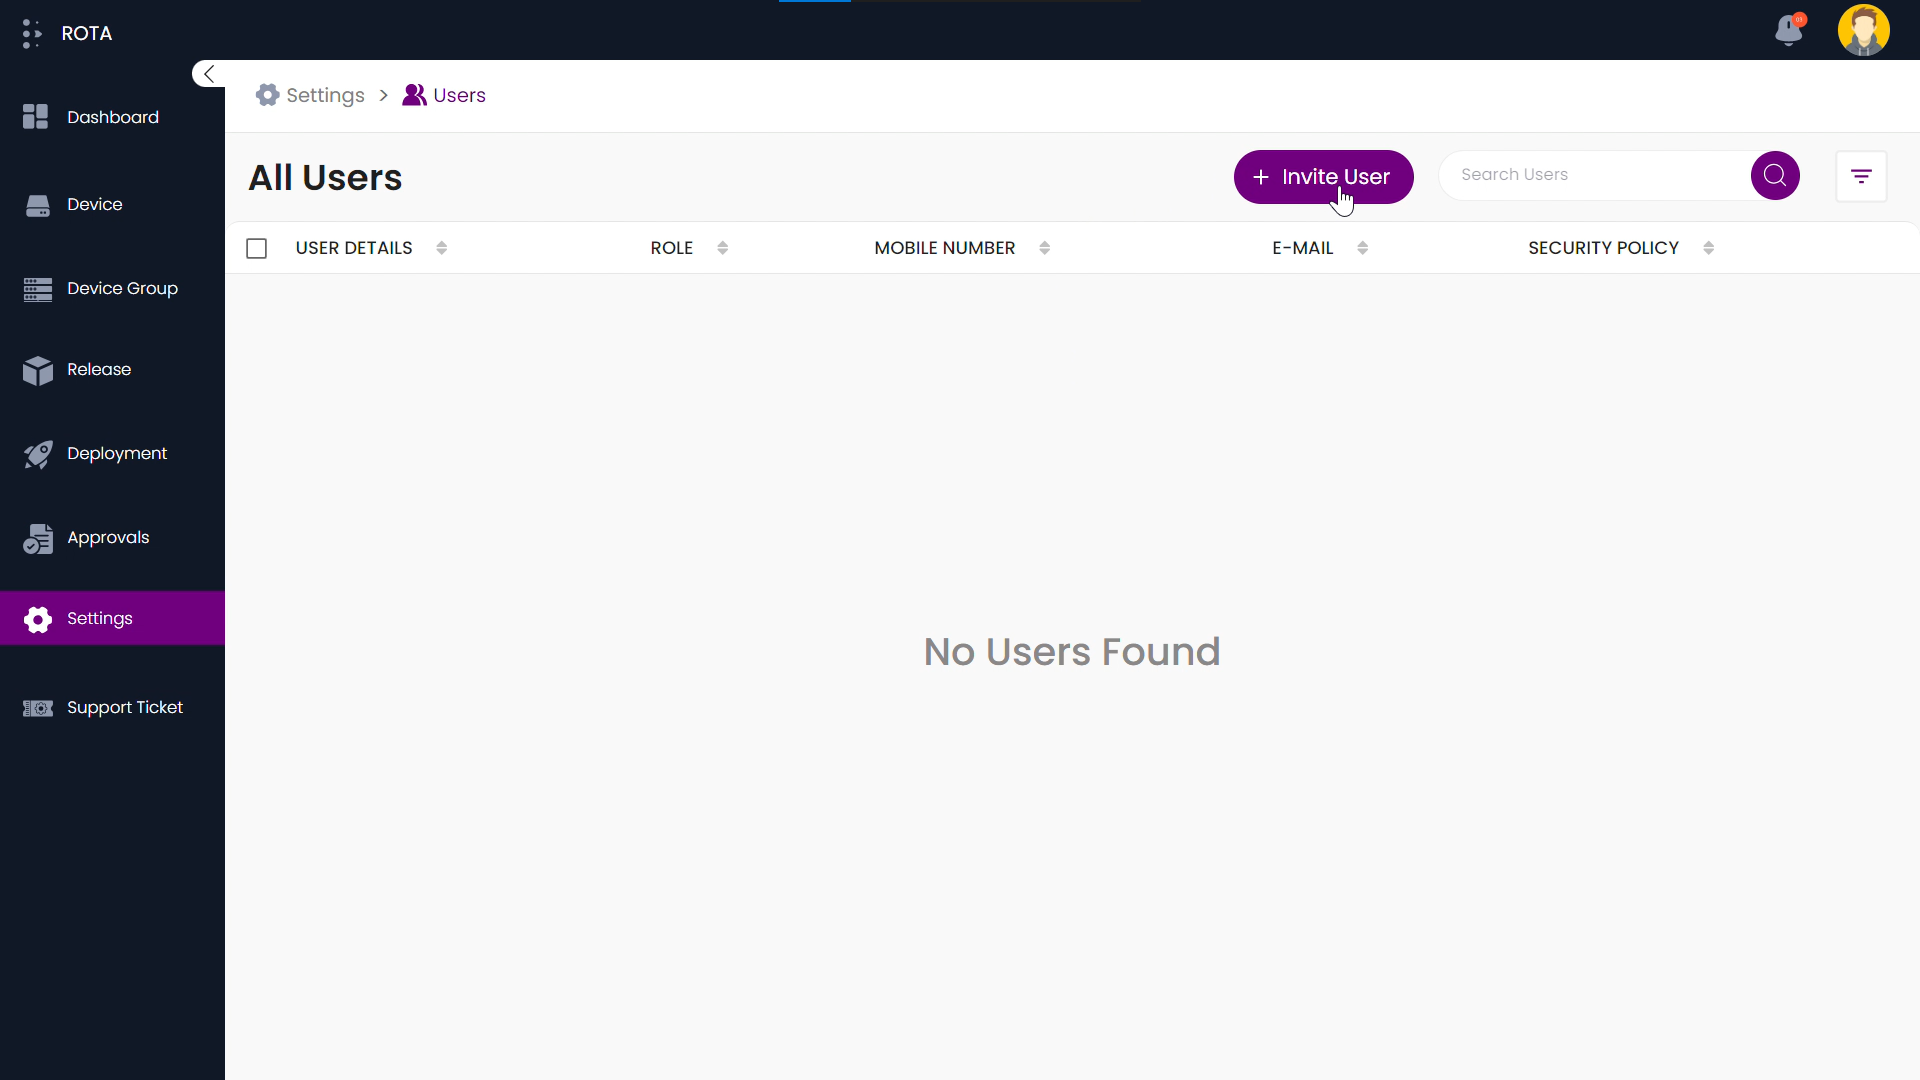
Step 1: Navigate to the Users Page and Click on the “Invite user” button.
Step 2: Enter User Details like Name, Email ID, Display Name, and Role.

Step 3: Choose the appropriate policy from the dropdown menu. Click “Save” to send the invitation or Click “Discard” to cancel the invitation.

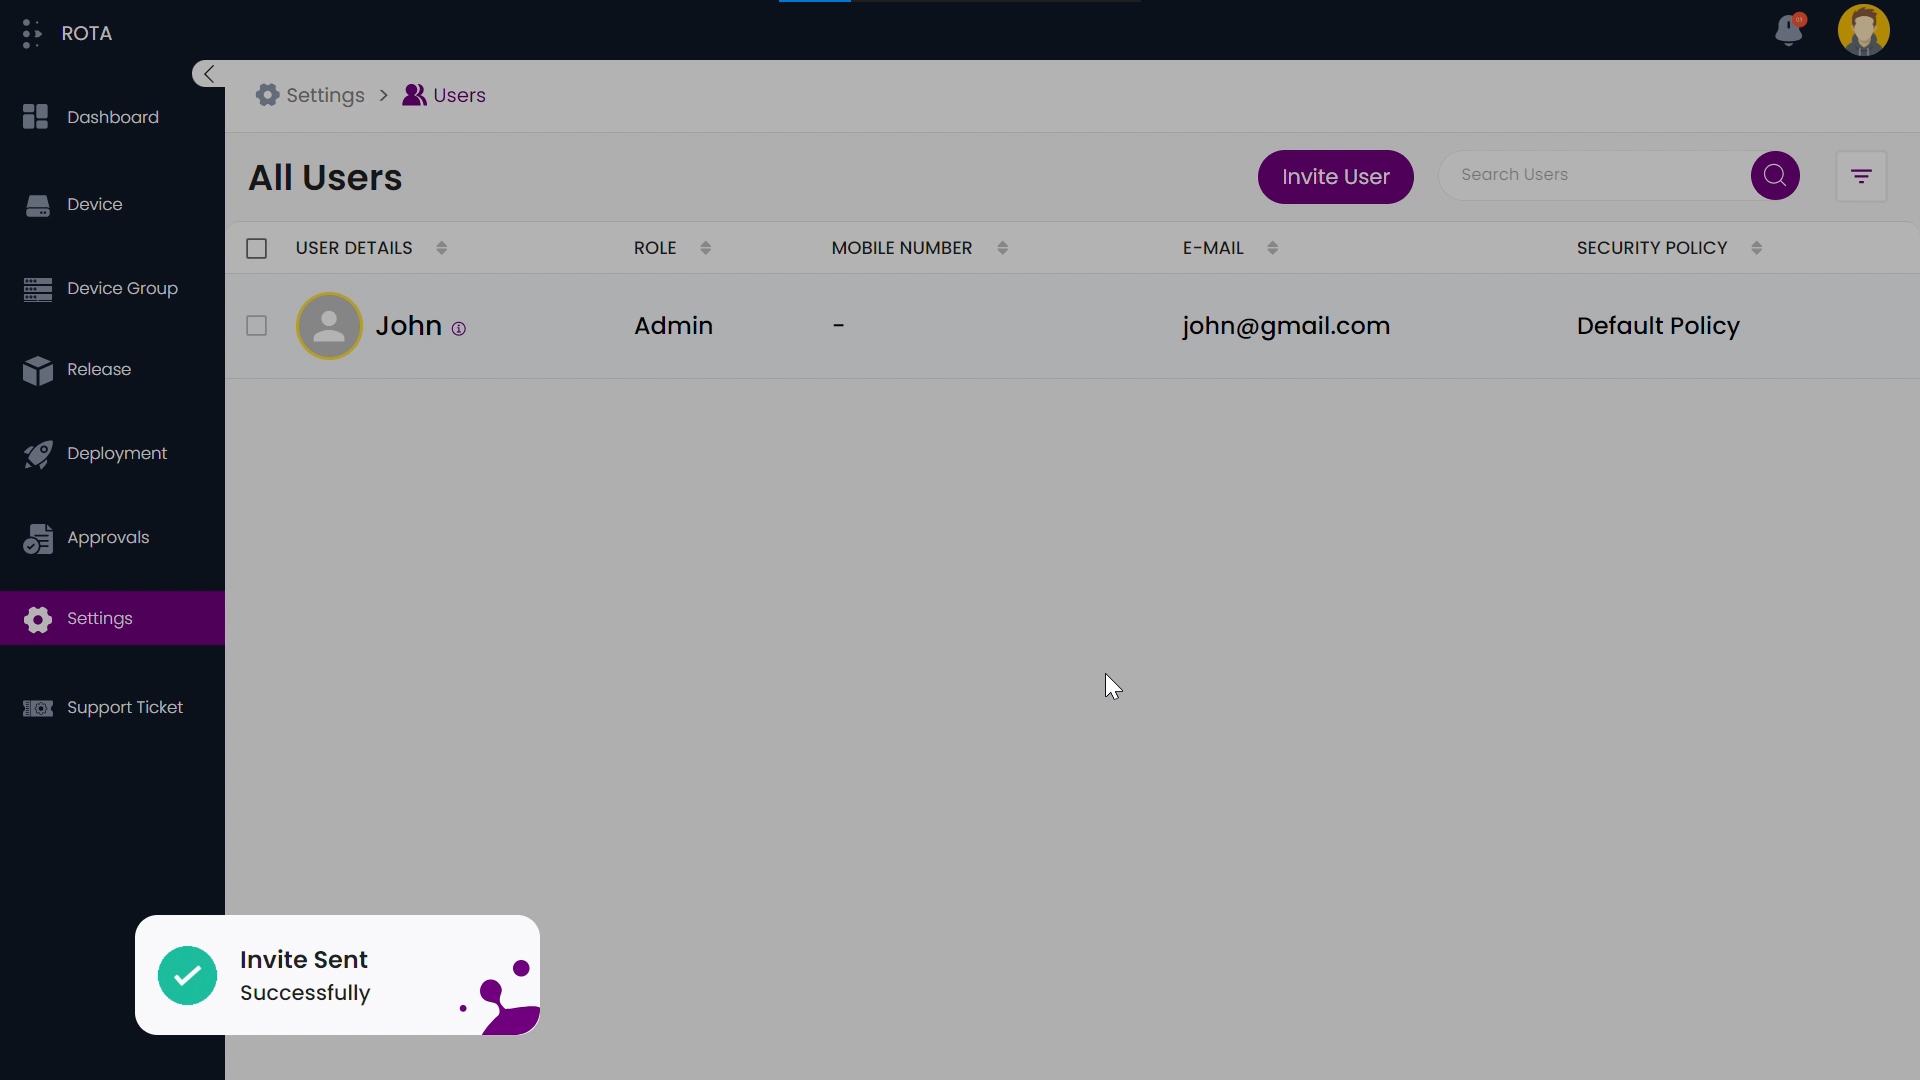
Step 4: A notification will appear confirming that the invitation was sent.
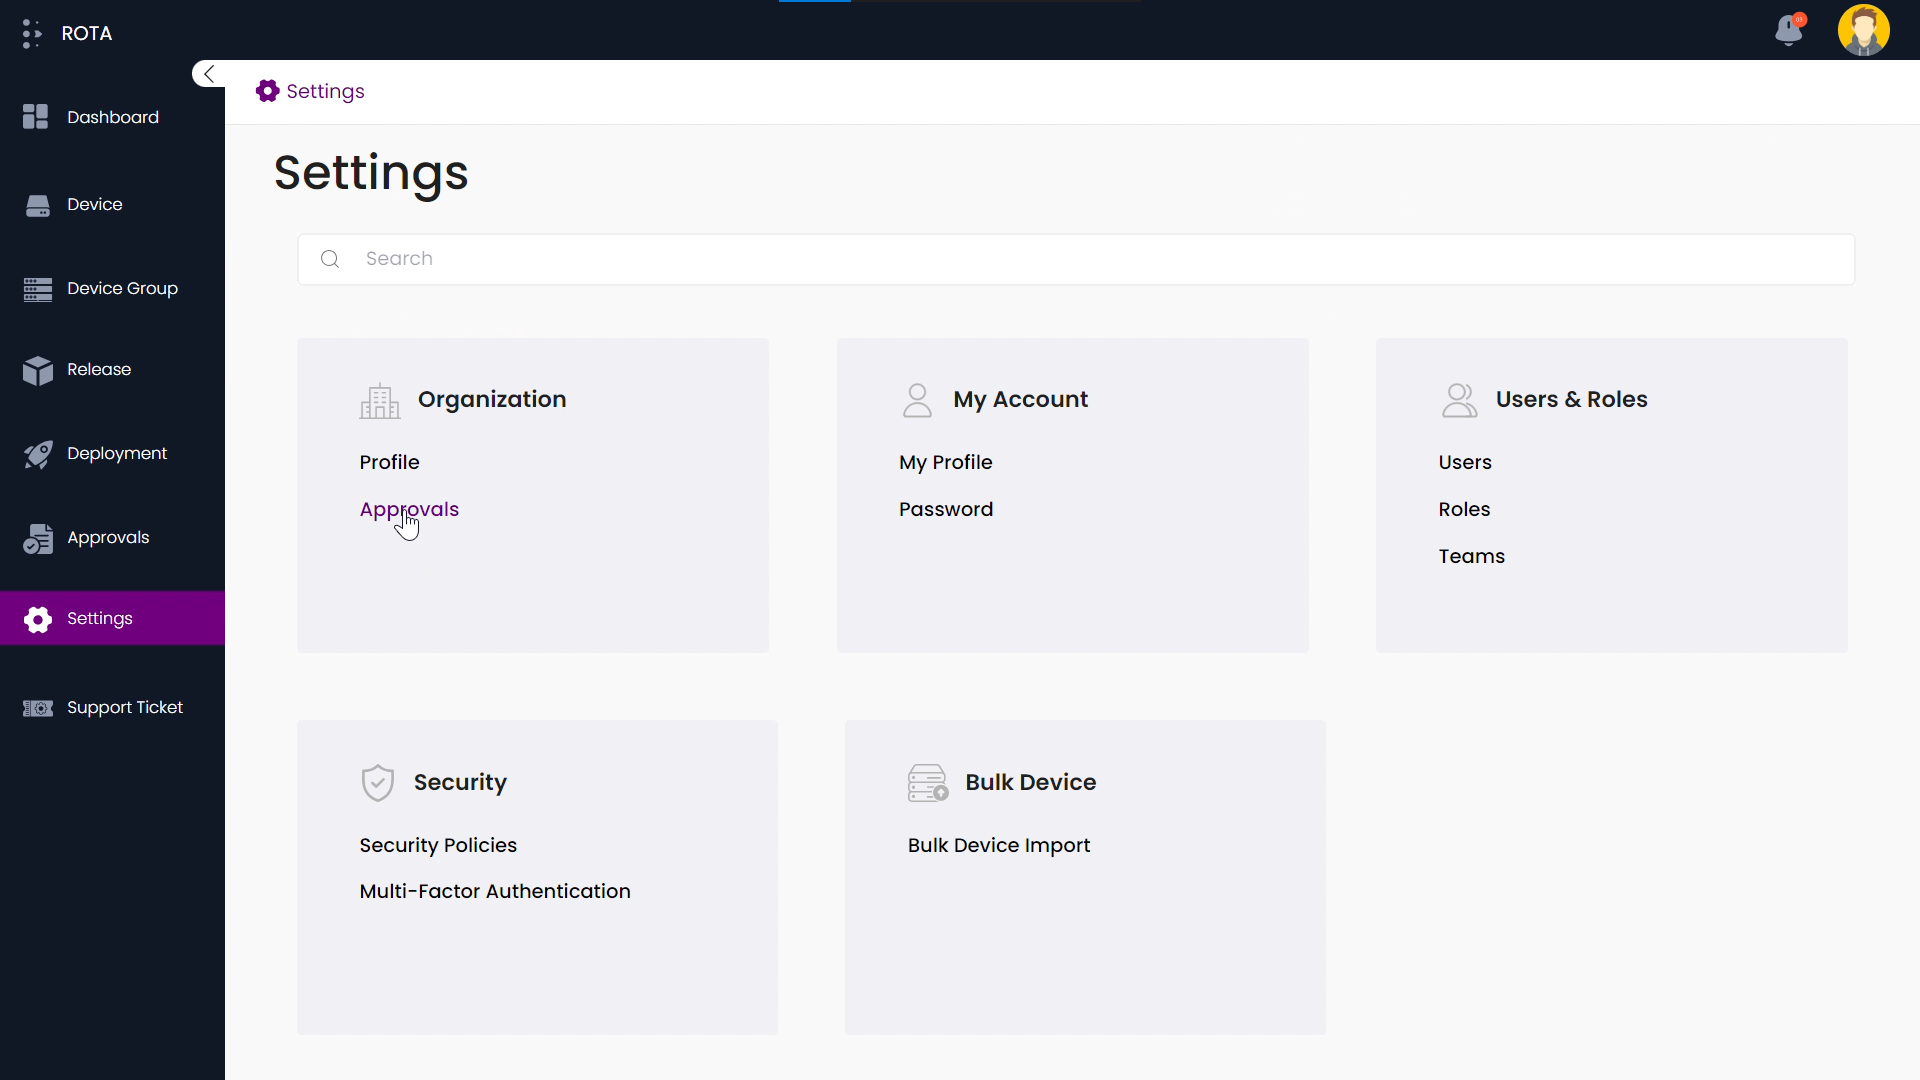
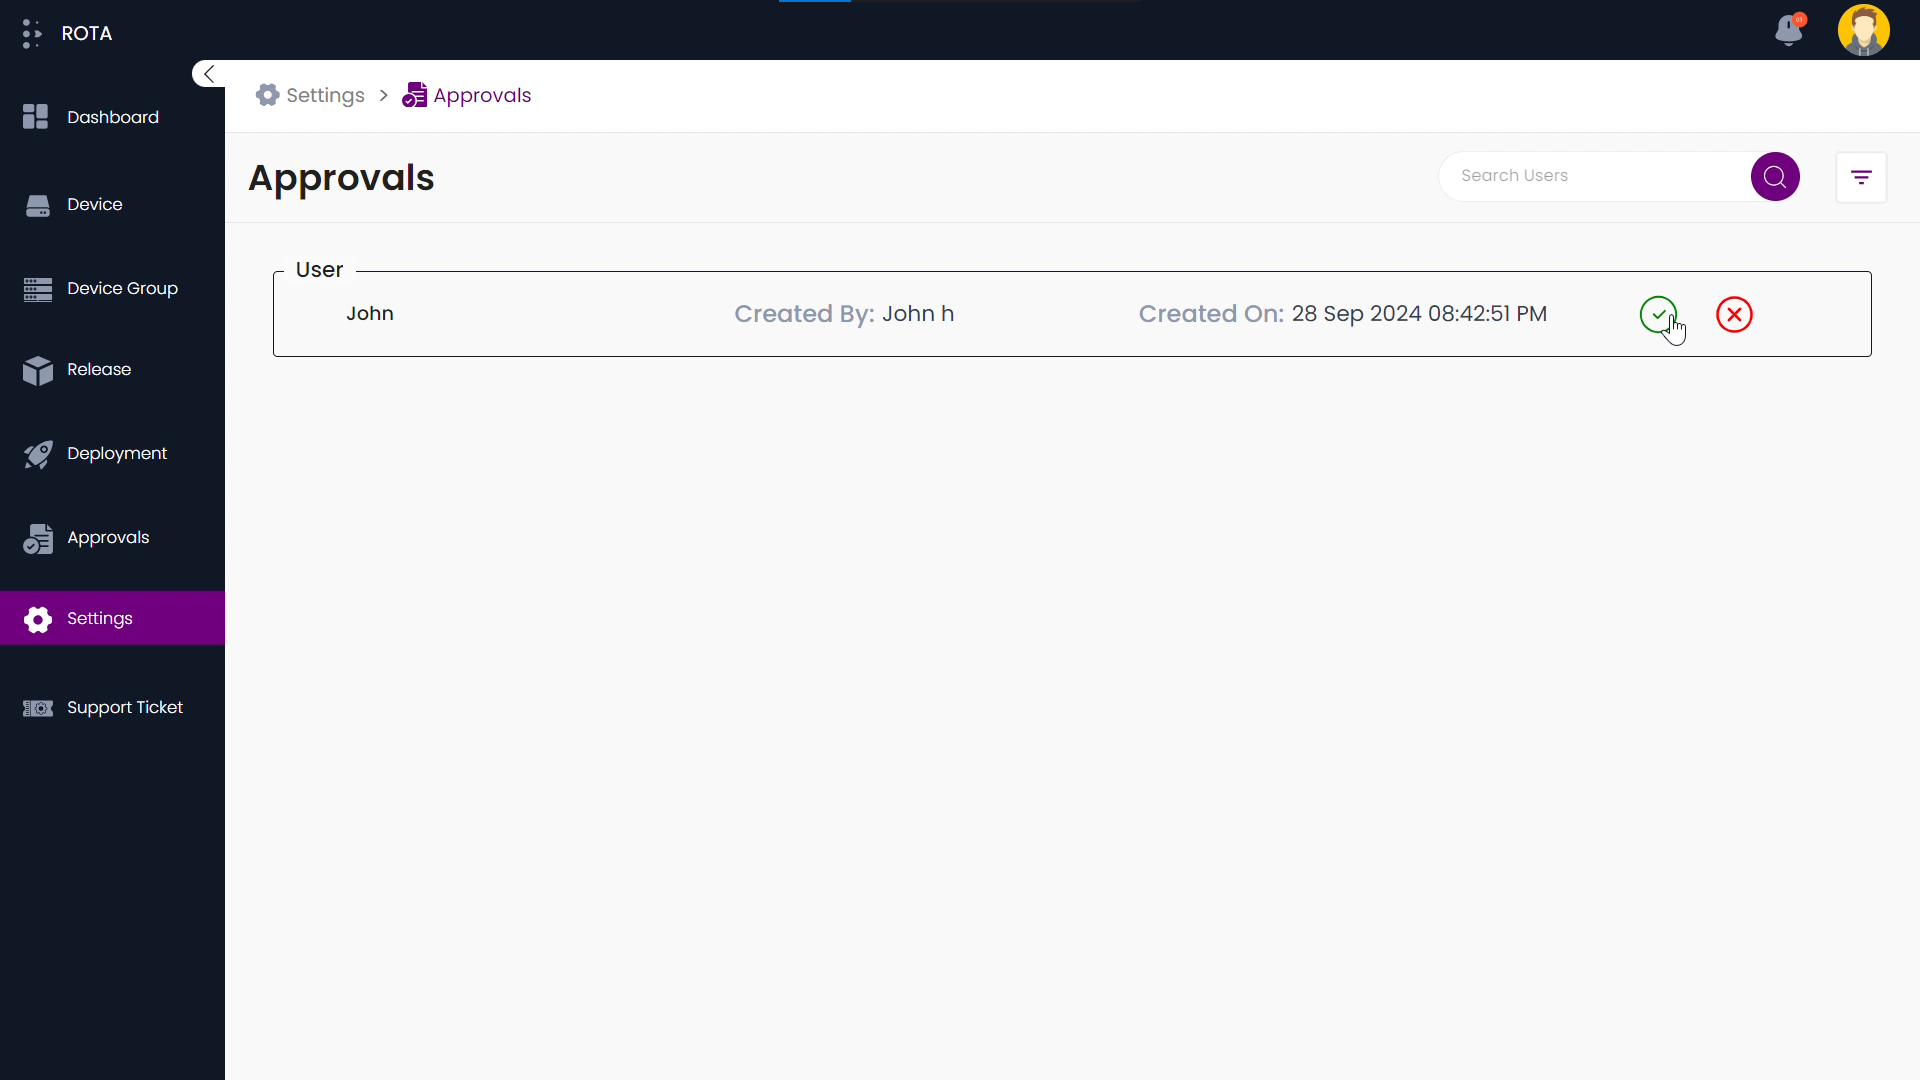
Step 5: Go back to the Settings module and Click Approvals under Organization.
Step 6: The approval for the created user will be displayed. Click on the ✔️ button to approve the user.
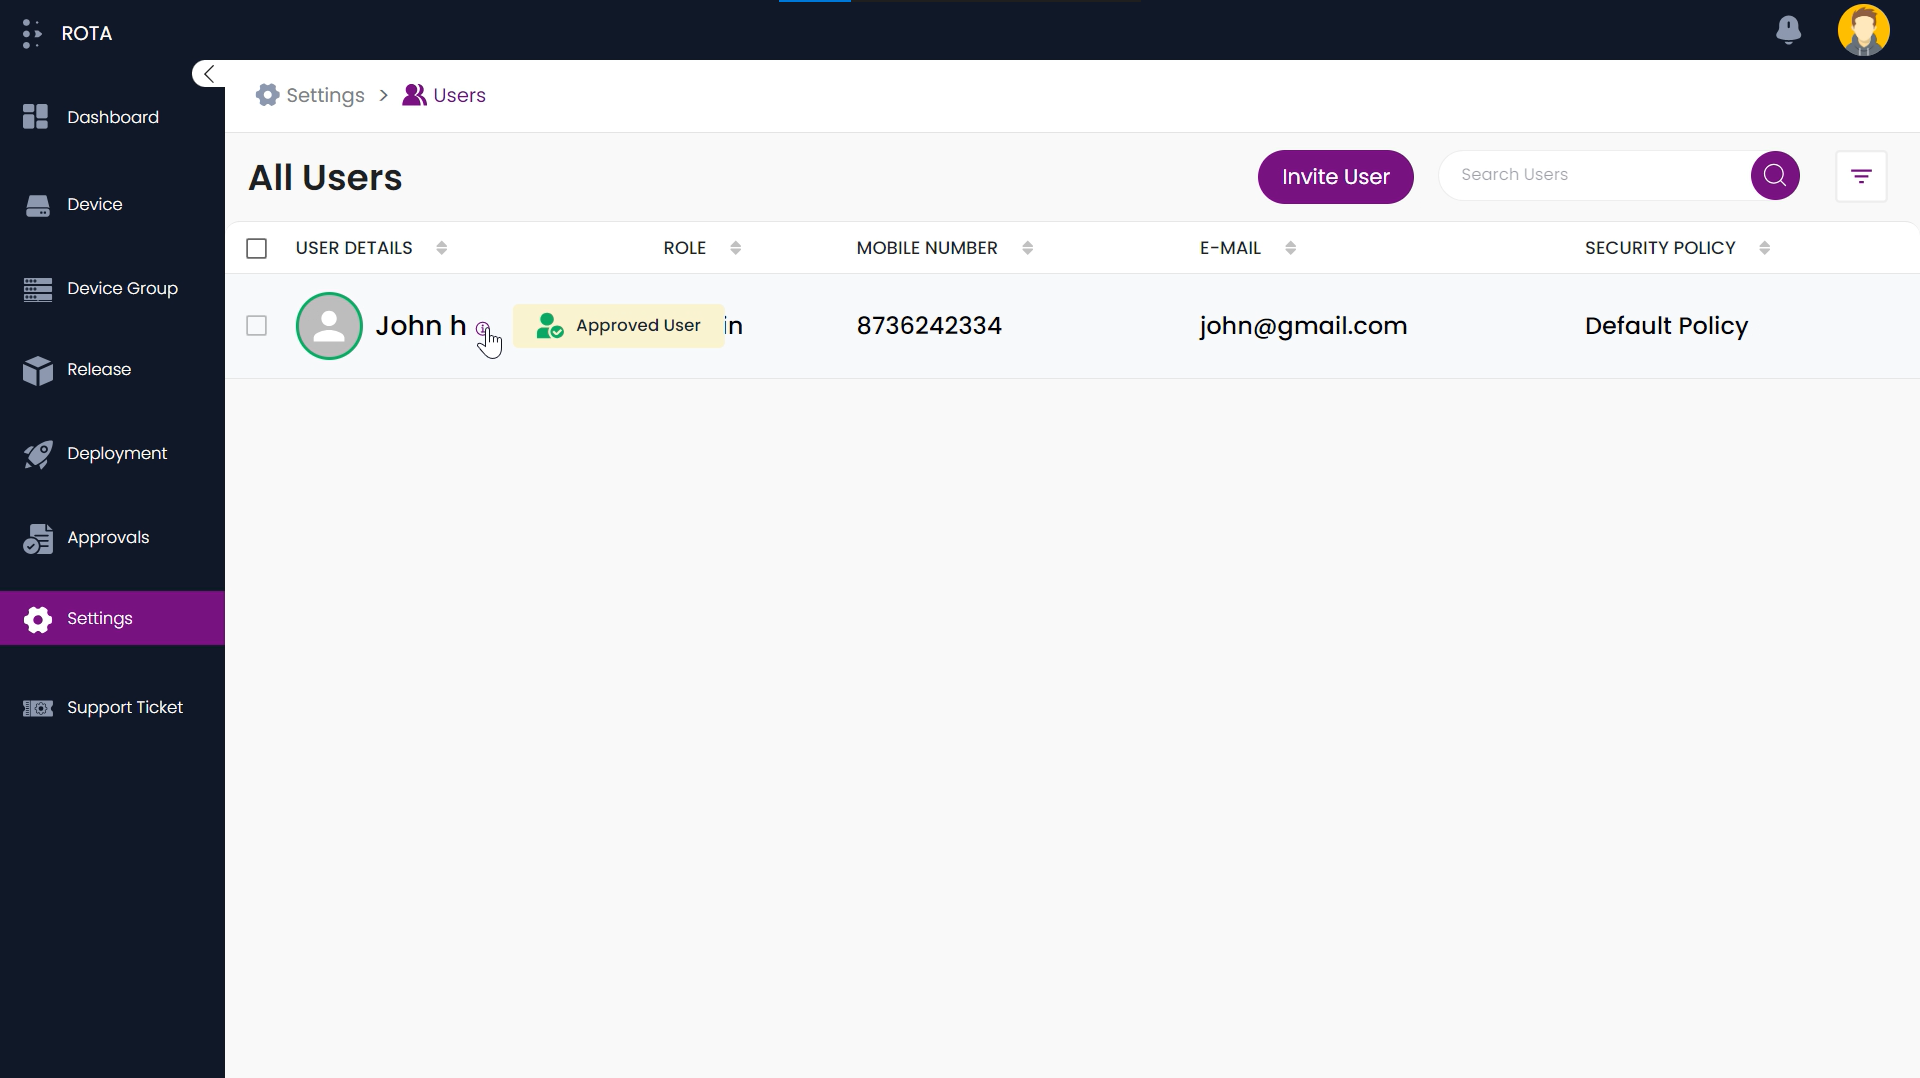
Step 7: Now the created user is approved by the admin and it will be displayed under the list of users.

Search and Filter User
To locate a specific user, please follow the steps outlined below.
Step 1: To search for specific user details, click on the Search bar in the header.

Step 2: Enter the relevant information. This will display the corresponding user details.

To filter specific users, please follow the steps outlined below.
Step 1: To apply a search filter, click the filter icon located in the top right corner.

Step 2: Choose a role, security policy, or status from the available categories, and then click “Show Results” to see the filtered list.
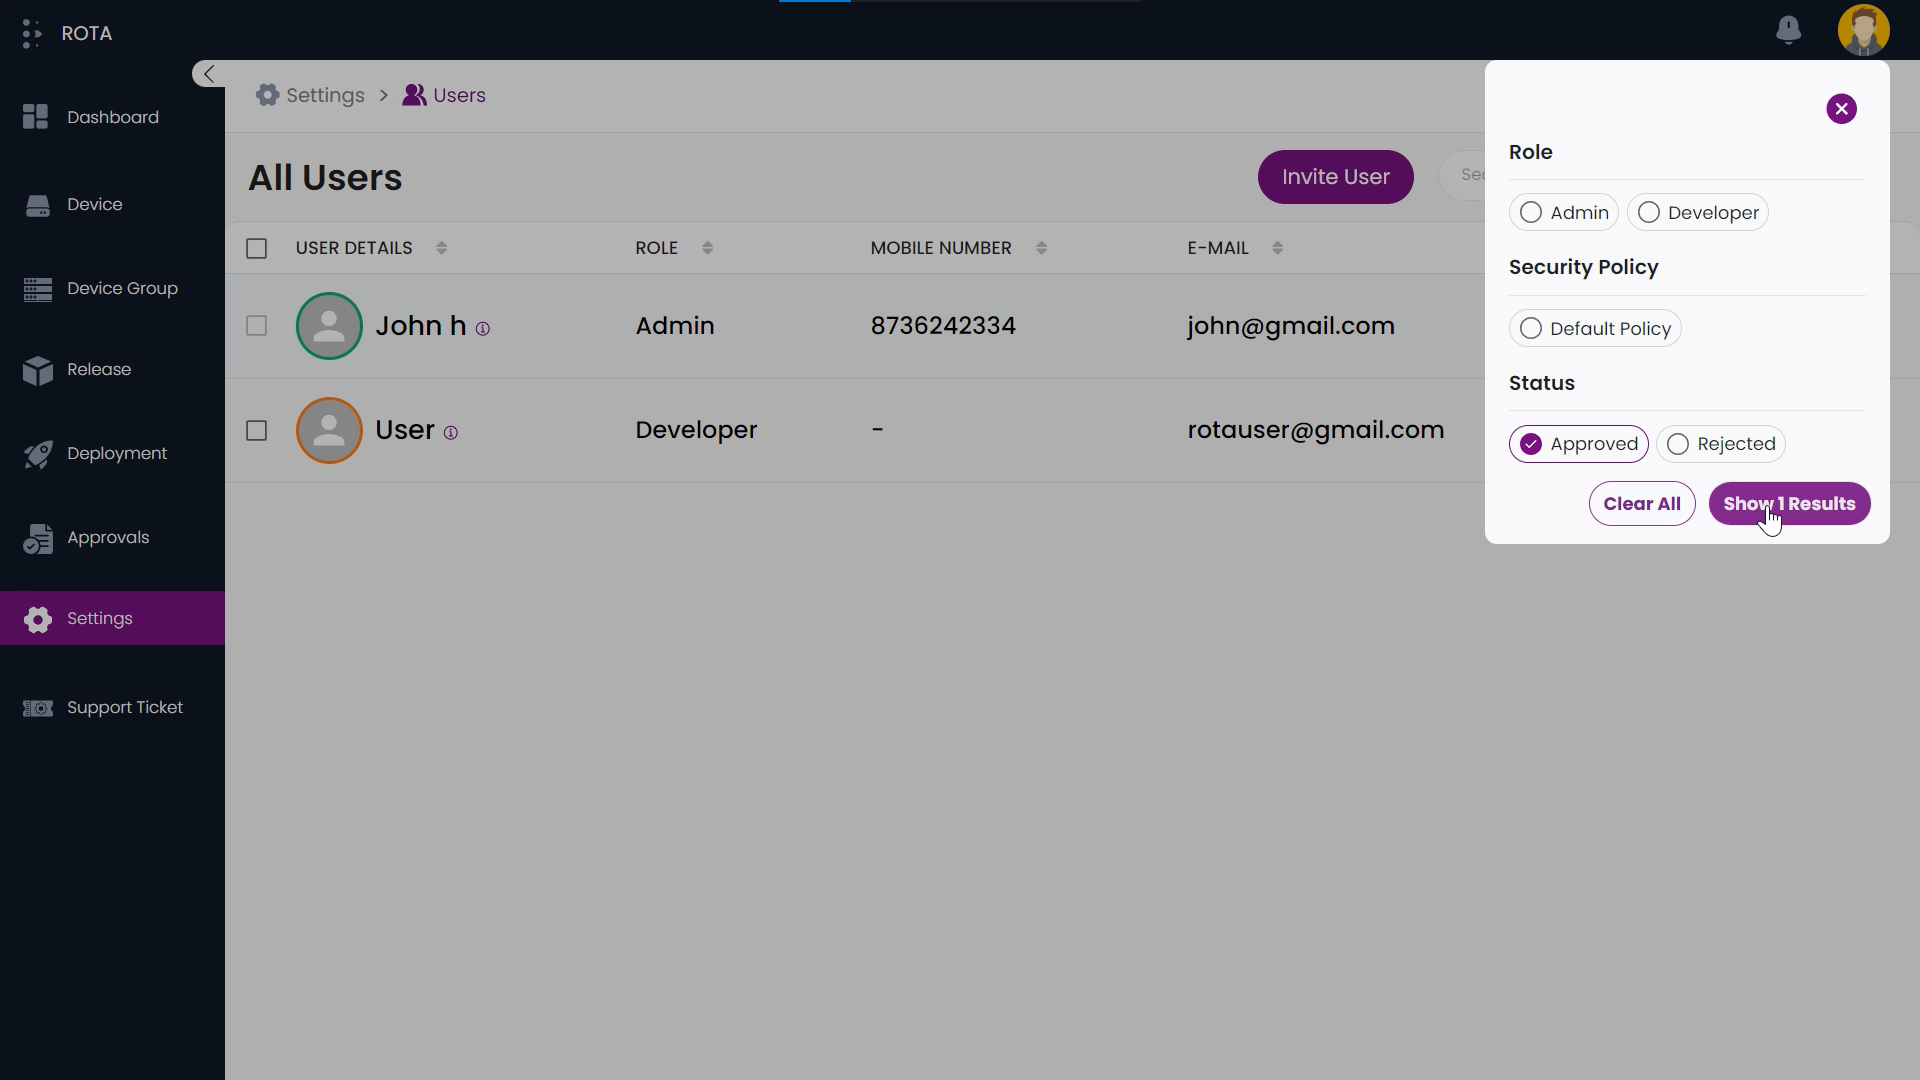
This will display the corresponding user details.
Edit User
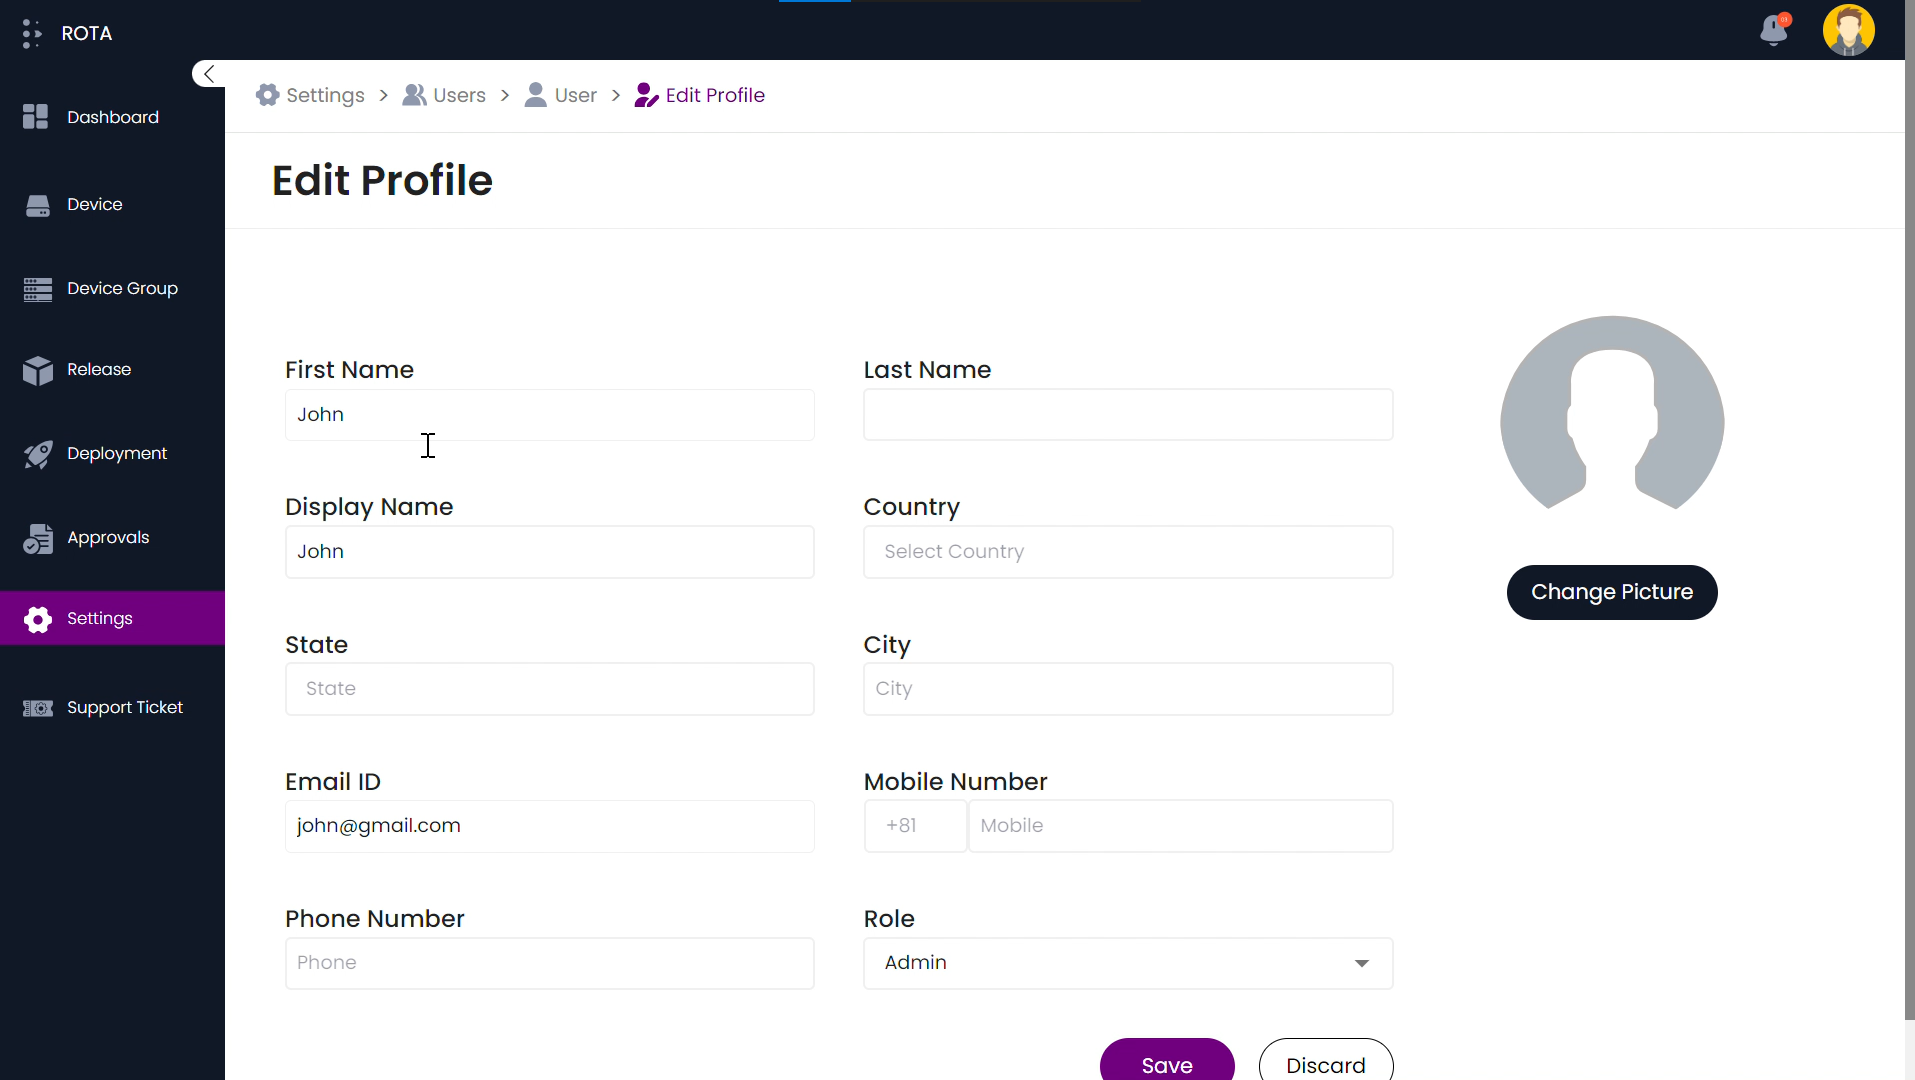
Step 1: Select the user for whom you want to edit the information.

Step 2: This will display the corresponding user details. Click on the Edit Profile button.
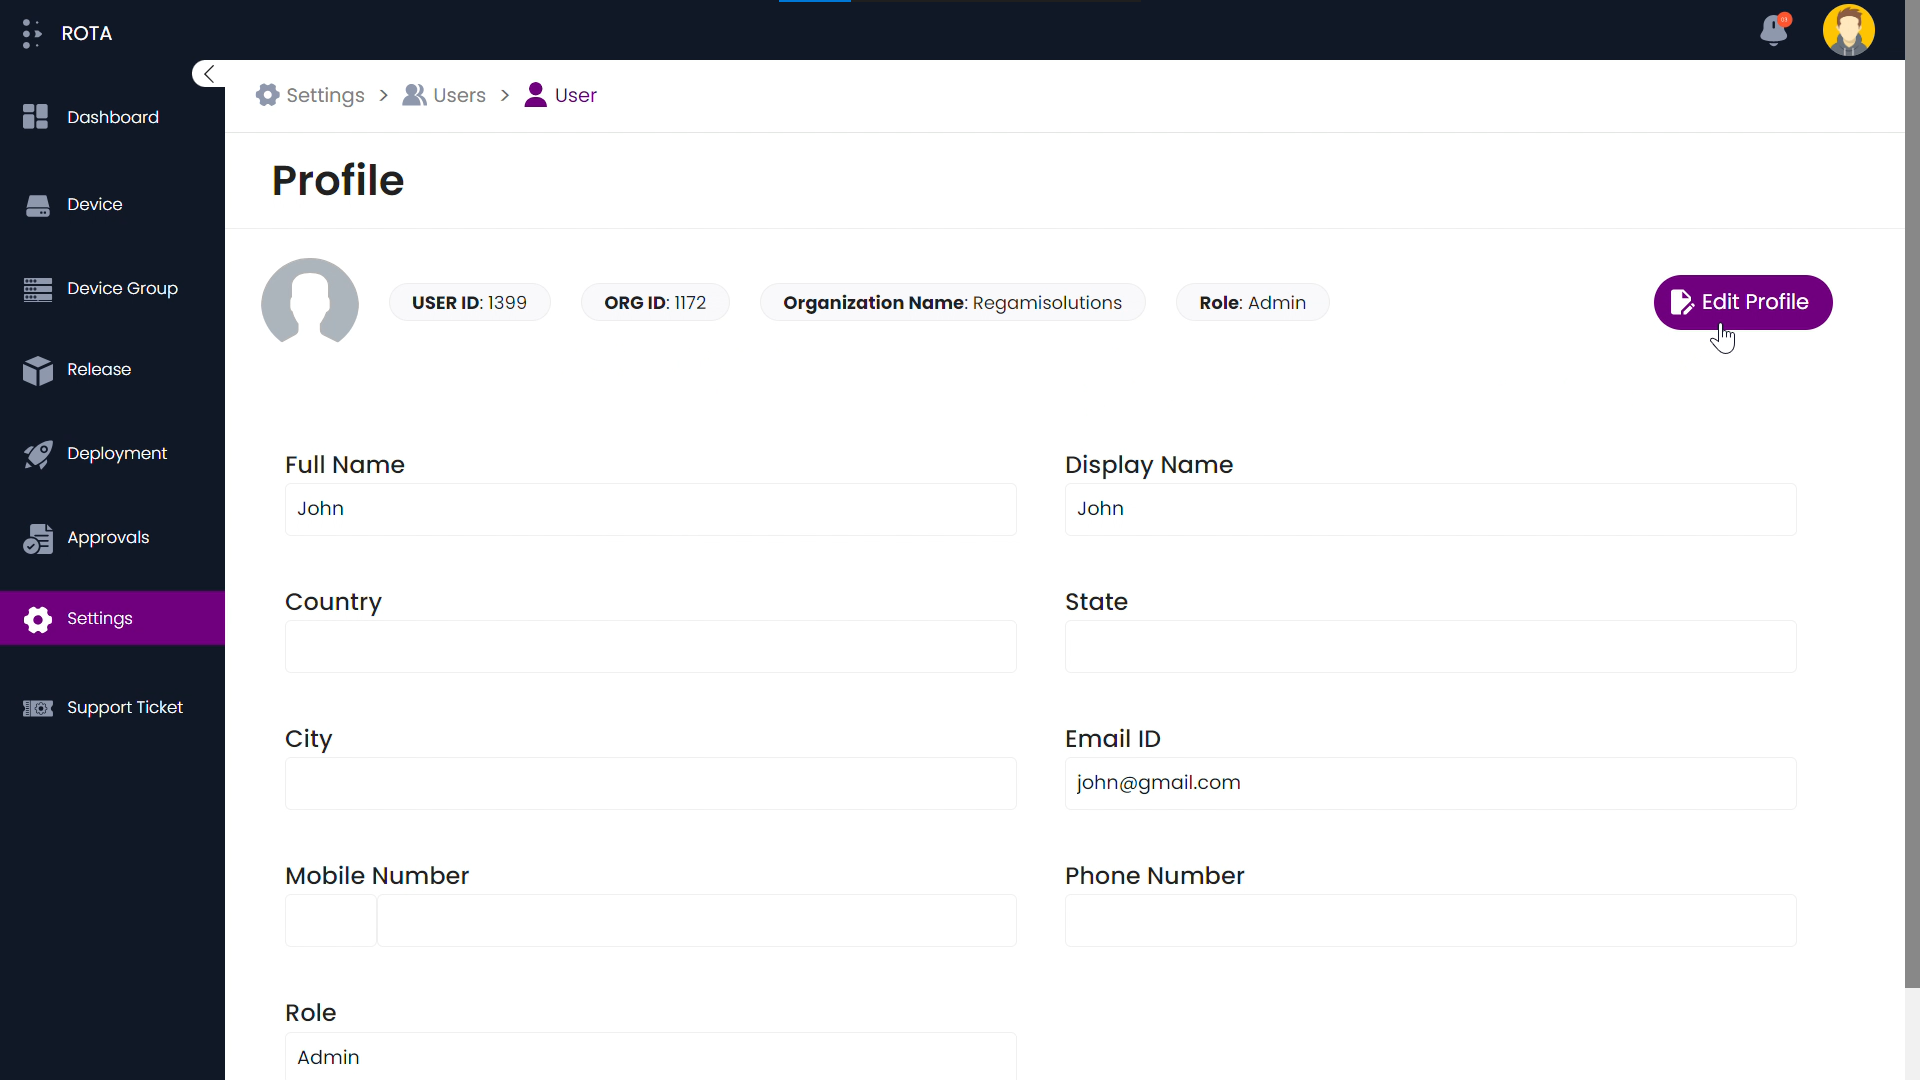
Step 3: Make the necessary changes to the user details.
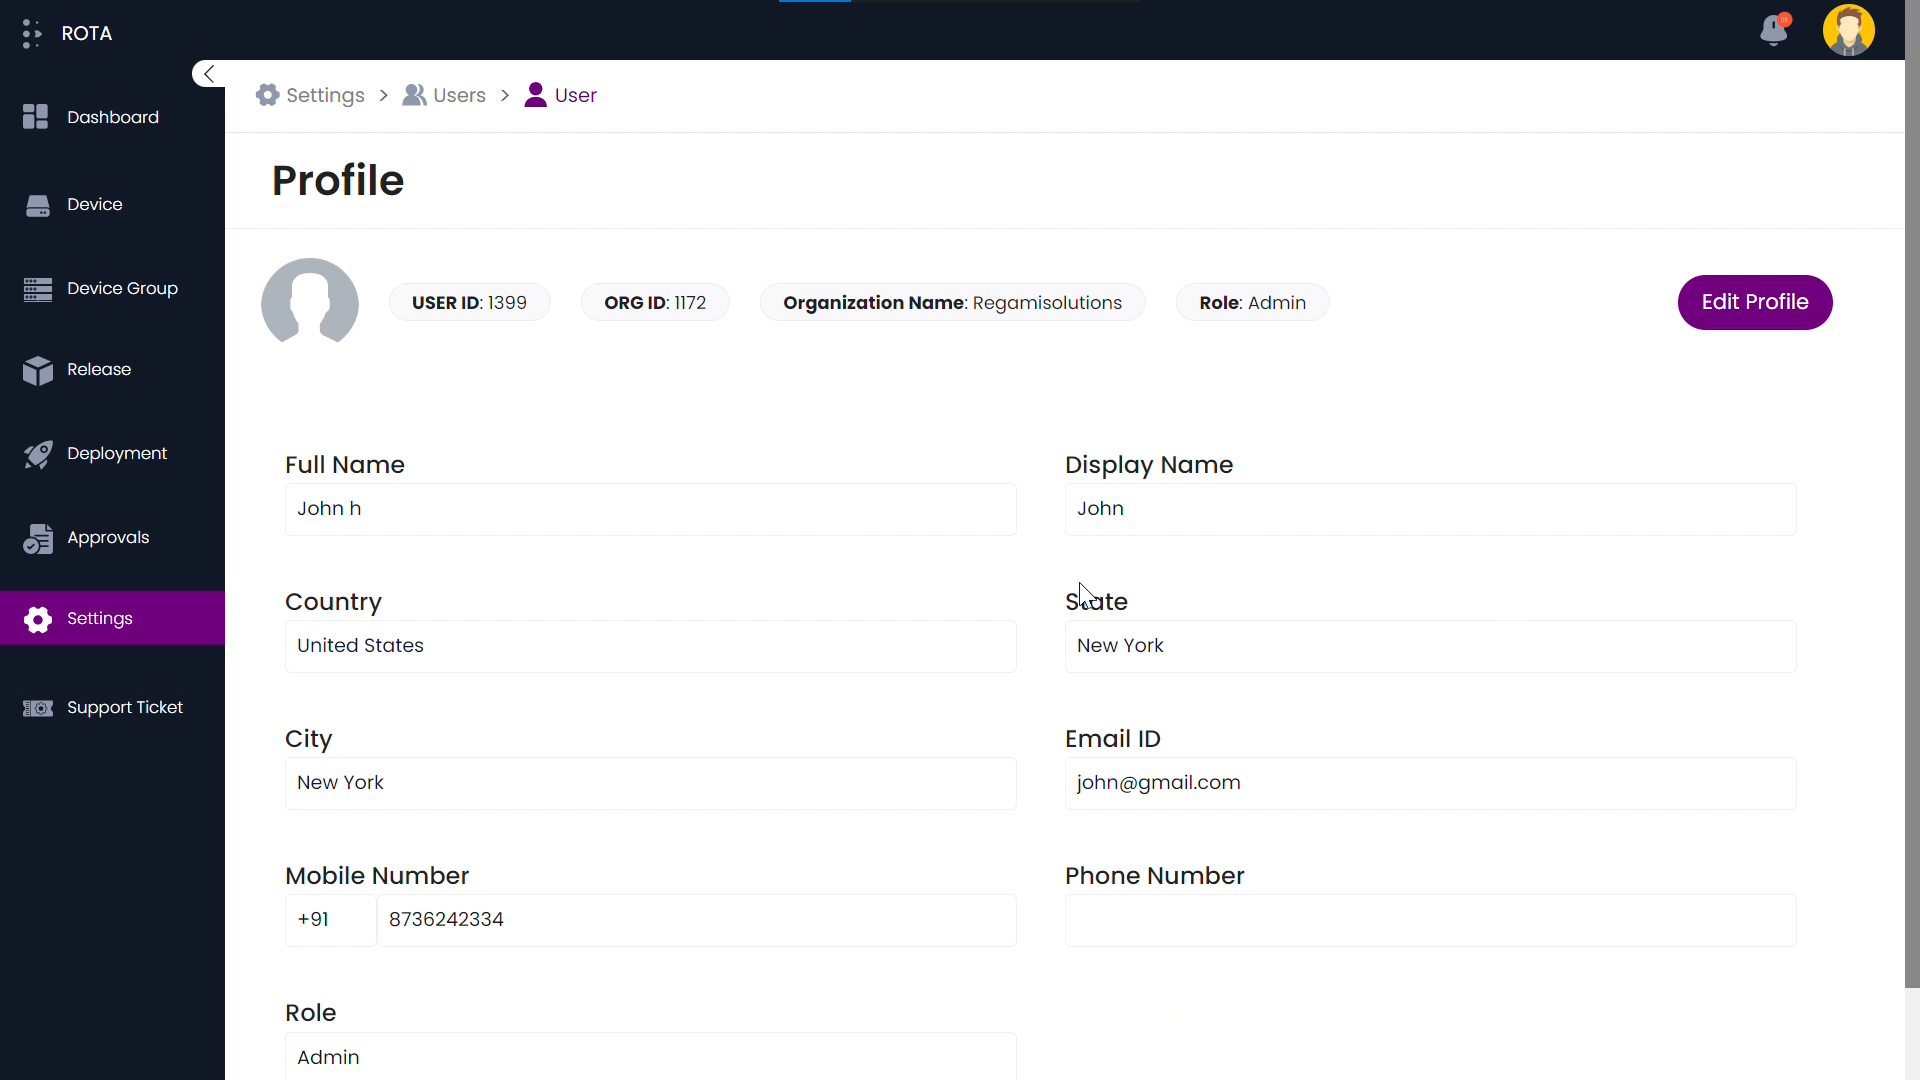
Step 4: Click the Save button to apply the changes to the user profile.
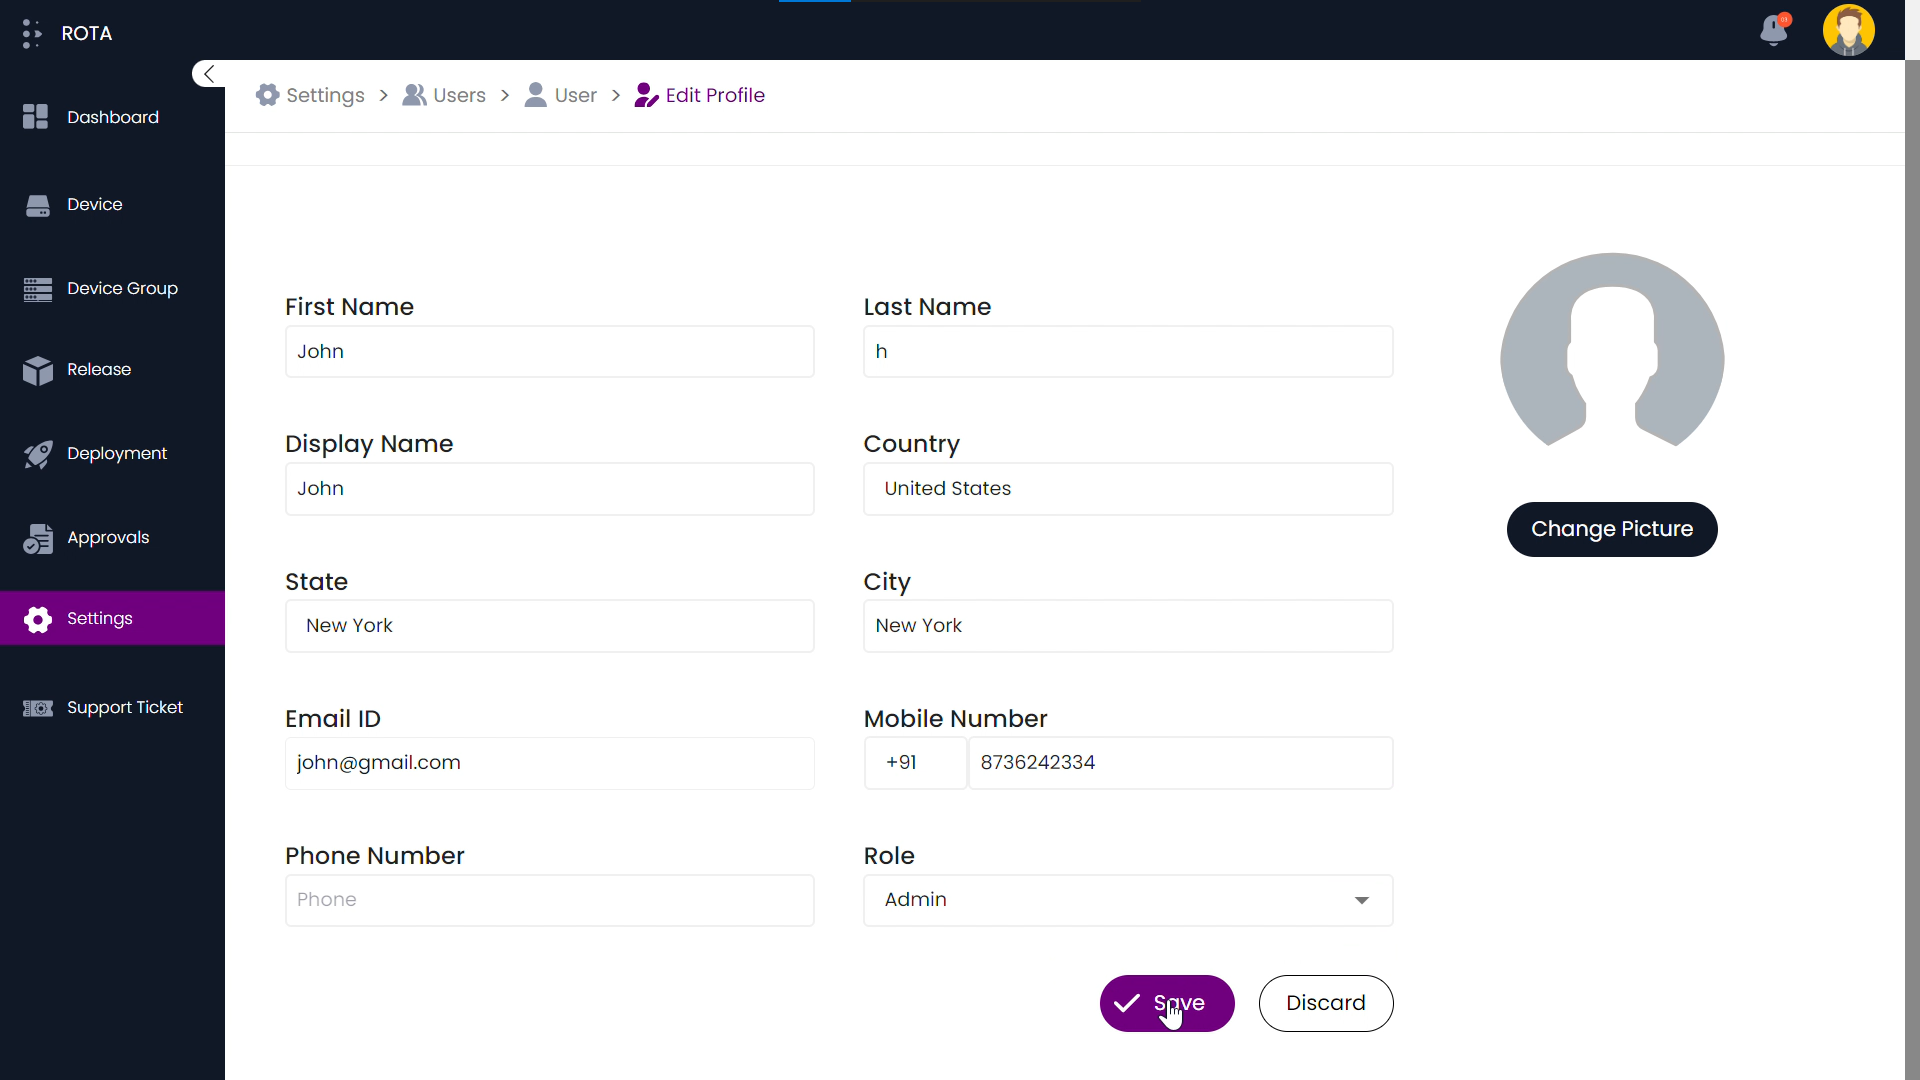
User details will be updated successfully.
Suspend User
Suspending a user typically refers to the temporary restriction or disabling of access to the system, service, or platform. During the suspension period, The user will be unable to access the portal.
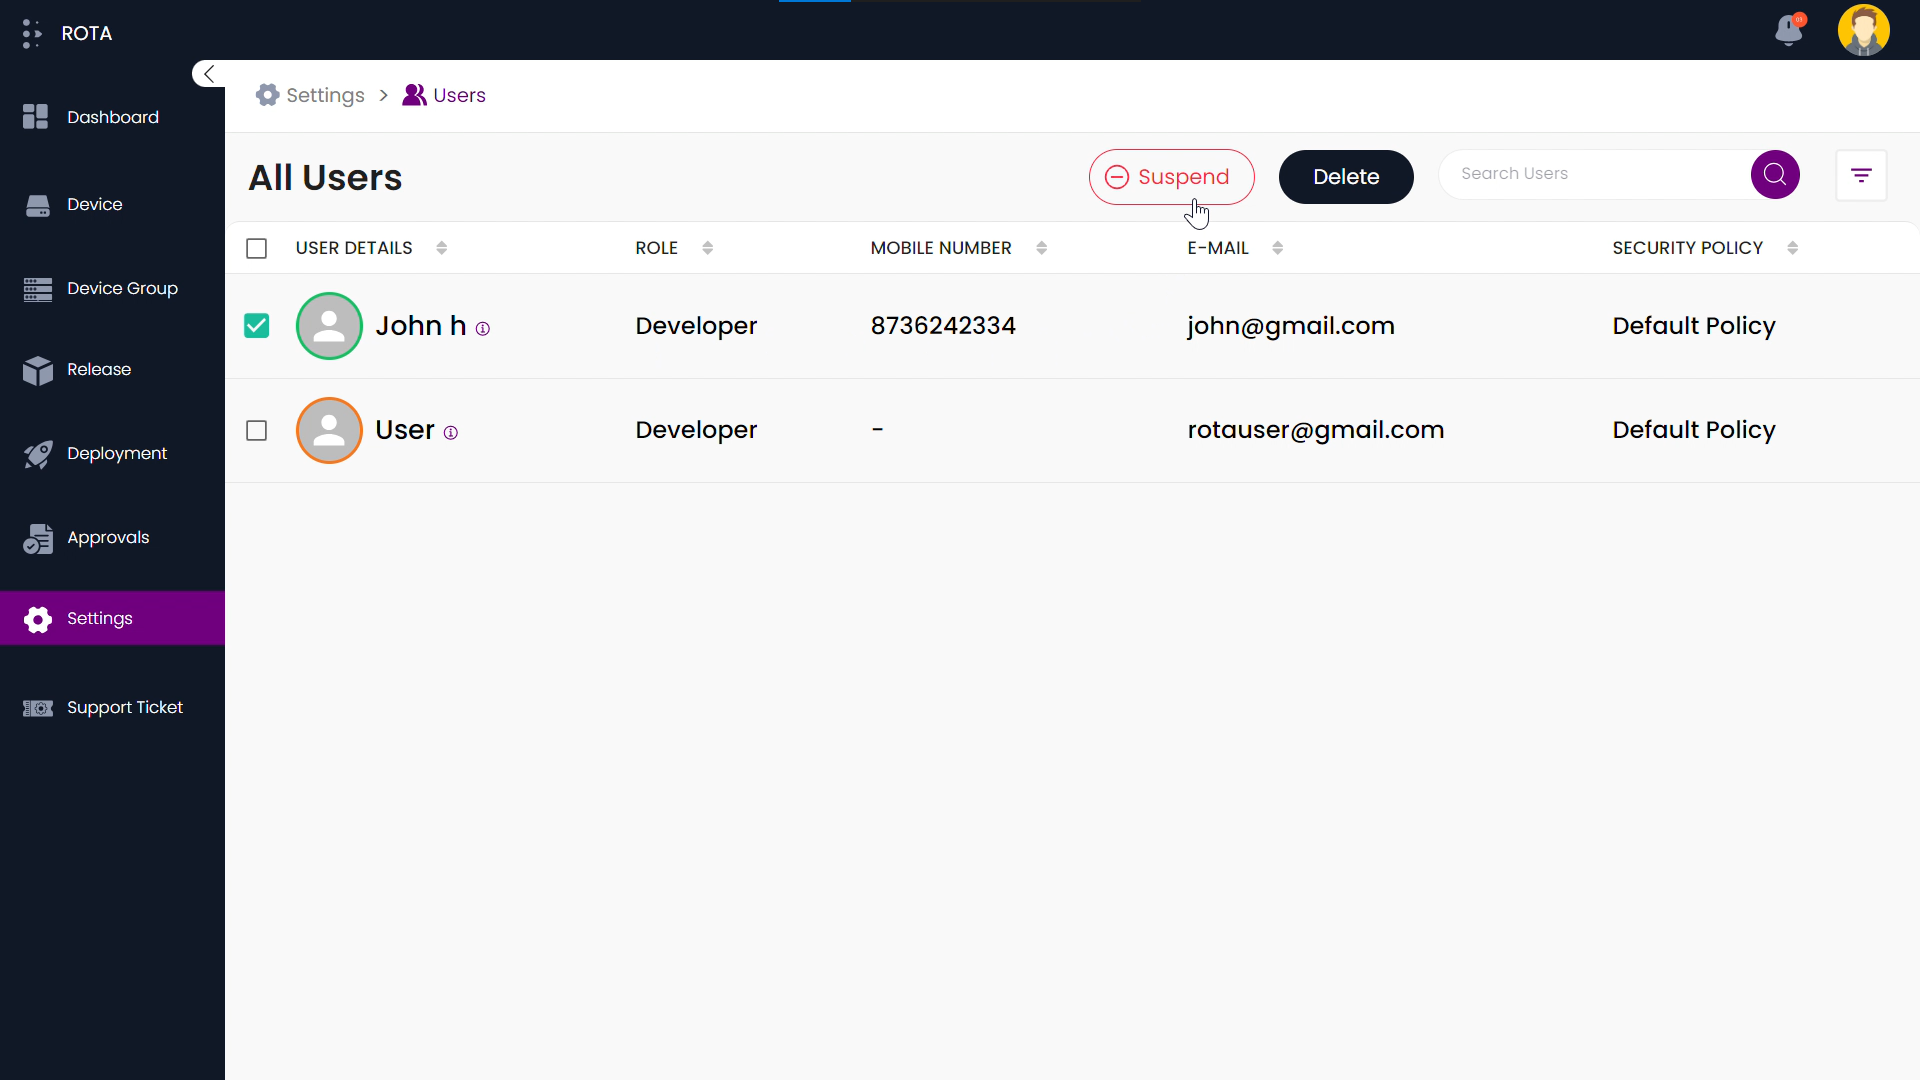
Step 1: Please select the checkbox beside the user details of the account you wish to suspend.

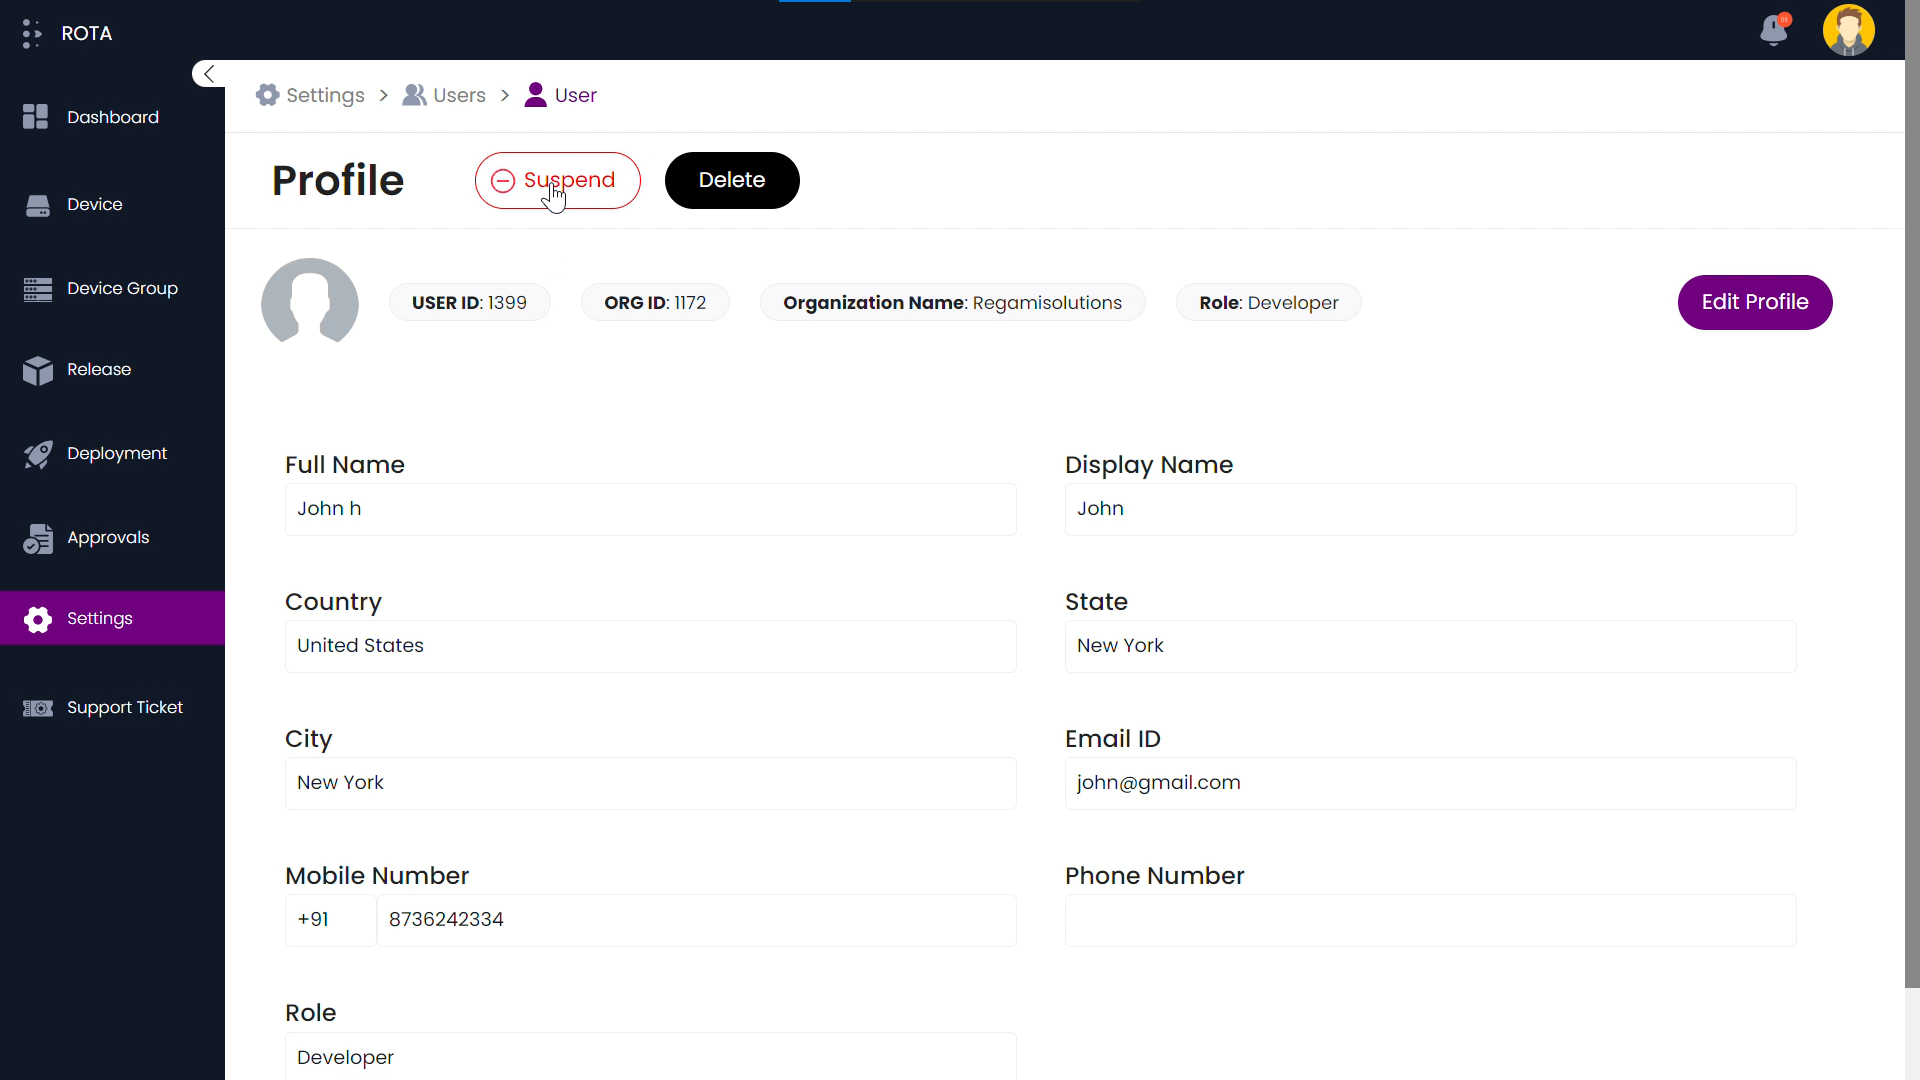
Step 2: Click on the Suspend button.
Note
The option to suspend a user is also available in the user profile section.
Step 3: Click on the Confirm button.
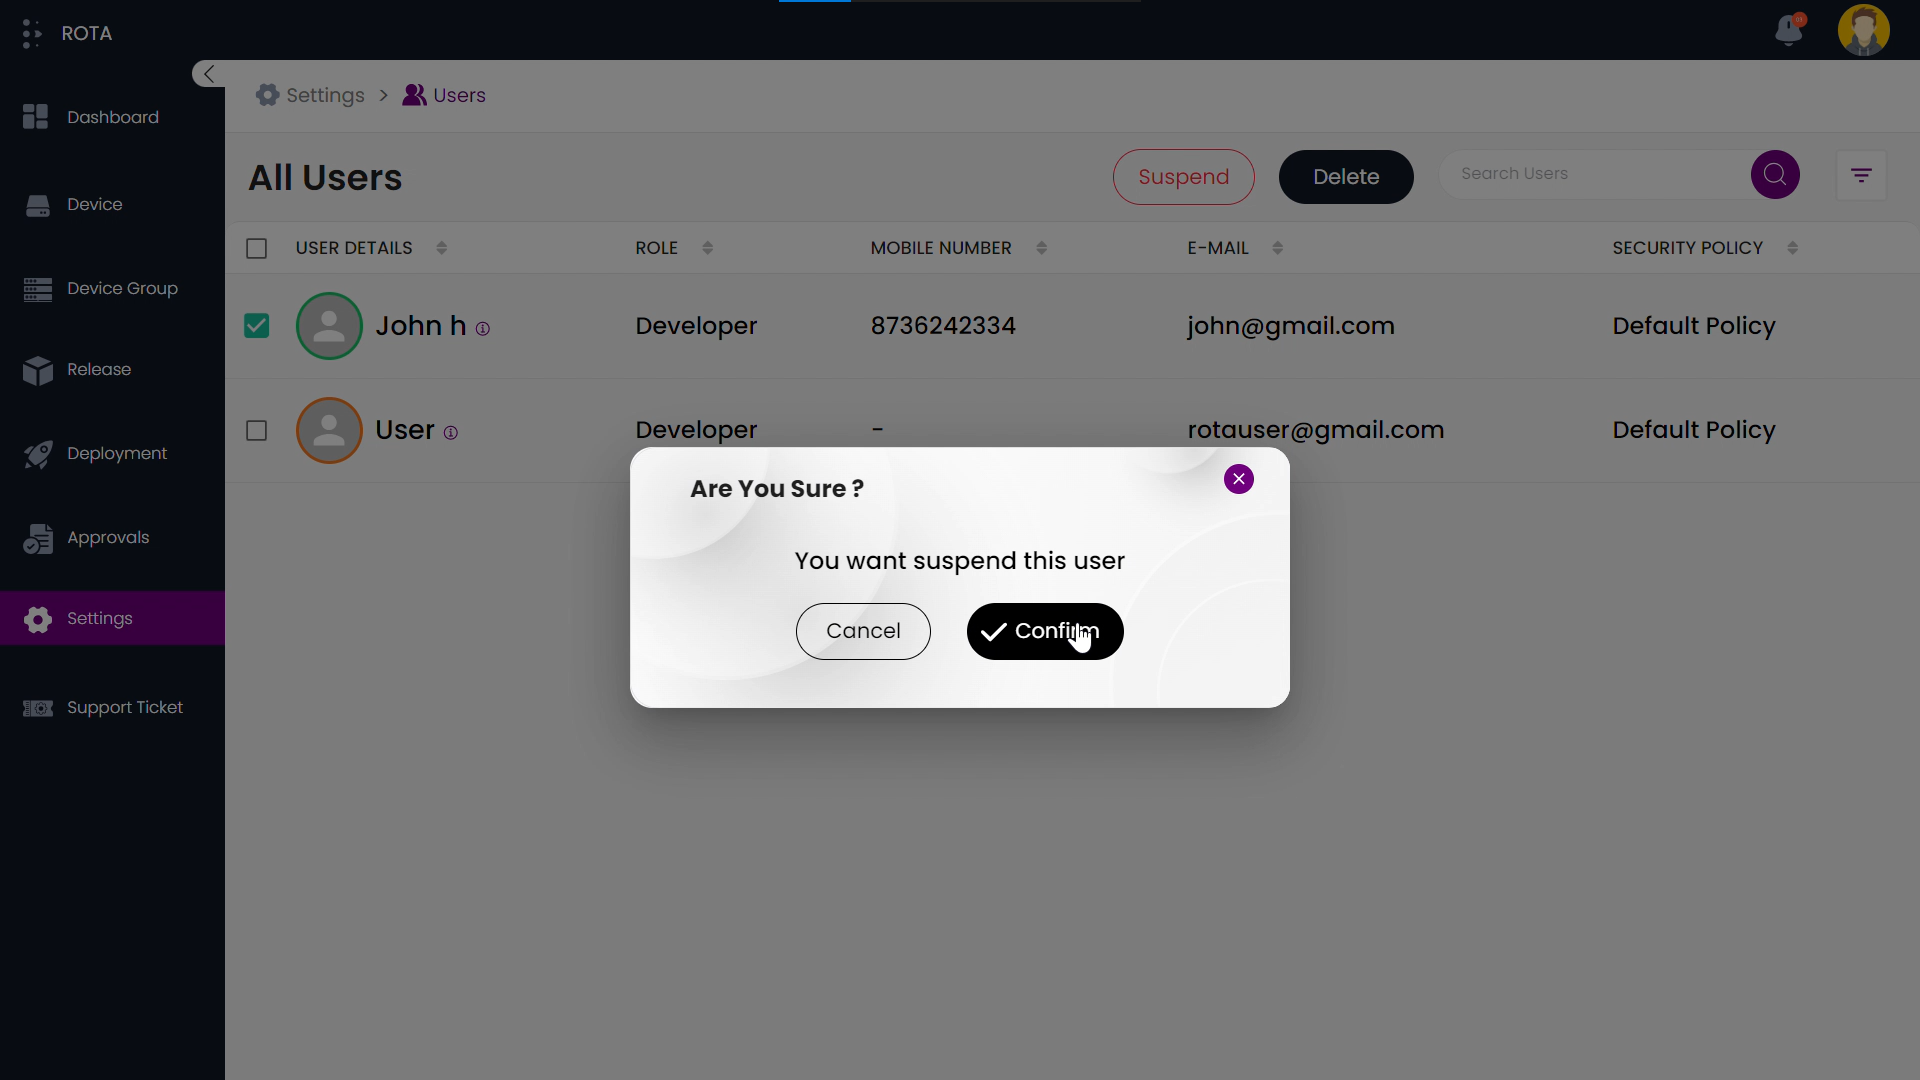
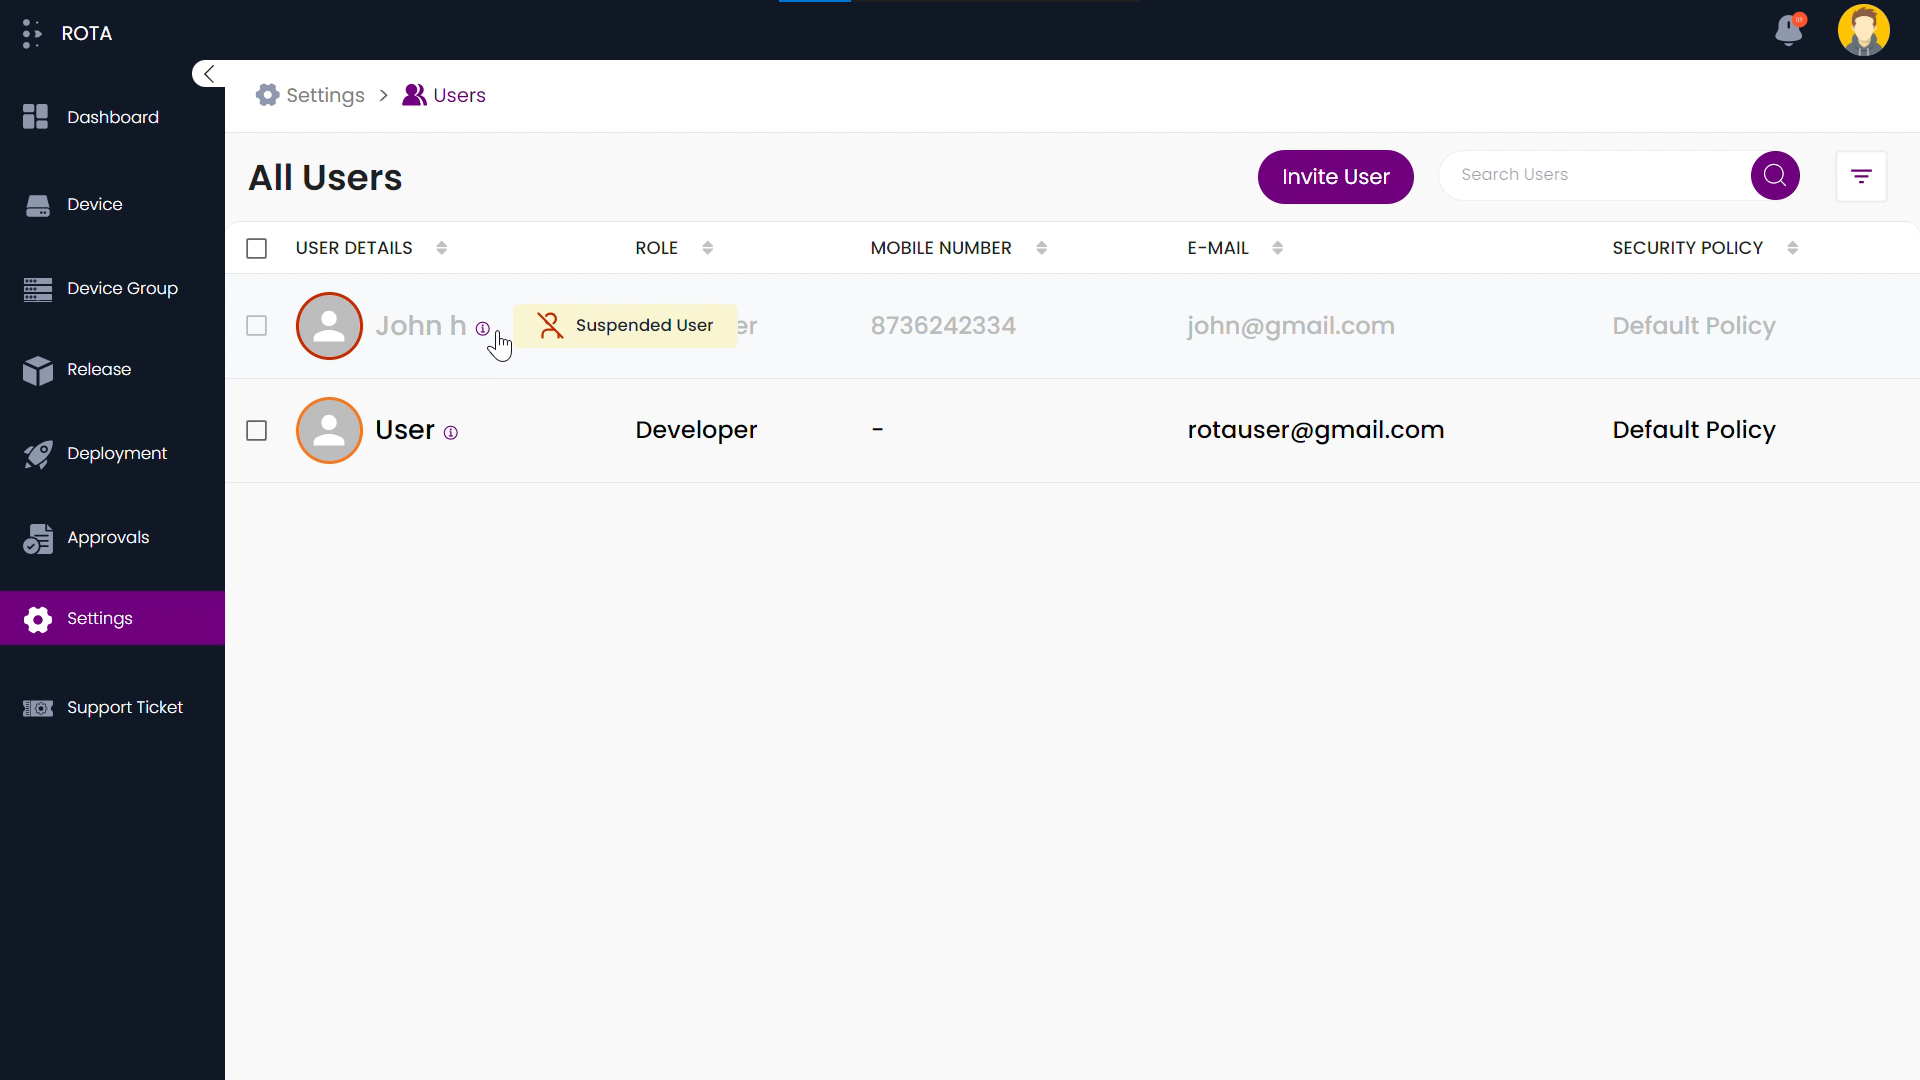
User will be suspended successfully.
To remove the user from suspension, follow the steps below.
Step 1: Select the user, whom you wish to remove the suspension.

Step 2: Click on the Confirm button.
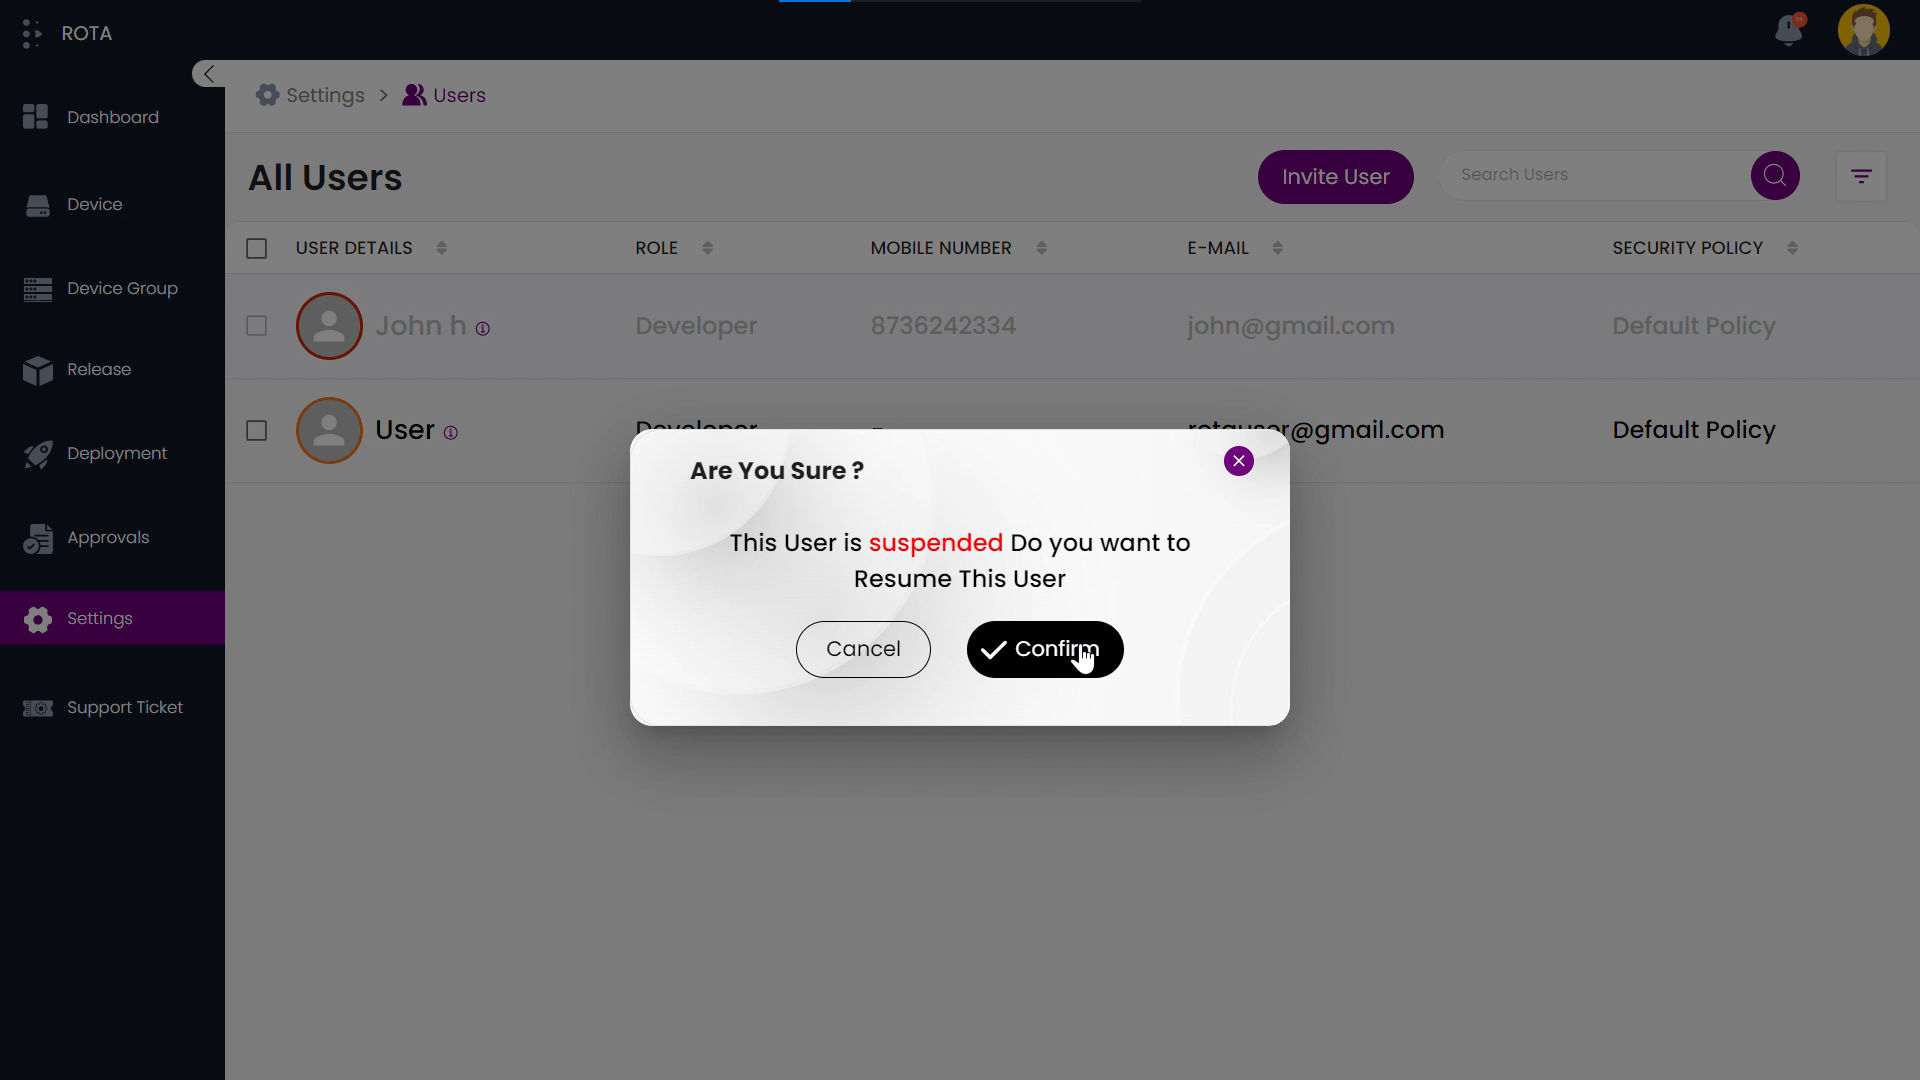
The user’s suspension will be lifted successfully.
