Roles
A Step-by-Step Guide for Navigating to Roles
Step 1: Select Settings from the Sidebar.Under the Users and Roles section, click on the Roles module.
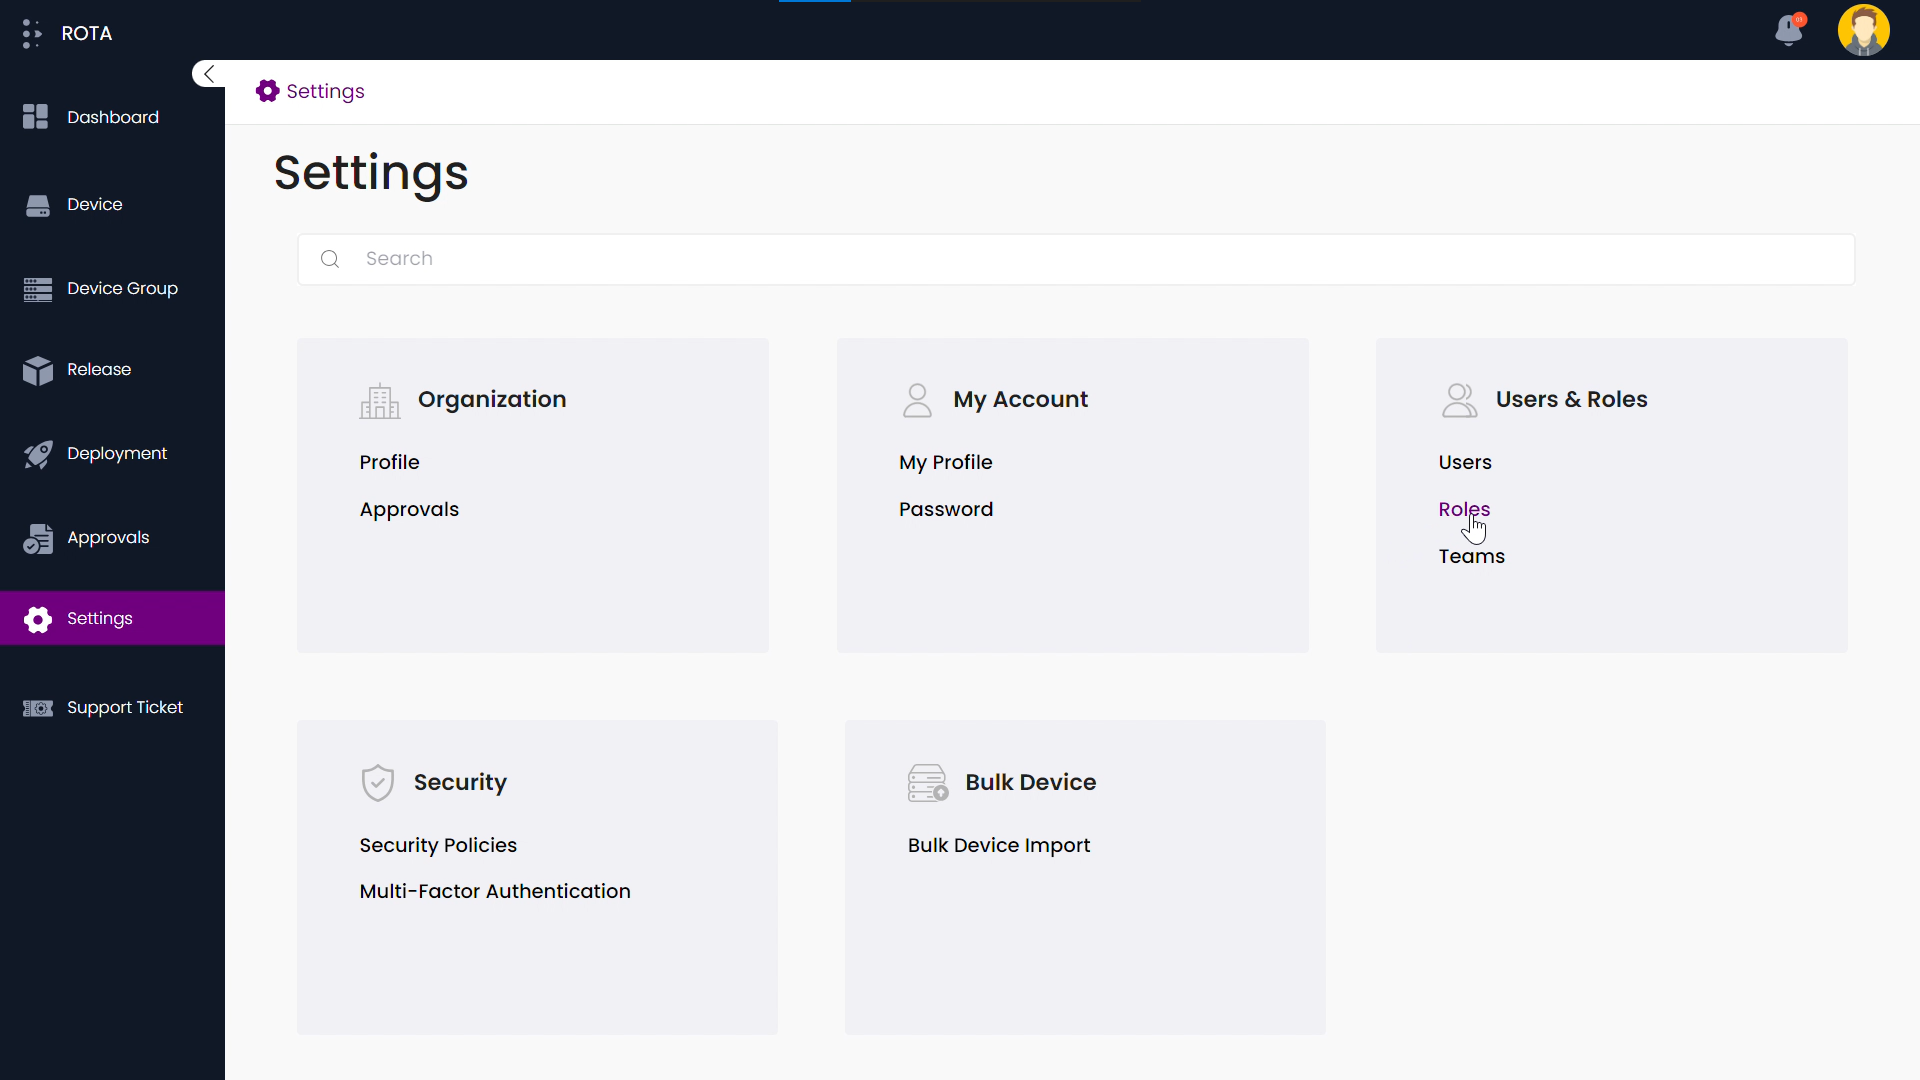
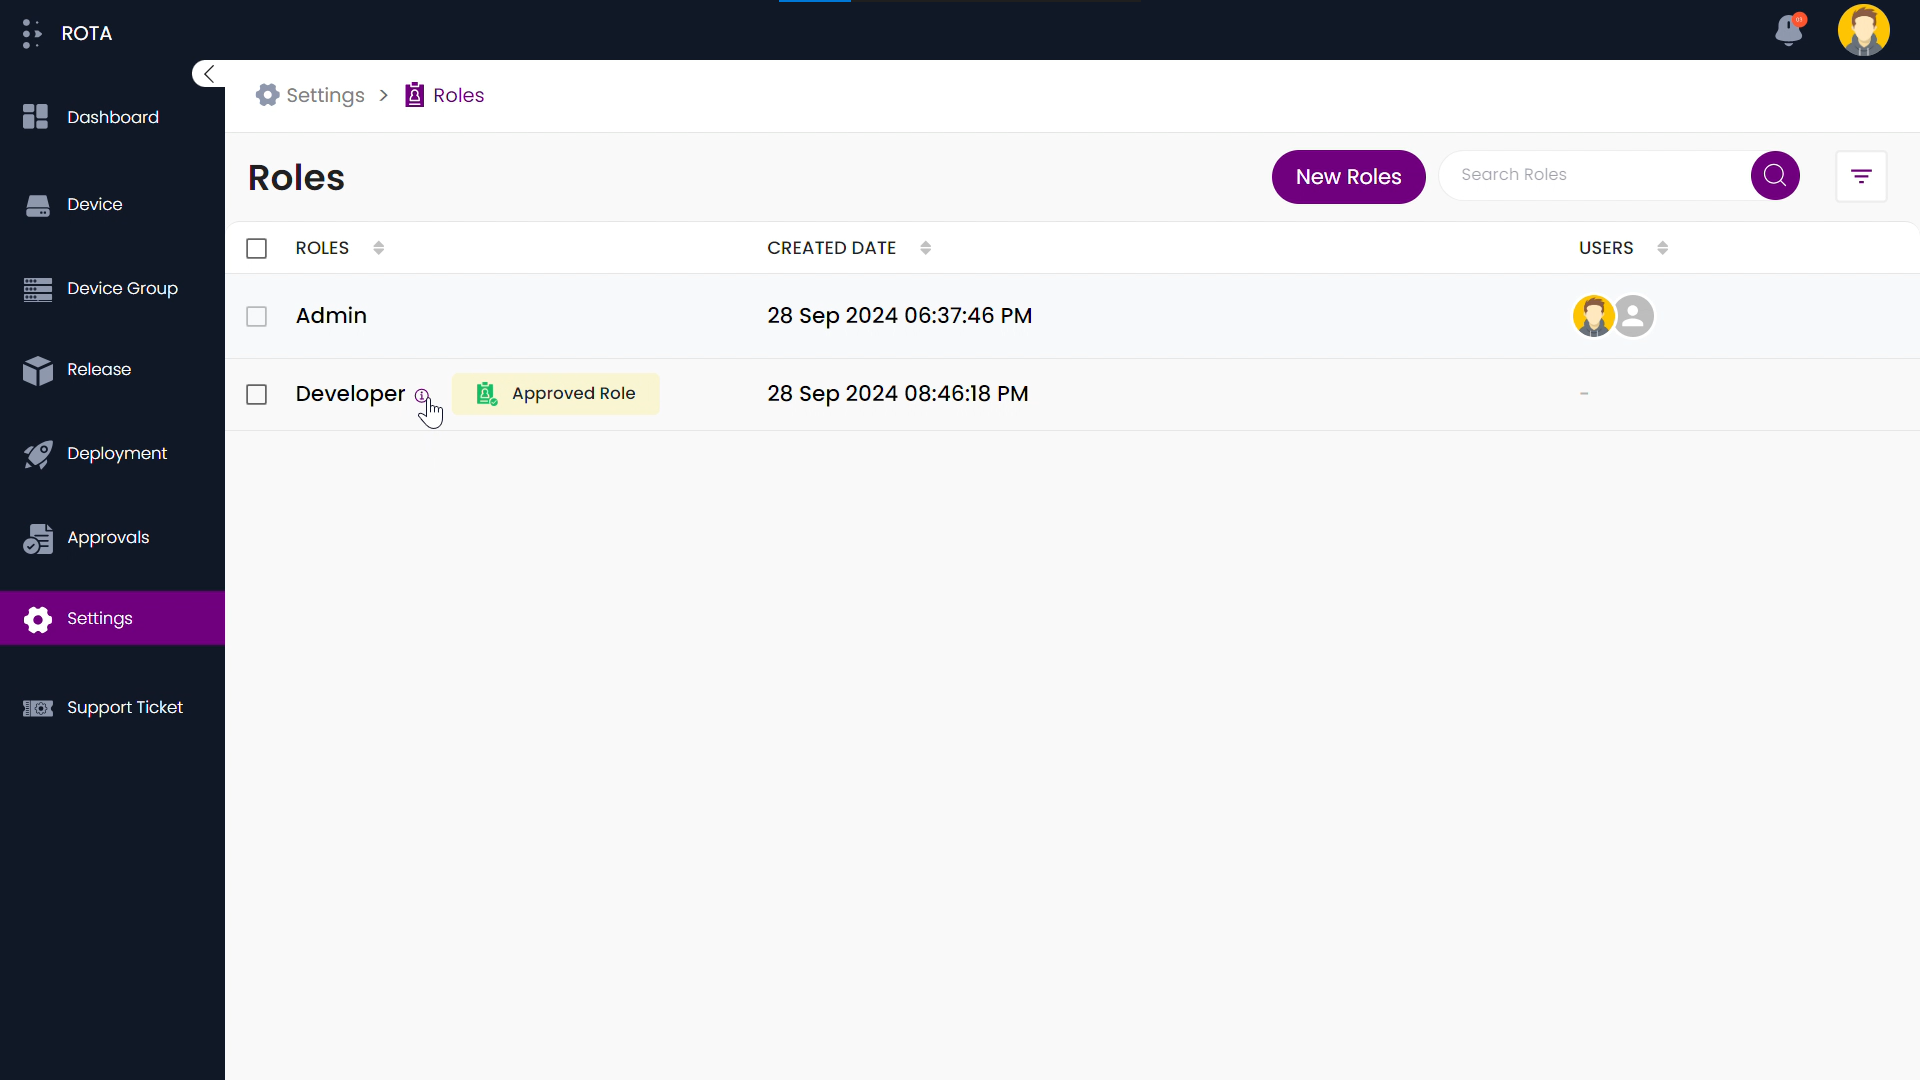
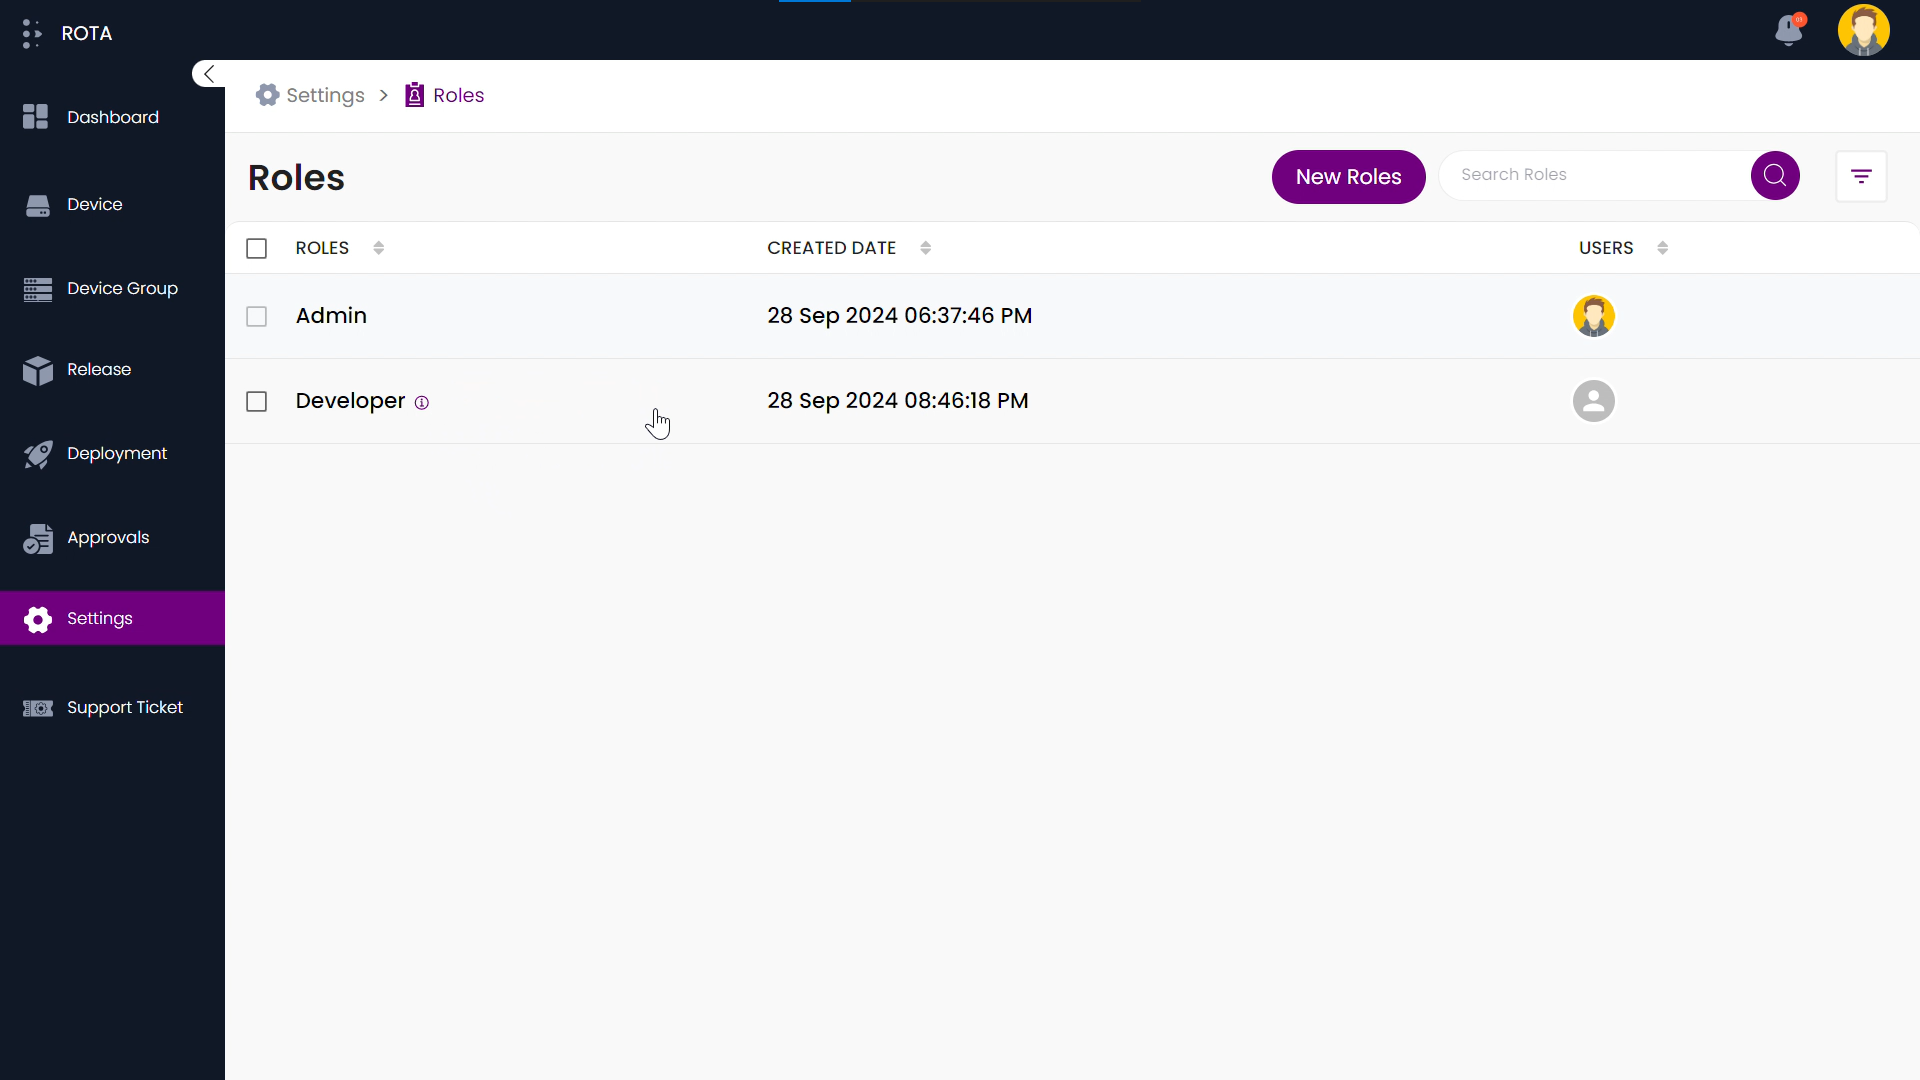
Step 2: The list of roles available in the admin portal will be displayed.

Add Role
A Step-by-Step Guide for Adding a New Role
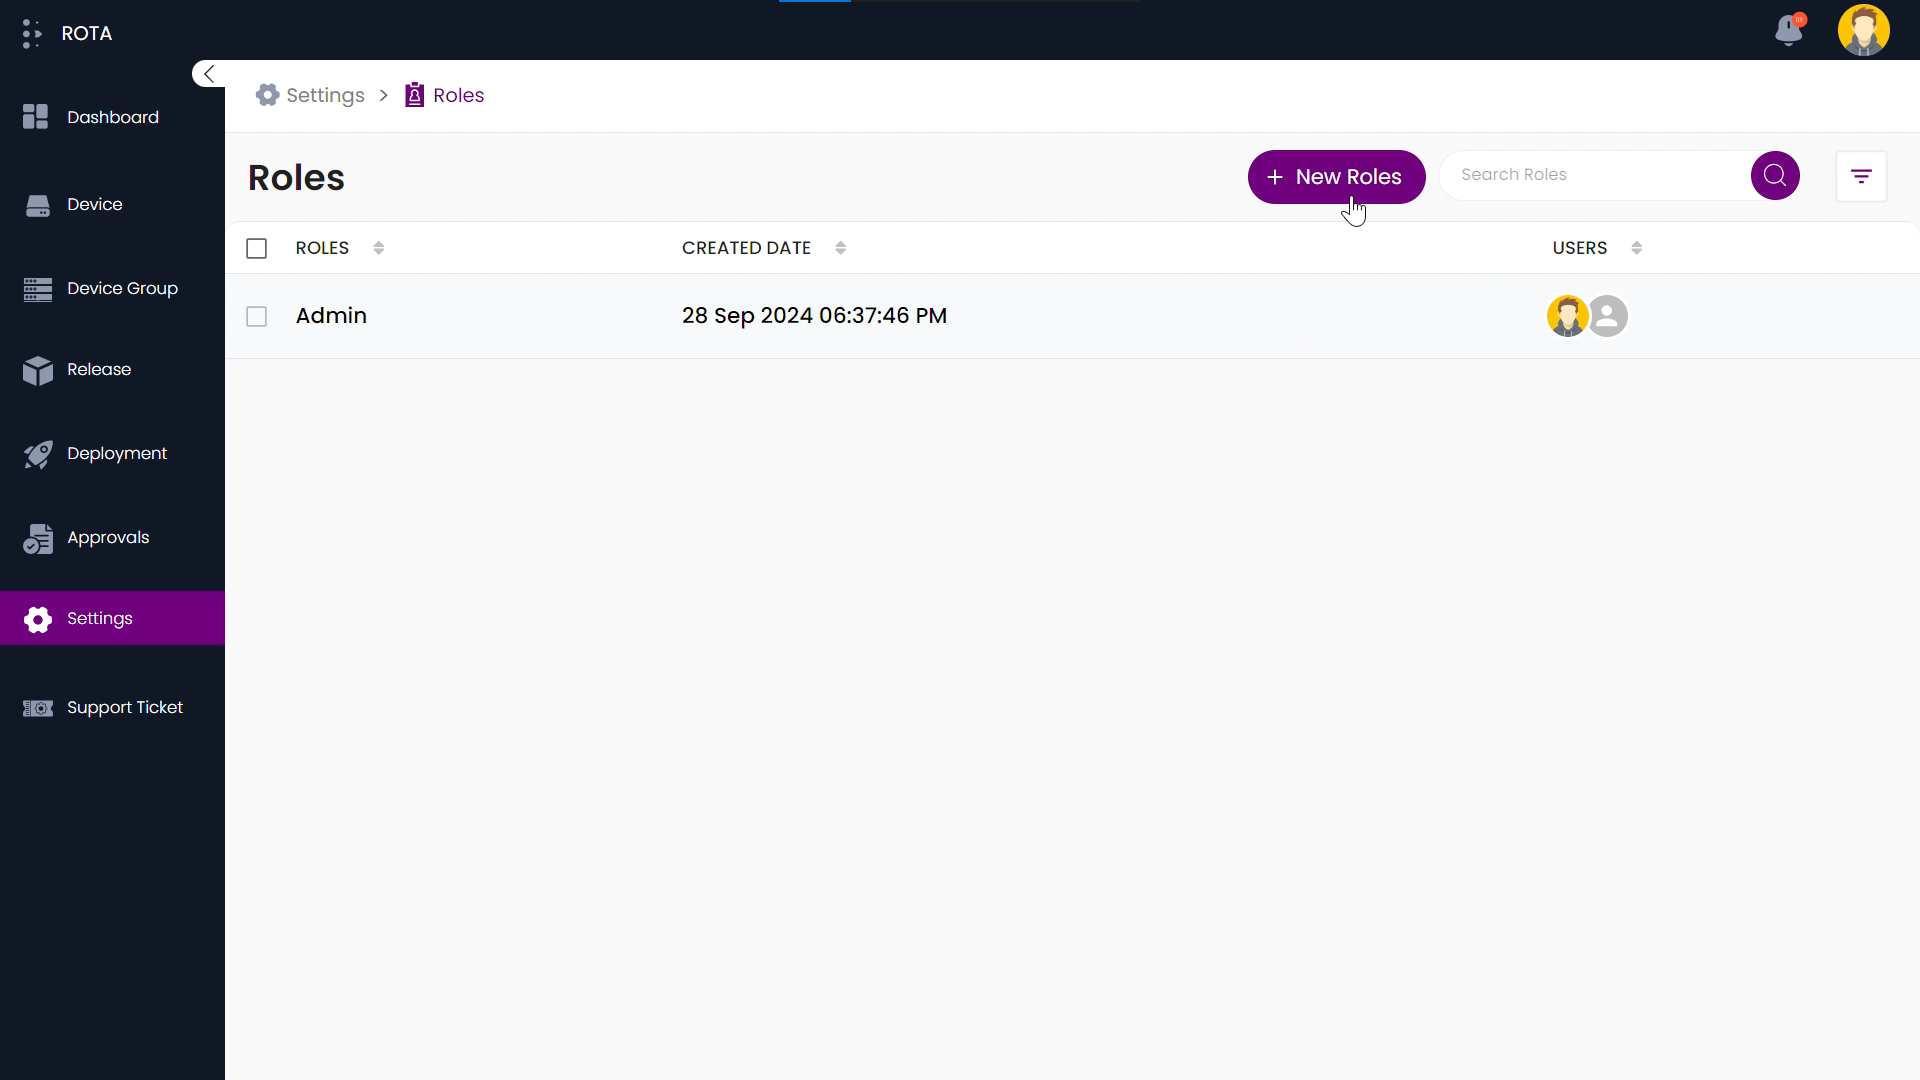
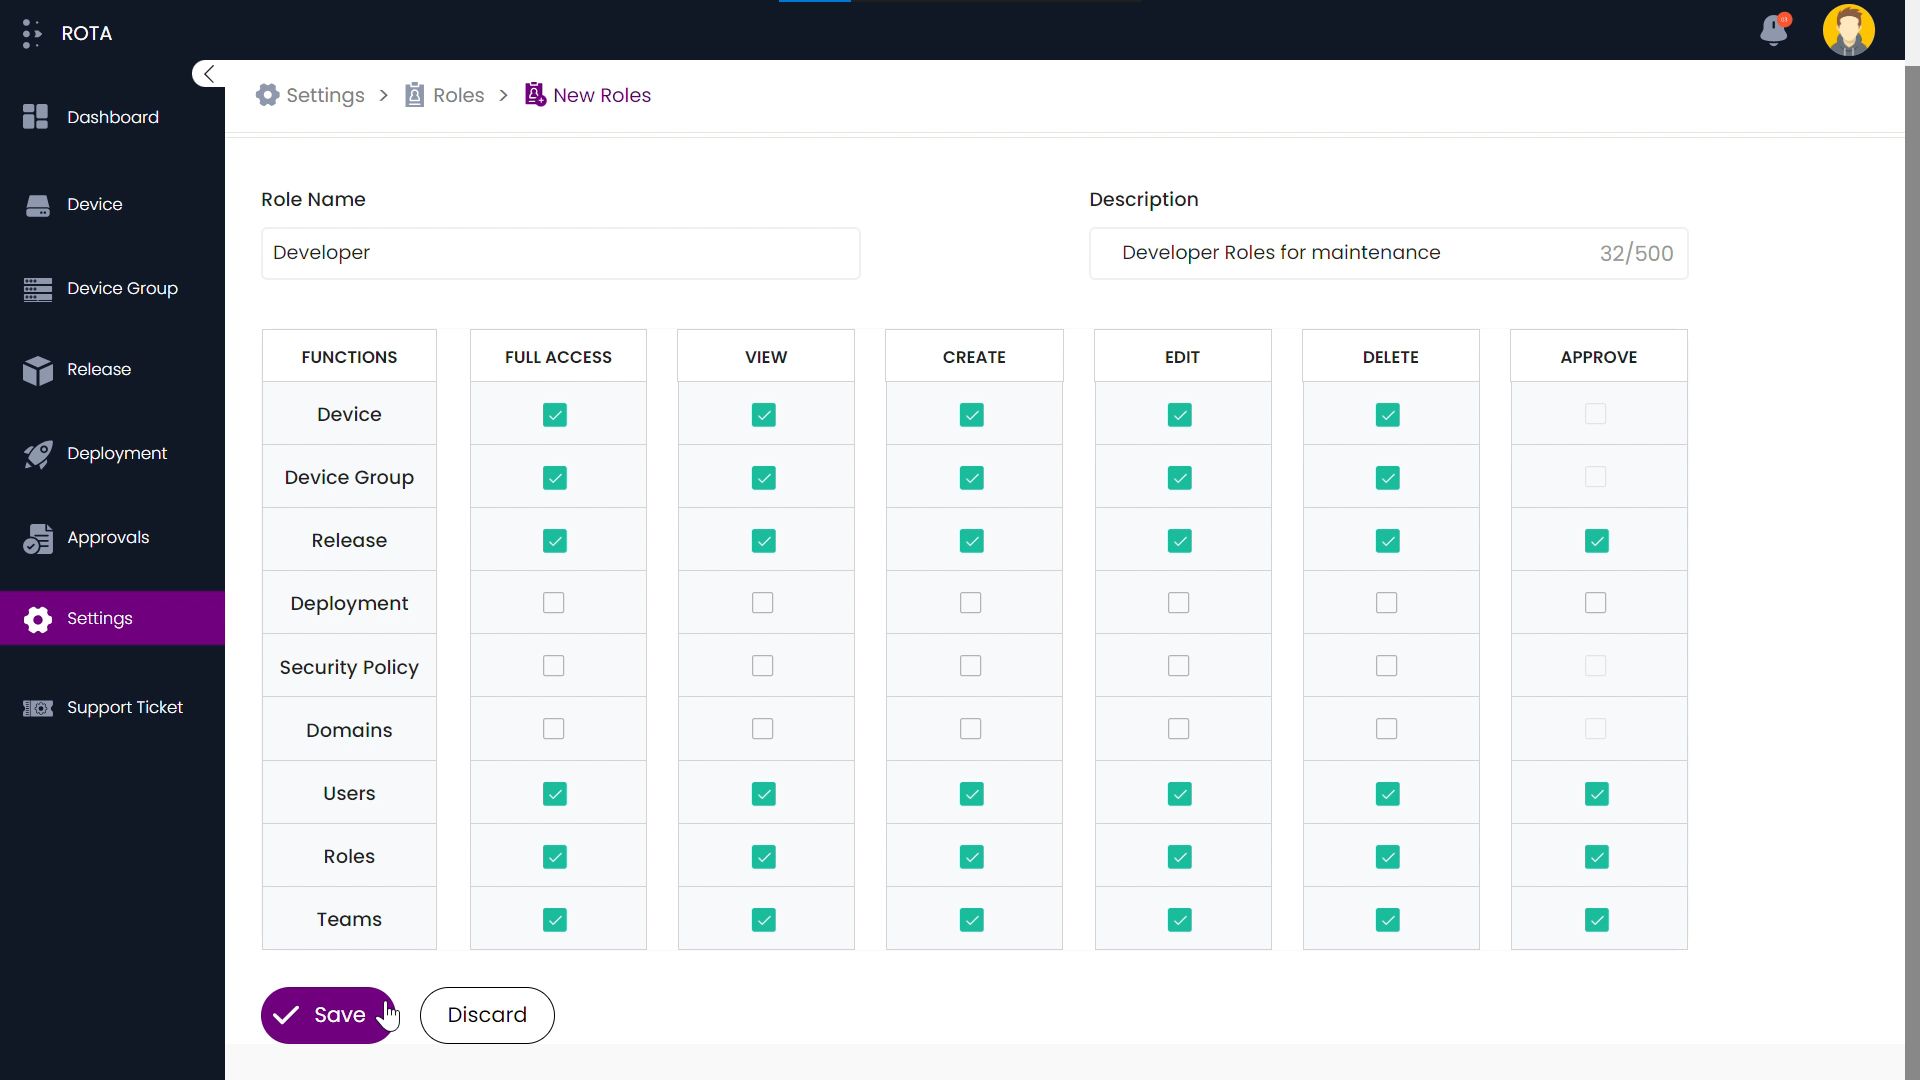
Step 1: Click the “New Roles” button in the header.
Step 2: Enter the organization name and description and provide access for the role to be created.
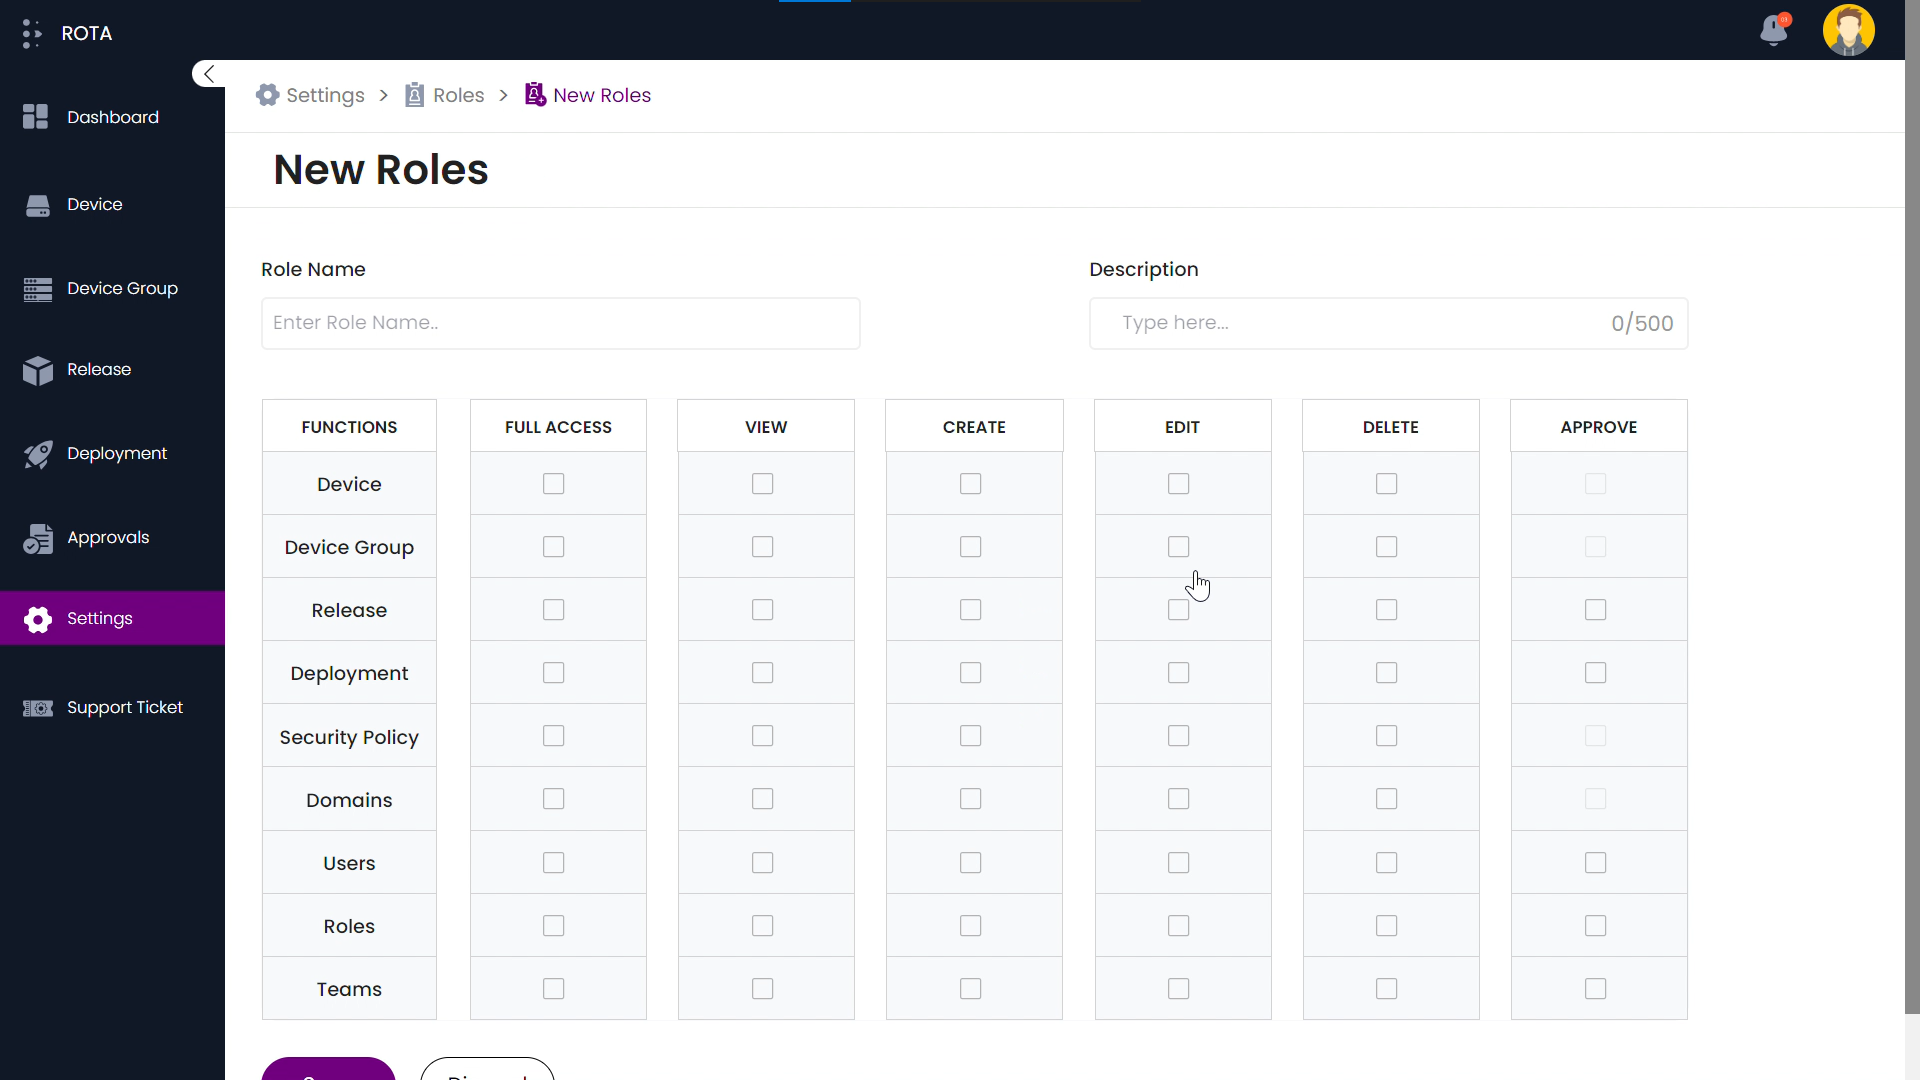
Step 3: After entering the details, Click on save to proceed further or discard to cancel the process.
Step 4: The notification for the New Role created will be displayed.

Step 5: Go back to Settings and click on Approvals under the Organization section.

Step 6: The created Role will be displayed at the top.
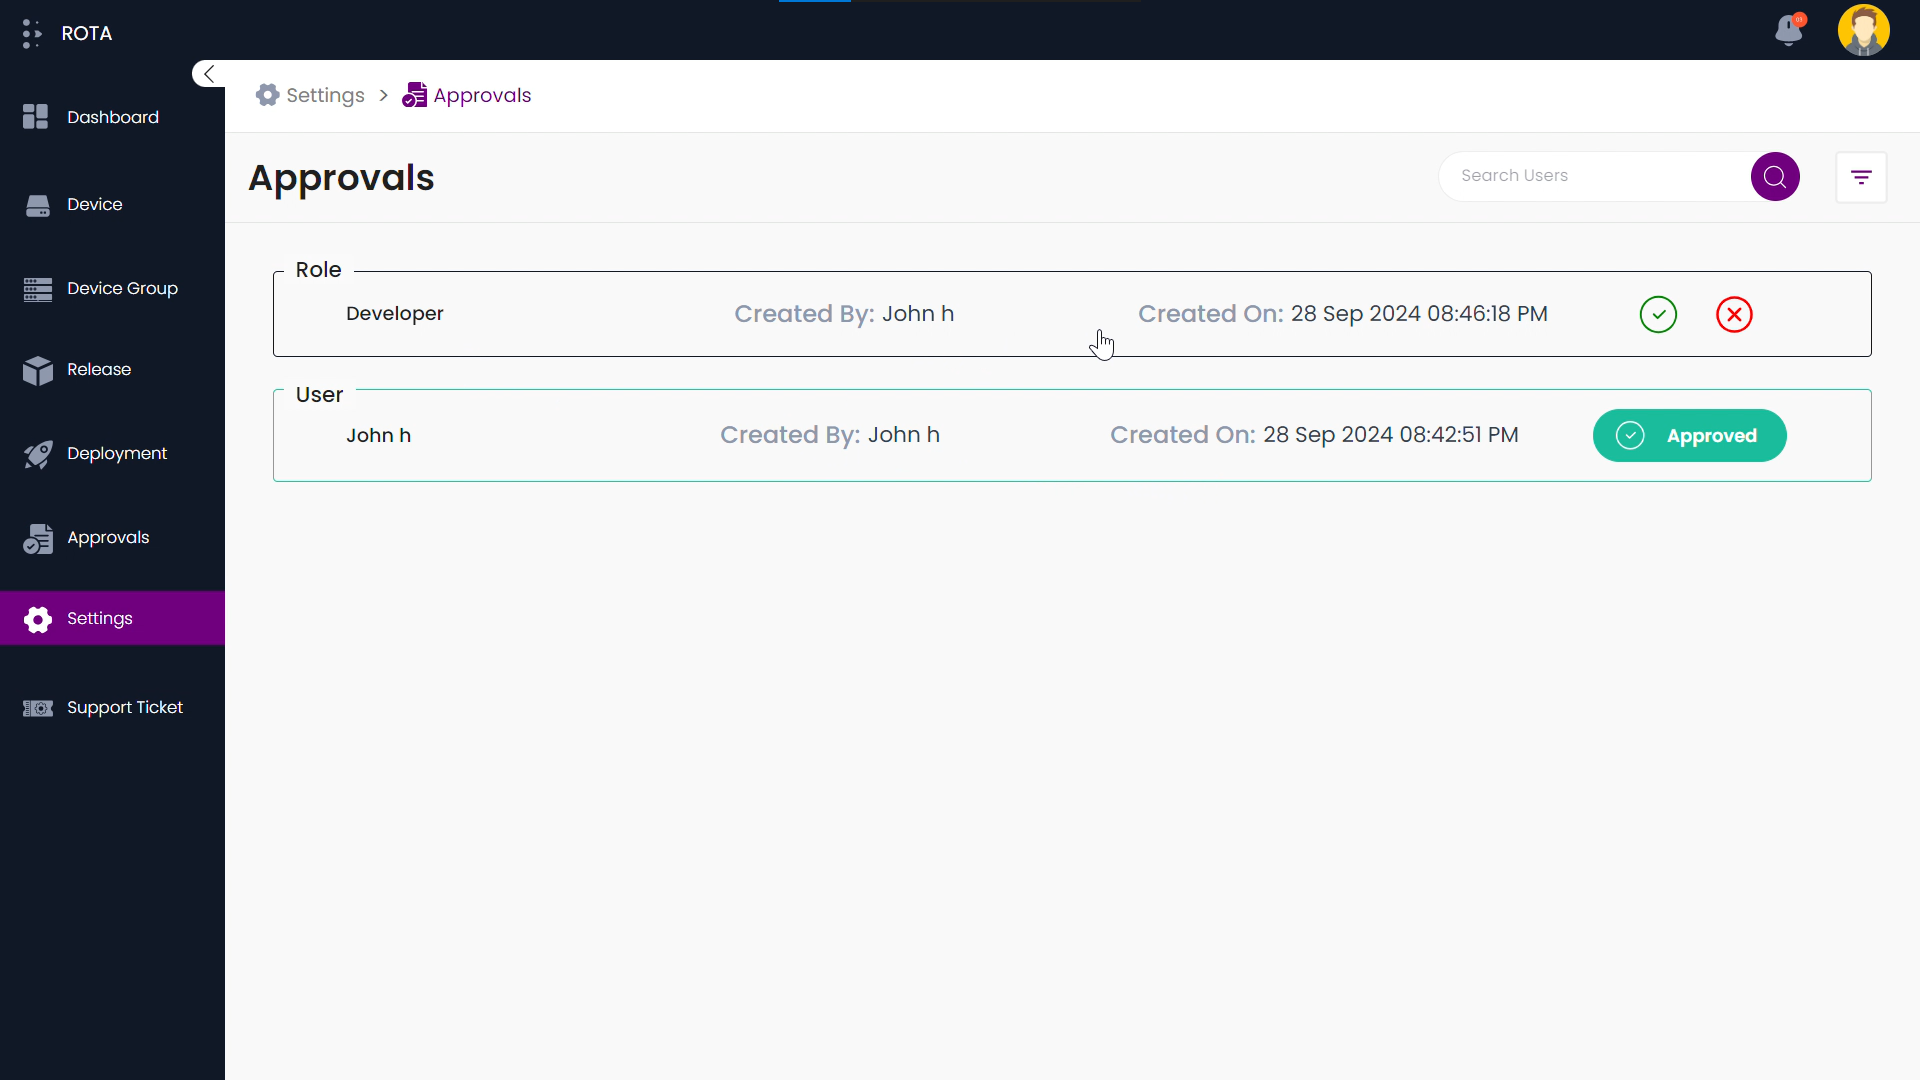
Step 7: Click on the role and then click the “Approve” button.

Step 8: The status would be changed to approved.
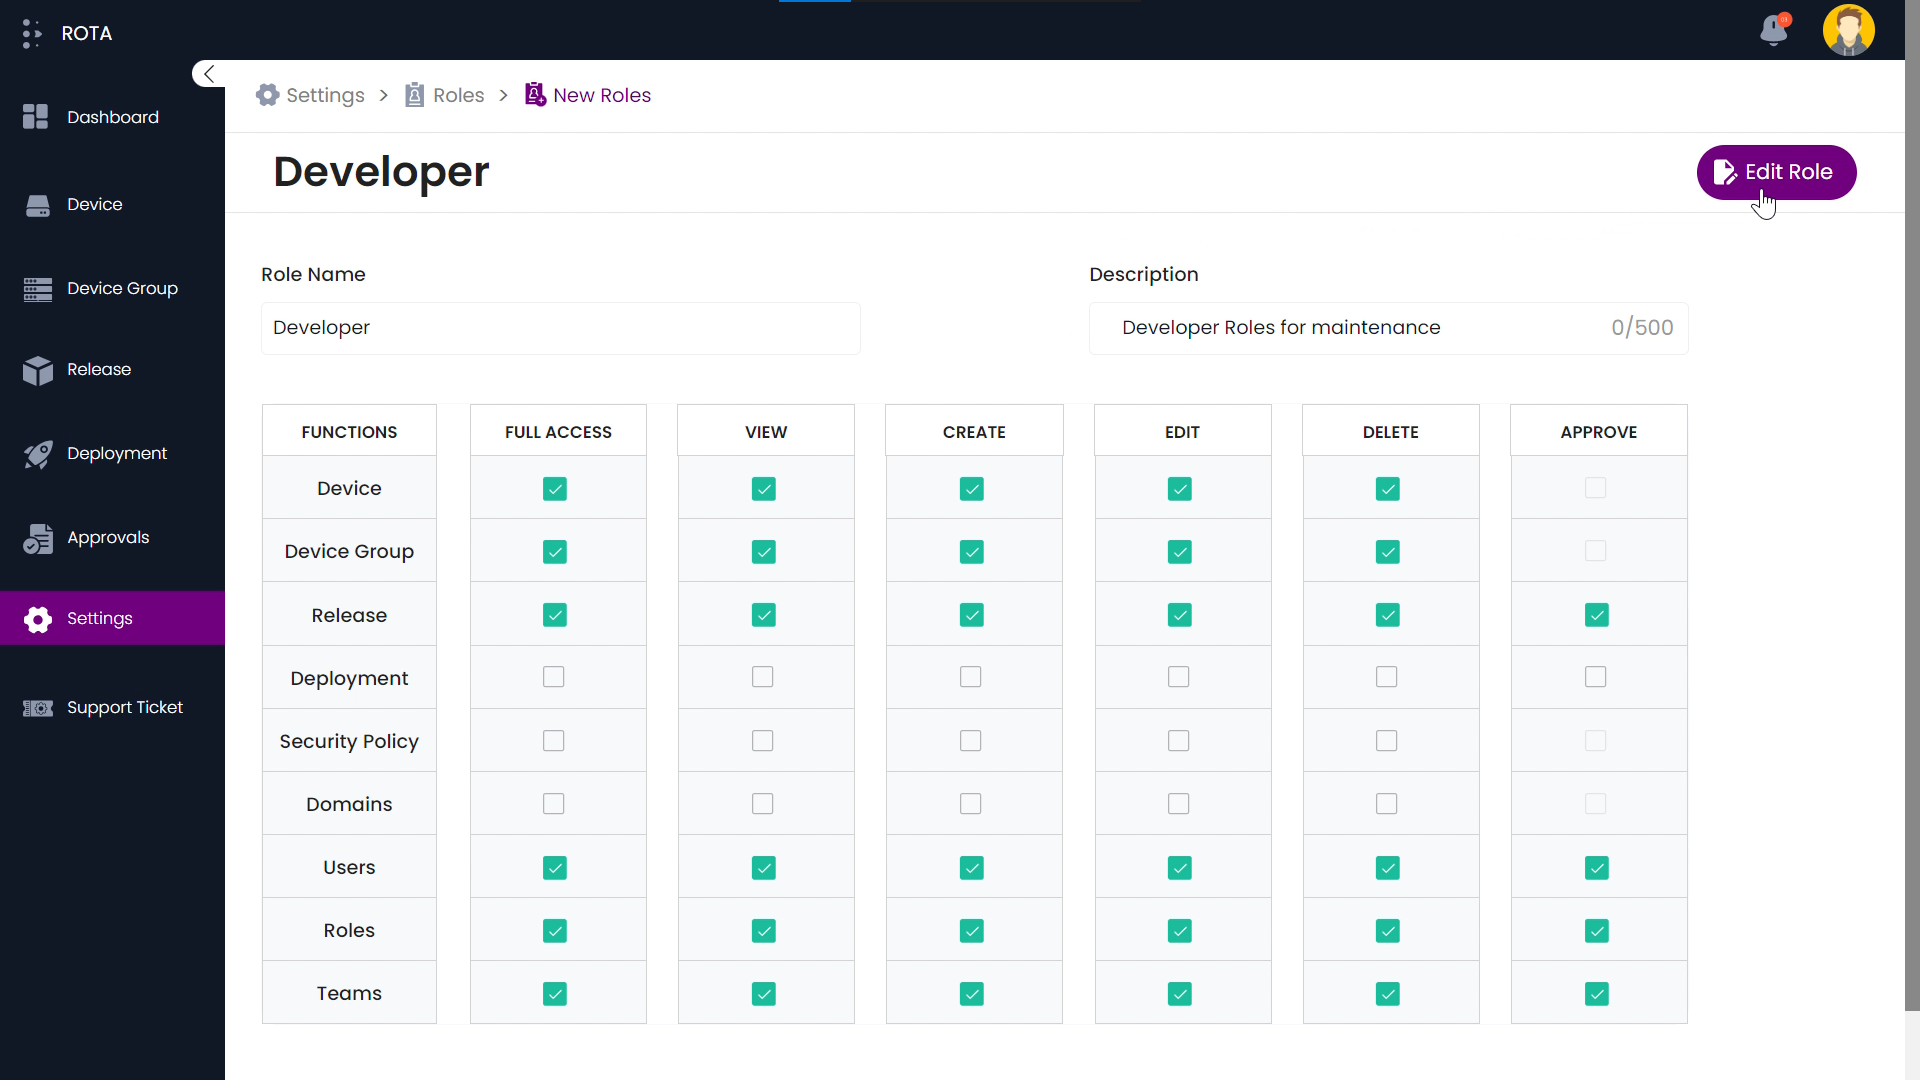
Edit Role
A Step-by-Step Guide for Editing a Team
Step 1: Click on the role you wish to edit.
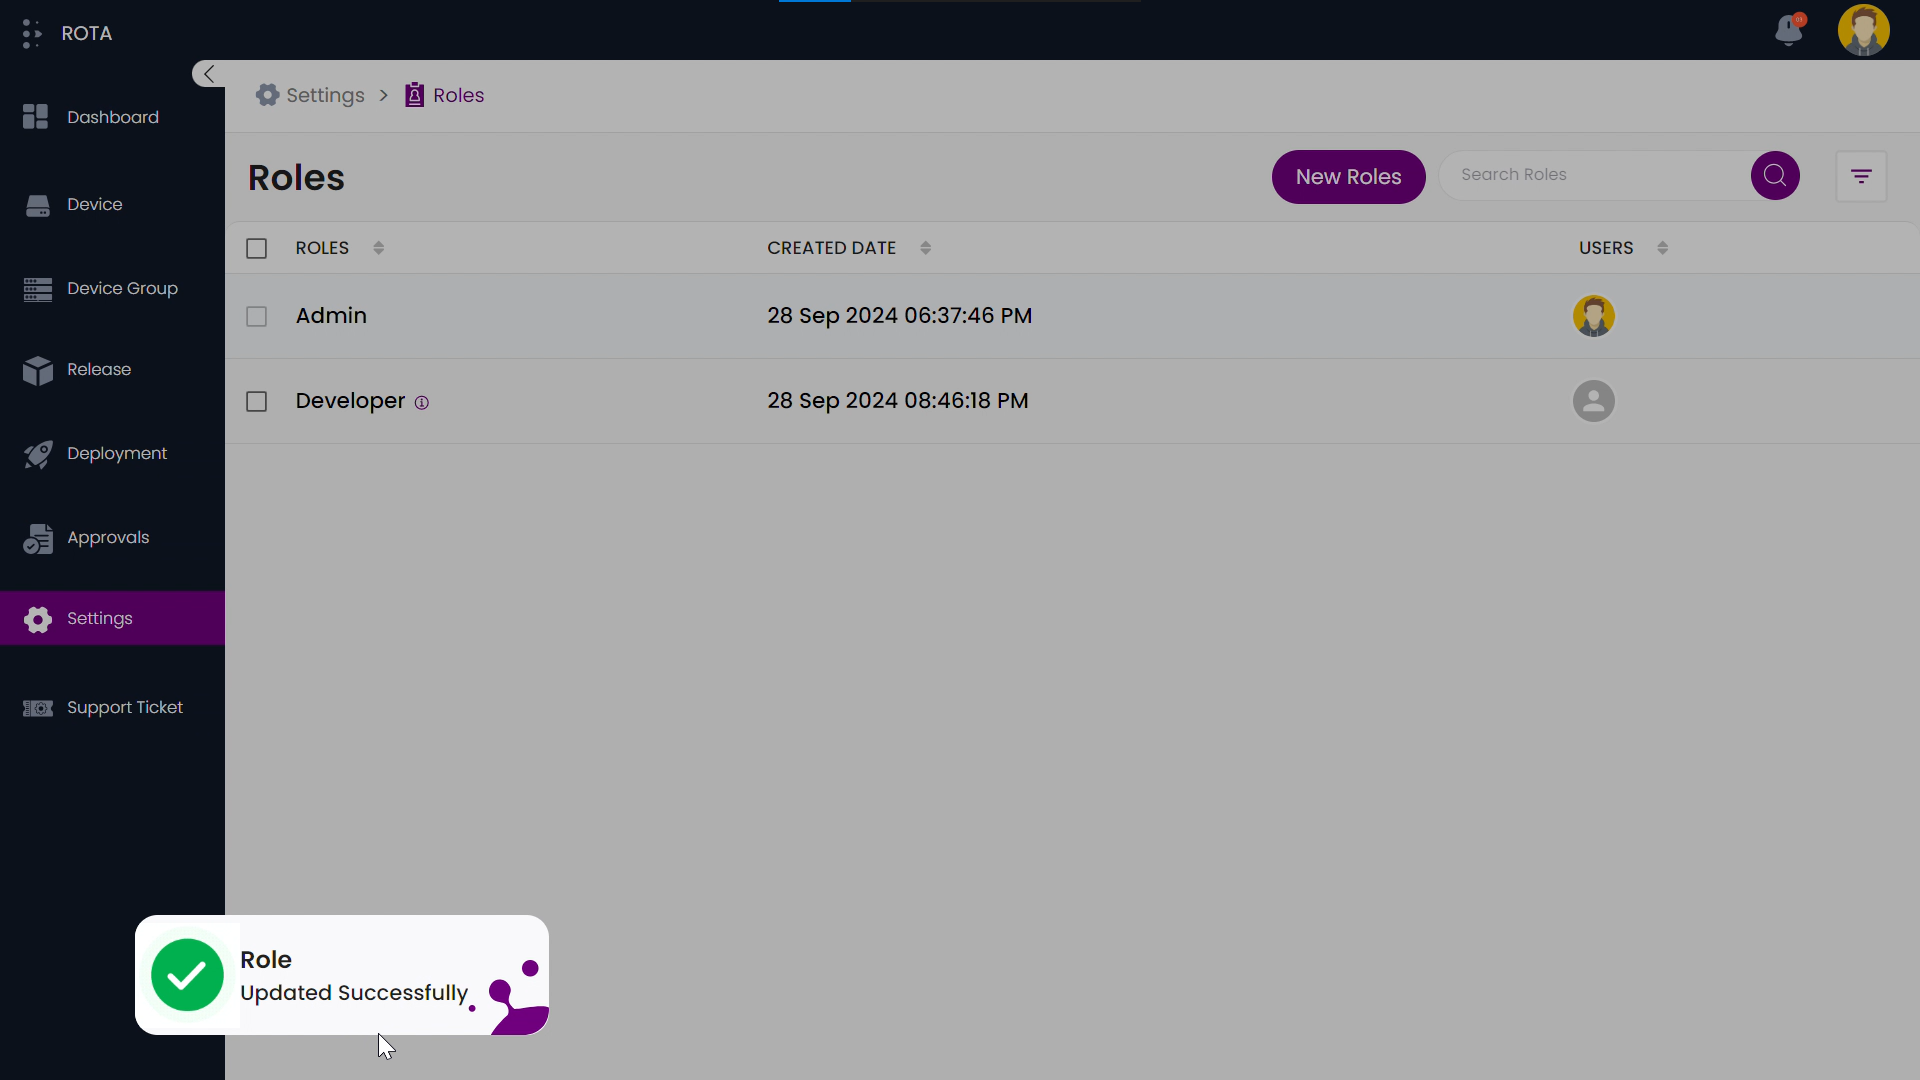
Step 2: Click on the Edit role button and Update the role, description and access as required.
Step 3: Click on save after editing the role.
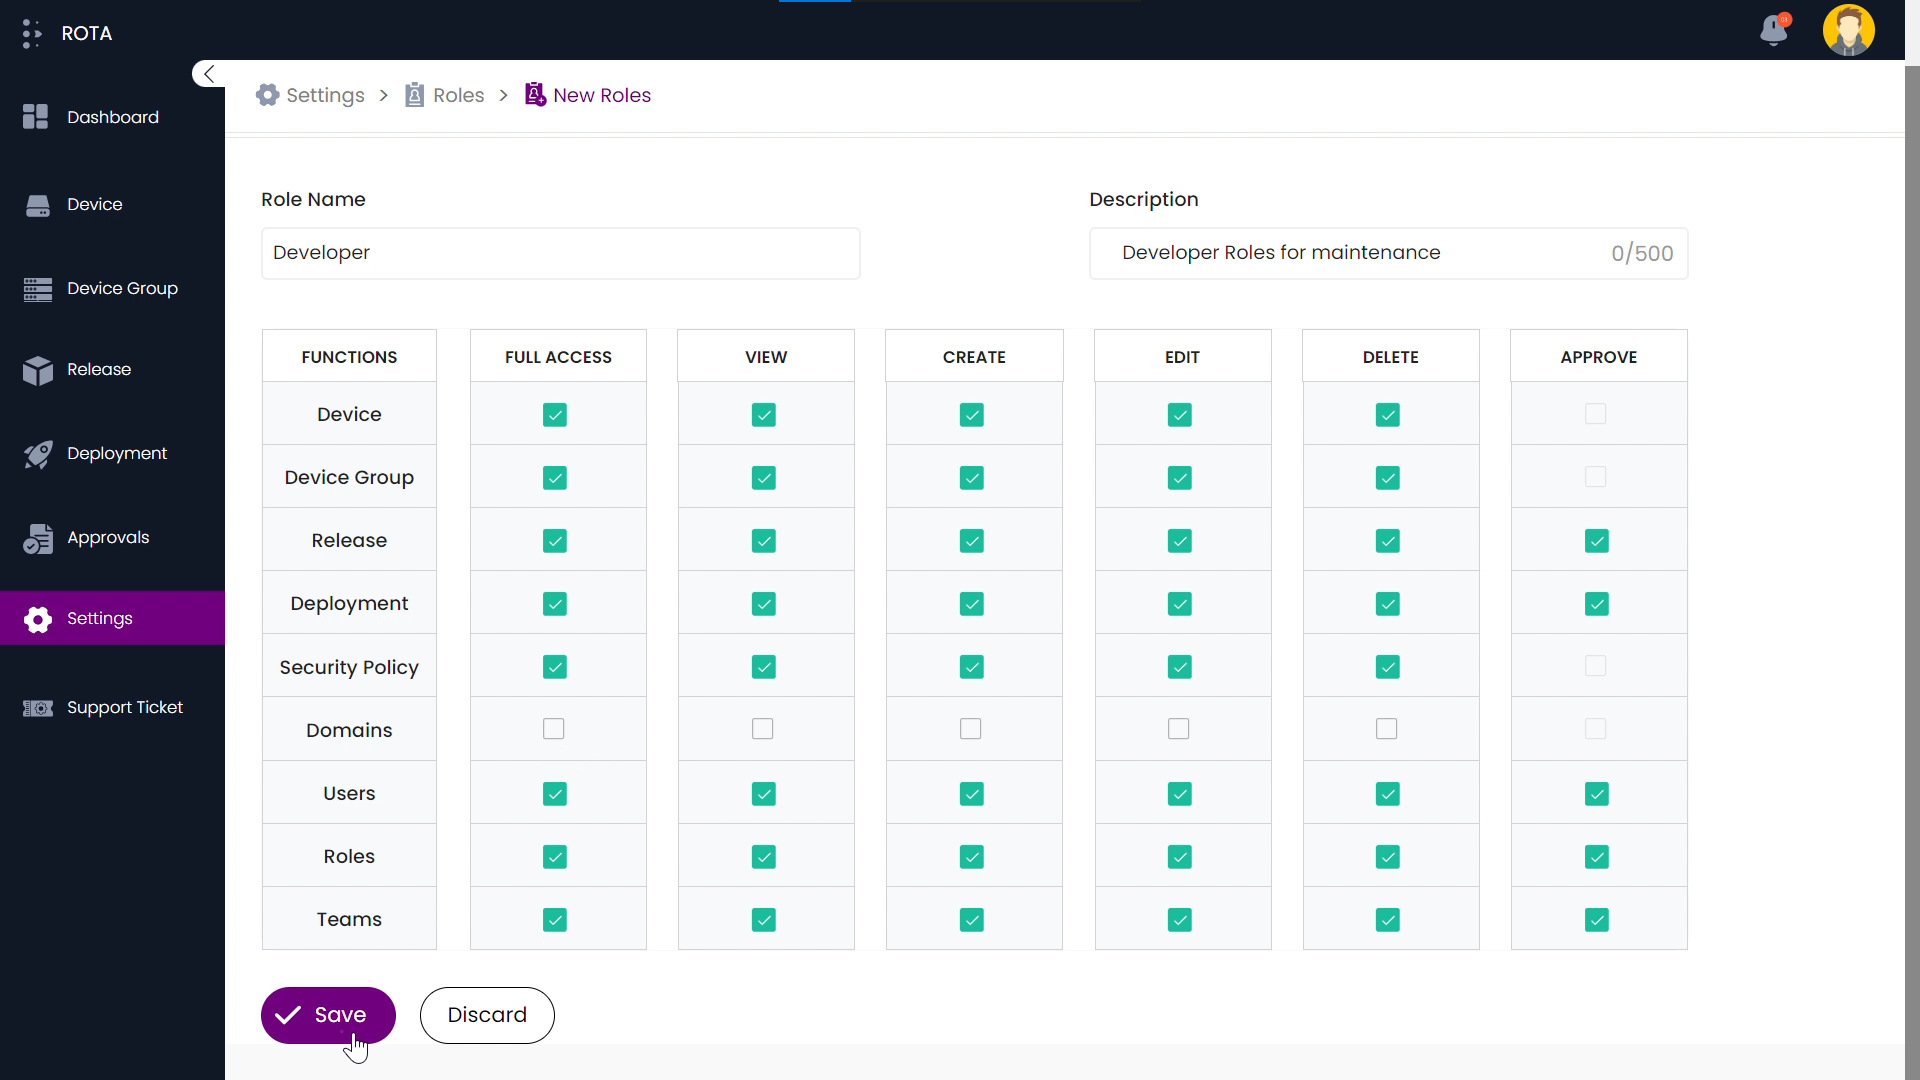
Step 4: A notification will appear confirming the role has been updated.